Lesson 107-7: Sending a 28BYJ-48 Stepper Motor to Any Angle with Defined STPB-5 Push Buttons
Project 7: Multiple Buttons for Angle, Speed, and Direction – Using STPB-5 – 28BYJ-48 Stepper Motor
This article is part of the comprehensive 8-project tutorial series on the 28BYJ-48 stepper motor with Arduino. Project 7 demonstrates how to use multiple push buttons to control motor angle, speed, and direction. The setup uses a push button interface (STPB-5) to represent real-world systems where control panels or simple interfaces provide directional input and variable control.
The complete code and wiring schematic are provided below.
📘 Introduction
In this project, the user interacts with the system through a multi-button input module (STPB-5), which simulates user choices. Each button corresponds to a specific angle (e.g., 90°, 180°), a direction (forward/reverse), or a speed. The buttons let you execute complex movements without a computer or serial monitor.
⚙️ Wiring
The wiring includes:
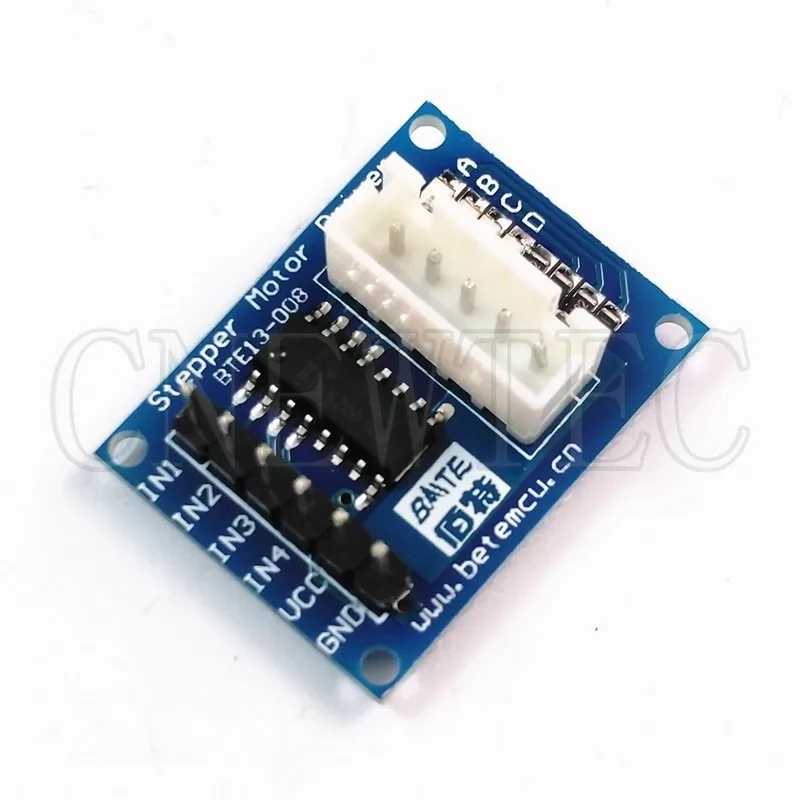
ULN2003 driver module connected to the stepper motor
Multiple push buttons:
Button 1: Arduino pin 2 → Direction
Button 2: Arduino pin 3 → 90°
Button 3: Arduino pin 4 → 180°
Button 4: Arduino pin 5 → Speed
Each button’s other terminal is connected to GND, and all use internal pull-up resistors.
Caption: Project 7 wiring: Four-button STPB-5 setup controlling direction, angle, and speed.
💻 Code Explanation
This program uses four buttons:
One toggles direction
Two set angle (90° or 180°)
One sets speed
Definitions and Setup:
#include <Stepper.h>
const int stepsPerRevolution = 2048;
Stepper myStepper(stepsPerRevolution, 8, 10, 9, 11);
int dirPin = 2;
int angle90Pin = 3;
int angle180Pin = 4;
int speedPin = 5;
int direction = 1;
int speed = 10;
Setup Function:
void setup() {
  pinMode(dirPin, INPUT_PULLUP);
  pinMode(angle90Pin, INPUT_PULLUP);
  pinMode(angle180Pin, INPUT_PULLUP);
  pinMode(speedPin, INPUT_PULLUP);
  myStepper.setSpeed(speed);
  Serial.begin(9600);
}
Loop Function:
void loop() {
  if (digitalRead(dirPin) == LOW) {
    direction *= -1;
    delay(300);
  }

  if (digitalRead(speedPin) == LOW) {
    speed = (speed == 10) ? 15 : 10;
    myStepper.setSpeed(speed);
    delay(300);
  }

  if (digitalRead(angle90Pin) == LOW) {
    int steps = (2048 * 90) / 360;
    myStepper.step(direction * steps);
    delay(1000);
  }

  if (digitalRead(angle180Pin) == LOW) {
    int steps = (2048 * 180) / 360;
    myStepper.step(direction * steps);
    delay(1000);
  }
}directiontoggles between 1 and -1 for forward/reverseSpeed toggles between 10 and 15 RPM
Buttons execute rotations of 90° or 180° depending on user input
🎬 Timestamps from Full Video
Refer to the following timestamps for this project:
1:20:18 – Project 7: Introduction
1:21:40 – Project 7: Wiring
1:25:35 – Project 7: Code
1:32:43 – Project 7: Demonstration
📁 Download Section
You can download all necessary files, including source code and wiring diagram, from below. This project introduces a functional multi-button interface, mimicking real-world user control panels.
Next up is [Project 8: Controlling Stepper Motor Using a Potentiometer].
Related Tutorials in This Series:
Lesson 107 28BYJ-48 Stepper 8 Projects
Related Links
- Purchase an authentic Arduino UNO R3 from Amazon USA
- Purchase an authentic Arduino UNO R3: Amazon Canada
- Purchase a 28BYJ-48 stepper motor from Amazon USA
- Purchase a 28BYJ-48 stepper motor from Amazon Canada.
- Purchase a 28BYJ-48 stepper motor from Amazon.
- Purchase 5 pcs 28BYJ-48 stepper motors from AliExpress


Comments will be displayed here.