How to use W1209 Temperature relay controller and program the thermostat
The W1209 temperature controller is a versatile and easy-to-use module perfect for a variety of temperature control applications. It doesn't require a microcontroller like an Arduino, making it ideal for beginners and simple projects. This guide will walk you through using the W1209, setting its parameters, and wiring it to control external devices. You can build many interesting projects with this module, such as:
- An incubator for hatching eggs
- A temperature-controlled brewing system
- A reptile enclosure climate controller
- An automated greenhouse environment system
- A simple refrigerator temperature monitor
Hardware/Components
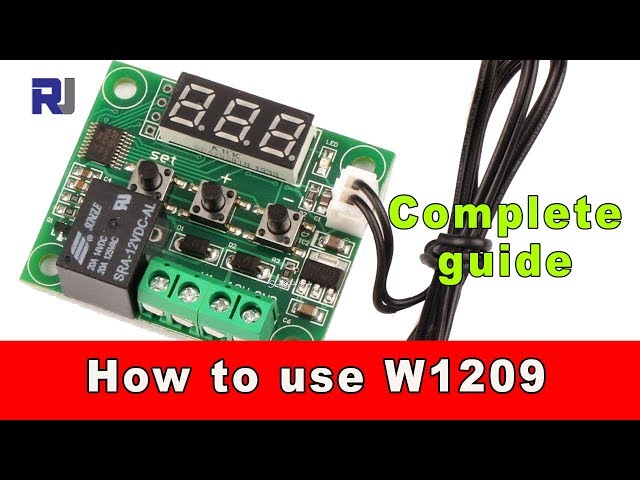
The primary component is the W1209 temperature controller module itself (in video at 00:06). It includes a built-in temperature sensor (approximately 50 centimeters long) and a relay for controlling external devices. You will also need a 12V DC power supply (in video at 00:33) and the device you want to control (e.g., a fan, heater, or light) (in video at 00:41). The module features three buttons: SET, +, and - (in video at 01:49) for setting parameters and viewing the current temperature.
Wiring Guide
The W1209 operates on 12V DC. Connect the positive and negative terminals of your power supply to the corresponding terminals on the module (in video at 00:33). The module's relay controls the external device. To connect your AC load (e.g., a light bulb), you'll need to wire the load to the relay terminals. This typically involves disconnecting one wire from the load and connecting it to one of the relay terminals. The other wire from the load connects to the other relay terminal (in video at 03:11). %%WIRING%% The video demonstrates connecting an AC light bulb (in video at 02:58). Remember to observe proper safety precautions when working with mains voltage.

Live Project/Demonstration
The video demonstrates setting the desired temperature using the three buttons (in video at 02:22). It shows how to switch between heating and cooling modes (in video at 09:27), and how to adjust parameters like backlash temperature (the difference between the set temperature and the actual temperature at which the relay turns off) (in video at 07:05), upper and lower temperature limits (in video at 12:24), correction values, delay, and alarm settings (in video at 13:00). The video visually shows the W1209 controlling an AC light bulb based on the temperature (in video at 04:29). The example uses a heat gun to raise the temperature, demonstrating the controller's responsiveness (in video at 04:35).
Video Chapters
- [00:00] Introduction
- [00:06] W1209 Overview
- [01:49] Buttons and Controls
- [02:46] Connecting an AC Load
- [04:35] Live Demonstration: Heating Mode
- [06:11] Live Demonstration: Cooling Mode
- [07:05] Backlash Temperature Setting
- [07:37] Specifications
- [09:20] P0: Heat/Cool Mode Selection
- [11:25] Changing P Settings
- [13:00] Advanced Settings (P1-P6)
- [14:36] Final Thoughts
Things you might need
-
eBay
-
AliExpressPurchase W1209 temperature controller from AliExpress (1)s.click.aliexpress.com
Resources & references
No resources yet.
Files📁
No files available.