Lesson 107-3: Controlling a 28BYJ-48 Stepper Motor Using Three Push Buttons: CW, CCW, and Stop (STPB-1)
Project 3: Controlling Stepper Motor Using Push Button STPB-1 – 28BYJ-48 Stepper Motor
This article is part of the 8-project tutorial series demonstrating how to control the 28BYJ-48 stepper motor with Arduino. In Project 3, we introduce the first push-button-based control using a momentary button labeled STPB-1. The button is used to trigger motor rotation with a single press.
All source code and the wiring diagram for this project can be found below the article.
📘 Introduction
This project builds on the previous ones by incorporating physical input through a push button. When the user presses the button once, the motor executes one full revolution. This technique is essential in scenarios requiring manual activation of a motion process, such as moving a platform, feeding a component, or advancing a mechanical stage.
⚙️ Wiring Diagram
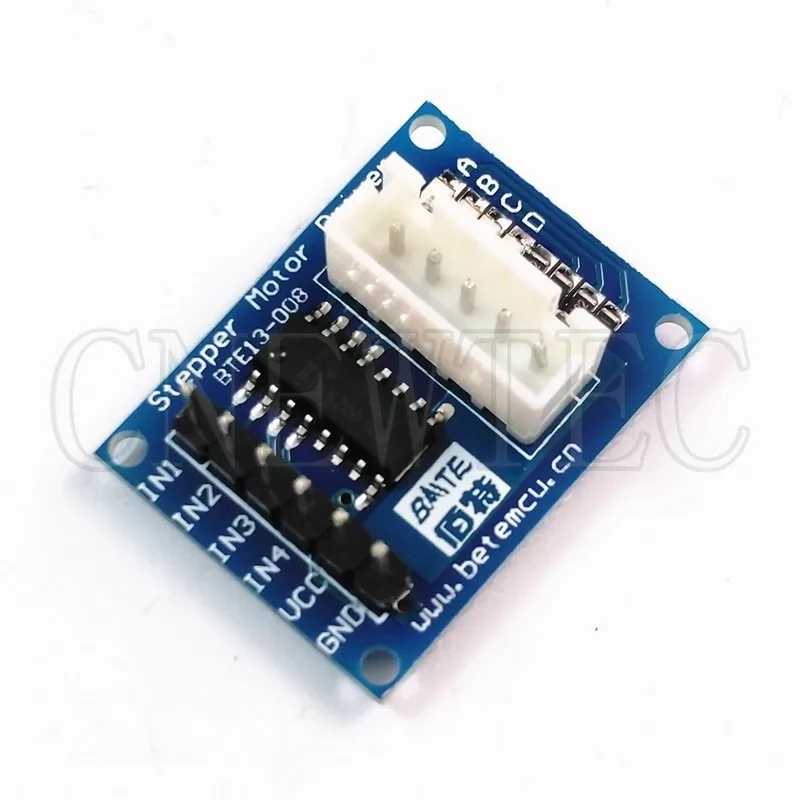
In addition to the ULN2003 and stepper motor wiring from Projects 1 and 2, the following new connection is added:
One terminal of the push button (STPB-1) connects to Arduino pin 2
The other terminal connects to GND
A pull-up resistor is configured internally in code
Caption: Wiring diagram showing ULN2003 motor control and STPB-1 push button input to pin 2.
💻 Code Explanation
The code uses digital input to detect a button press and trigger motor movement:
Stepper and Pin Setup:
#include <Stepper.h>
const int stepsPerRevolution = 2048;
Stepper myStepper(stepsPerRevolution, 8, 10, 9, 11);
const int buttonPin = 2;
Setup Function:
void setup() {
  myStepper.setSpeed(10);
  pinMode(buttonPin, INPUT_PULLUP);
  Serial.begin(9600);
}
Uses
INPUT_PULLUPto simplify wiring (no external resistor needed).
Loop Function:
void loop() {
  if (digitalRead(buttonPin) == LOW) {
    myStepper.step(stepsPerRevolution);
    delay(1000); // Prevent accidental double trigger
  }
}
Detects a button press (LOW state due to pull-up logic)
Rotates motor one full revolution forward per press
🎬 Timestamps from Full Video
To watch this project in the tutorial video, use the timestamps below:
35:48 – Project 3: Wiring explained
37:45 – Project 3: Code explained
39:59 – Project 3: Demonstration
📁 Download Section
You’ll find the source code and wiring diagram for this project below the article. This setup is a great starting point for triggering motion in user-controlled applications.
Next up is [Project 4: Push Button STPB-2 – Hold to Run Mode].
Related Tutorials in This Series:
Lesson 107 28BYJ-48 Stepper 8 Projects
Related Links
- Purchase an authentic Arduino UNO R3 from Amazon USA
- Purchase an authentic Arduino UNO R3: Amazon Canada
- Purchase a 28BYJ-48 stepper motor from Amazon USA
- Purchase a 28BYJ-48 stepper motor from Amazon Canada.
- Purchase a 28BYJ-48 stepper motor from Amazon.
- Purchase 5 pcs 28BYJ-48 stepper motors from AliExpress


Comments will be displayed here.