Lesson 107-2: Controlling a 28BYJ-48 Stepper Motor via Serial Monitor
Project 2: Controlling Stepper Motor via Serial Monitor – 28BYJ-48 Stepper Motor
This article is the second installment of an 8-part tutorial on controlling the 28BYJ-48 stepper motor using Arduino. In this project, we introduce serial communication as a method of user input. Using the Arduino Serial Monitor, users can input commands to rotate the motor in either direction.
All source code and wiring diagrams related to this project are available for download at the end of this article.
📘 Introduction
This project expands on basic motor control by enabling real-time interaction via the Serial Monitor. Rather than hardcoding rotation logic into the loop(), the user enters a command through the monitor to make the motor turn forward or backward. This is ideal for debugging or creating interactive testing tools for hardware setups.
⚙️ Wiring Diagram
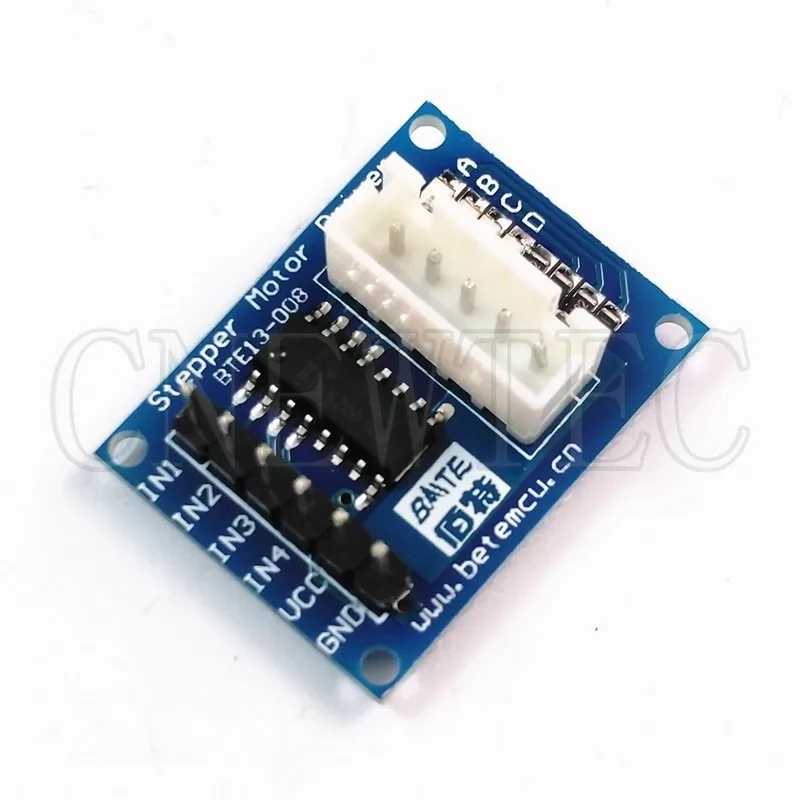
The hardware setup remains unchanged from Project 1. The 28BYJ-48 stepper motor connects to the ULN2003 driver, which then interfaces with the Arduino as follows:
IN1 → Arduino pin 8
IN2 → Arduino pin 9
IN3 → Arduino pin 10
IN4 → Arduino pin 11
Power and GND to ULN2003 from Arduino
Caption: Project 2 wiring using ULN2003 and Arduino Uno. Same configuration as Project 1.
💻 Code Explanation
The code introduces Serial.readStringUntil() to accept user input from the Serial Monitor:
Stepper Setup:
#include <Stepper.h>
const int stepsPerRevolution = 2048;
Stepper myStepper(stepsPerRevolution, 8, 10, 9, 11);
2 Initialization
void setup() {
  myStepper.setSpeed(10);
  Serial.begin(9600);
  Serial.println("Enter direction: f=forward, r=reverse");
}
Main Loop with Serial Input:
void loop() {
  if (Serial.available()) {
    String input = Serial.readStringUntil('\n');
    input.trim();

    if (input == "f") {
      myStepper.step(stepsPerRevolution);
    } else if (input == "r") {
      myStepper.step(-stepsPerRevolution);
    } else {
      Serial.println("Invalid input. Use 'f' or 'r'.");
    }
  }
}fcauses one full forward revolution.rreverses one full revolution.
This adds basic text-based control for interactive stepper testing.
🎬 Timestamps from Full Video
Reference the full tutorial video for this project at the following timestamps:
22:23 – Project 2: Introduction and code explanation
32:03 – Project 2: Demonstration using Serial Monitor
📁 Download Section
The code and wiring schematic for this project can be downloaded below. These resources will help you build, test, and adapt the Serial Monitor-controlled stepper motor in your own projects.
Next up is [Project 3: Stepper Motor Control Using Push Button STPB-1].
Related Tutorials in This Series:
Lesson 107 28BYJ-48 Stepper 8 Projects
Related Links
- Purchase an authentic Arduino UNO R3 from Amazon USA
- Purchase an authentic Arduino UNO R3: Amazon Canada
- Purchase a 28BYJ-48 stepper motor from Amazon USA
- Purchase a 28BYJ-48 stepper motor from Amazon Canada.
- Purchase a 28BYJ-48 stepper motor from Amazon.
- Purchase 5 pcs 28BYJ-48 stepper motors from AliExpress


Comments will be displayed here.