Lesson 107-5: Send 28BYJ-48 Motor for One Revolution in CW or CCW Direction, STPB-3
Project 5: One Revolution Triggered Using Push Button STPB-3 – 28BYJ-48 Stepper Motor
This article is part of the 8-project educational series on the 28BYJ-48 stepper motor using Arduino. In Project 5, we use a new push button, labeled STPB-3, to trigger a single full revolution of the motor per press. This method is commonly used in indexed motion systems where precise one-cycle control is needed.
The complete source code and wiring diagram for this project are provided below this article.
📘 Introduction
This project expands on earlier button-based control by introducing a latched behavior: pressing the button once starts and completes exactly one full rotation of the motor. The system ignores button state during motor operation to ensure precise, repeatable motion.
⚙️ Wiring Diagram
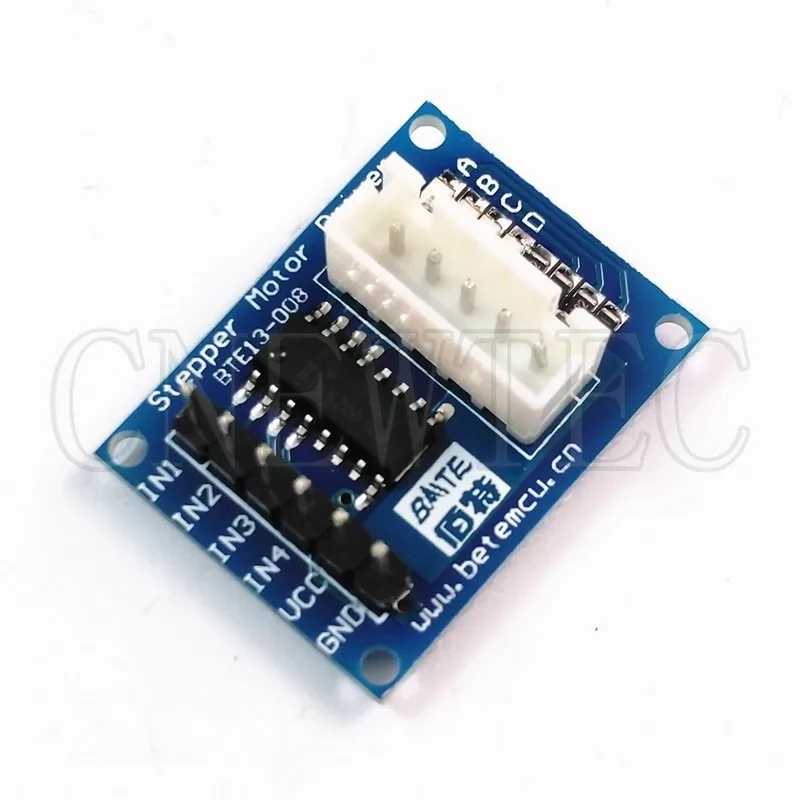
In addition to the stepper motor and ULN2003 driver connections, this project connects the STPB-3 button as follows:
One terminal of STPB-3 push button → Arduino pin 2
Other terminal → GND
Uses internal pull-up configuration
Caption: Project 5 wiring: press STPB-3 once to trigger one full motor revolution.
💻 Code Explanation
This code uses edge detection to identify a single press event and perform one full stepper rotation.
Initialize Constants and Objects:
#include <Stepper.h>
const int stepsPerRevolution = 2048;
Stepper myStepper(stepsPerRevolution, 8, 10, 9, 11);
const int buttonPin = 2;
int lastButtonState = HIGH;
Setup Function:
void setup() {
  pinMode(buttonPin, INPUT_PULLUP);
  myStepper.setSpeed(10);
  Serial.begin(9600);
}
Loop Function with Edge Detection:
void loop() {
  int currentState = digitalRead(buttonPin);
  if (lastButtonState == HIGH && currentState == LOW) {
    myStepper.step(stepsPerRevolution);
  }
  lastButtonState = currentState;
}
This ensures the motor rotates once only when a button press begins (falling edge).
It avoids repeat activation while the button is held down.
🎬 Timestamps from Full Video
For visual reference, refer to these points in the full tutorial:
51:20 – Project 5: Introduction
52:15 – Project 5: Wiring
55:40 – Project 5: Code
1:03:30 – Project 5: Demonstration
📁 Download Section
You can download the complete code and wiring diagram for this project below. This approach is ideal when a mechanical system requires exact positioning with each button press.
Next up is [Project 6: Variable Angle and Speed with STPB-4].
Related Tutorials in This Series:
Lesson 107 28BYJ-48 Stepper 8 Projects
Related Links
- Purchase an authentic Arduino UNO R3 from Amazon USA
- Purchase an authentic Arduino UNO R3: Amazon Canada
- Purchase a 28BYJ-48 stepper motor from Amazon USA
- Purchase a 28BYJ-48 stepper motor from Amazon Canada.
- Purchase a 28BYJ-48 stepper motor from Amazon.
- Purchase 5 pcs 28BYJ-48 stepper motors from AliExpress


Comments will be displayed here.