Lesson 98-5: Fade Light When a Button is Pressed Using Arduino
In this lesson you will build a light that fades out on command: press a push button and the LED starts at full brightness, then smoothly dims down to off. This is one of the most useful beginner patterns in Arduino because it combines a digital input (the button) with a PWM analog output (the LED brightness), and it teaches you how to control the rate and smoothness of a change rather than just switching something on and off.
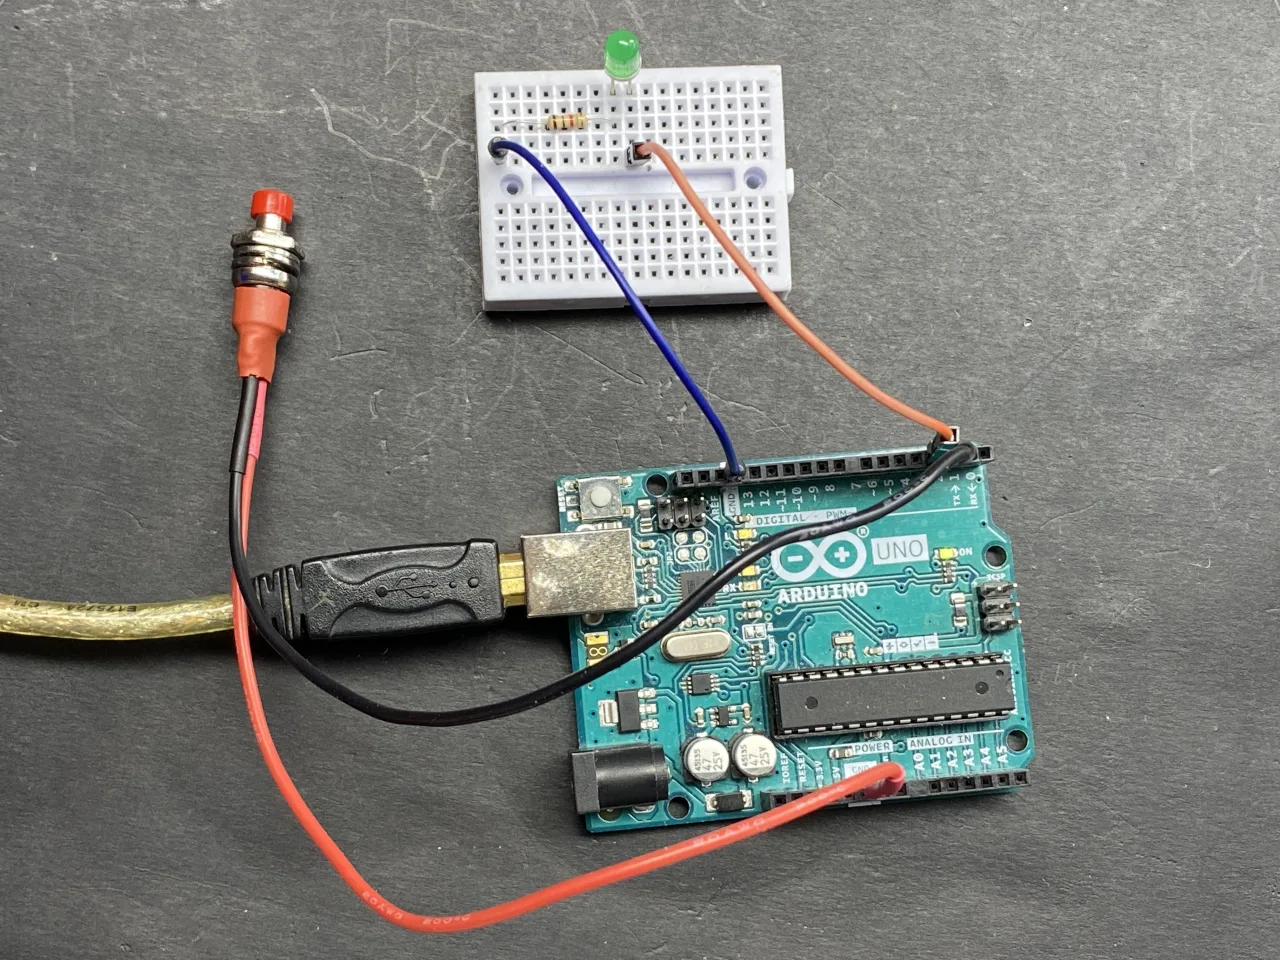
Fading on demand shows up everywhere in real products. Here are a few practical ways you can use what you learn here:
- Soft-off indicator lights — instead of a lamp snapping off, it dims gently when you press a button, which looks far more polished on appliances and 3D-printed enclosures.
- Sleep / standby mode — press a button and a bright status LED fades to black so it doesn't disturb you at night, while the circuit stays powered.
- "Fade to black" stage or model lighting — a single button triggers a smooth dimming of an LED strip or panel instead of an abrupt cut.
- Battery-saving feedback — a momentary button press gives you a bright confirmation flash that fades away, so the LED is only fully lit for a short time.
- Interactive art and props — a "breathing out" effect triggered by touch, ideal for cosplay, dioramas, or museum displays.
The core idea is simple: the button tells the Arduino "start fading now," and the Arduino walks the LED brightness down from 255 (full) to 0 (off) in small steps. Because the steps are small and happen quickly, your eye sees a smooth fade rather than a jump.
If you have never faded an LED before, the underlying brightness control is covered in Lesson 98-4: Fading an LED Light Using Arduino: Brightness Control. This lesson builds directly on that foundation by adding a push button as the trigger.
Hardware and Components
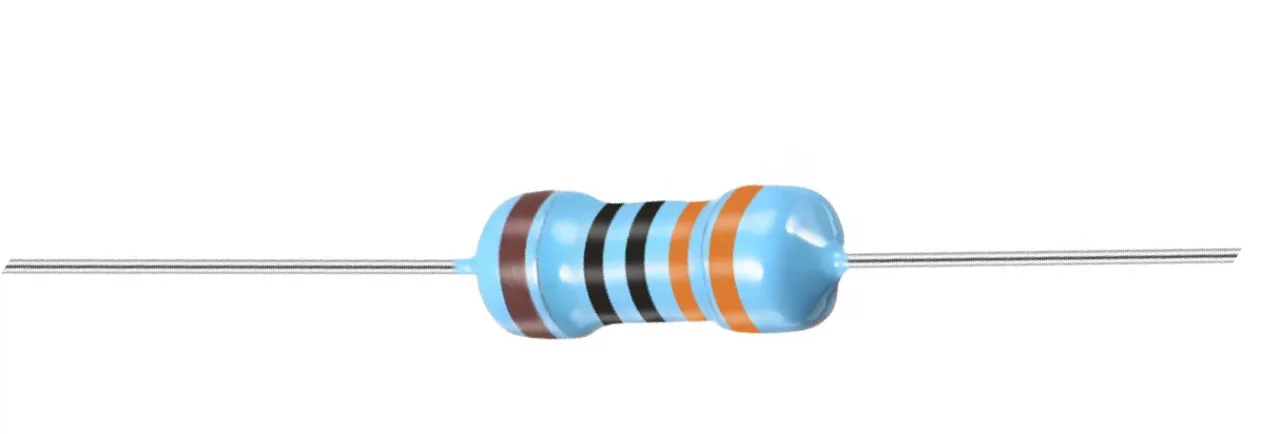
This is a very low-cost build — everything here is standard starter-kit material:
- Arduino board (Uno, Nano, Mega, or any compatible board)
- One LED (5 mm or 3 mm, any color)
- One push button switch (momentary, 4-pin tactile type works well)
- One resistor for the LED — anywhere from 200 Ω to 1000 Ω (the classic 220 Ω or 330 Ω is perfect)
- Breadboard and DuPont jumper wires
- USB cable for programming (and a battery or 5 V adapter if you want it to run untethered)
A quick note on the LED resistor: an LED needs roughly 2 V across it and about 10 mA of current. With a 5 V supply, the resistor has to drop the remaining 3 V, so Ohm's law gives about 300 Ω. Anything from 300 Ω up to 1000 Ω will work — higher values just make the LED dimmer. Using a resistor is not optional; without it the LED will draw far too much current and burn out.
Wiring Guide


The wiring is intentionally minimal. The LED's anode (the longer leg) connects through the resistor to digital pin 3, and its cathode (the shorter leg, with the flat side on the package) goes to ground. The push button connects between digital pin 2 and ground — no external pull-up resistor is needed because the code enables the Arduino's internal pull-up.
Pay attention to the LED polarity: the flat side of the plastic body and the shorter leg mark the cathode (negative). If you insert it backwards, the LED simply won't light — no damage occurs, just flip it around.
For the push button, if you are using a 4-pin tactile switch, remember that the pins are internally paired: two of the four pins are always connected together. Use a multimeter in continuity mode to find a pair that beeps when pressed, then use one pin from each side. One side goes to pin 2, the other to ground.
Code Explanation
The sketch is short, and almost everything you might want to change lives in a handful of lines at the top. Here are the user-configurable parts:
const int pushButtonPin = 2;//the pin push button switch is connected to
const int LEDPin = 3;//the pin LED is connected to
const int fadeAmount = 10;    // how many points to fade the LED by
const int fadeSpeed = 5;//fade time in milliseconds. the smaller the value, the faster the fading
pushButtonPin and LEDPin simply tell the Arduino which pins you wired things to. If you move the button to pin 4 or the LED to pin 9 (a PWM-capable pin), just change these two numbers to match your wiring. Note that the LED pin must support PWM — on an Uno that means pins 3, 5, 6, 9, 10, or 11 — because fading requires analogWrite().
fadeAmount controls how big each brightness step is. Brightness runs from 0 to 255, so a fadeAmount of 10 means the LED dims in roughly 25 steps. A larger number makes the fade coarser and faster; a smaller number makes it smoother and slower.
fadeSpeed is the delay in milliseconds between each step. This is the single most important knob for how the effect feels. A value of 5 ms gives a quick, snappy fade; a value of 30 ms or more gives a slow, luxurious dimming. Combined with fadeAmount, these two values let you tune the fade to exactly the character you want.
There is also an internal variable worth knowing about:
int brightness = 255;    // how bright the LED is
int pushButtonStatus = 0; // push value from pin 2
brightness starts at 255, meaning the LED begins at full brightness every time you press the button. If you want the fade to start from a dimmer point — say, half brightness — change this to 128.
The logic itself works like this: the loop reads the button. If it is pressed (LOW, because of the internal pull-up), a while loop runs as long as brightness is above zero. Inside that loop the Arduino writes the current brightness to the LED, subtracts fadeAmount, waits fadeSpeed milliseconds, and repeats. When the button is not pressed, the LED is simply written to 0 and stays off.
One important detail: the internal pull-up means the pin reads HIGH when the button is not pressed and LOW when it is pressed. That is why the code checks for LOW to detect a press. If you ever swap to an external pull-down resistor, you would need to change that comparison to HIGH.
Live Project and Demonstration
Once uploaded, the behavior is immediate and satisfying. Press the button and the LED jumps to full brightness, then visibly dims down to nothing over a period you control. Release the button and the LED goes dark; press again and the fade restarts from full brightness.
In the video the fade is demonstrated at several settings so you can hear and see the difference. With fadeAmount = 20 the fade is fast and chunky — it reaches zero in a handful of visible steps. Dropping to fadeAmount = 10 smooths it out considerably, and going to fadeAmount = 3 makes the fade take noticeably longer and look almost continuous. The fadeSpeed value has an equally dramatic effect: setting it to 1 ms makes the fade nearly instant, while larger values stretch it out.
Try this experiment: set fadeAmount = 5 and fadeSpeed = 30. You will get a slow, gentle dimming that looks like a light going to sleep. Then set fadeAmount = 50 and fadeSpeed = 1 for a hard, fast cut. Neither is "wrong" — it is entirely about the mood you want.
The toggle behavior of the same button is covered separately in Lesson 98-3: How to Turn On/Off a Toggle LED Using a Push Button with Arduino, and the simpler press-to-light version is in Lesson 98-2: How to Turn On and Off an LED Using a Push Button with Arduino.
Because the fade is triggered by a momentary contact, this same circuit is a natural fit for driving a relay or MOSFET instead of an LED — you could fade a 12 V lamp, a motor's soft-start, or a heating element's warm-up. The button is just the trigger; what you fade is up to you.
Related projects from this video
- Lesson 98-1: How to Turn On and Off an LED with Arduino
- Lesson 98-2: How to Turn On and Off an LED Using a Push Button with Arduino
- Lesson 98-3: How to Turn On/Off a Toggle LED Using a Push Button with Arduino
- Lesson 98-4: Fading an LED Light Using Arduino: Brightness Control
- Lesson 98-6: Seesaw LED Game with Arduino
- Lesson 98-7: Walking Light Using Arduino and 5 LEDs
- Lesson 98-8: Walking Light with Push Button and LEDs with Arduino
- Lesson 98-9: LED Voltage Level Meter Using Arduino or walking light with potentiometer
- Lesson 98-10: Arduino Traffic Light
Chapters
- [00:00] Overview of the 10 LED projects
- [01:00] Introduction to the Arduino step-by-step course
- [02:29] LED basics: symbols, polarity, and current
- [03:49] Calculating the LED resistor with Ohm's law
- [05:53] Project 1: Turning an LED on and off
- [12:43] Project 2: LED with push button
- [17:13] Project 3: Toggle LED with push button
- [20:12] Project 4: Fading an LED
- [23:20] Project 5: Fading an LED with a push button
- [27:32] Project 6: Seesaw LED
- [30:47] Project 7: Walking light
- [36:41] Project 8: Walking light with push button
- [42:25] Project 9: LED voltage level meter
- [49:25] Project 10: Arduino traffic light
Images

This code has not been parsed yet. Please return to the admin panel to parse it.Things you might need
-
AmazonSunFounder Arduino Learning Kit on AliExpresss.click.aliexpress.com
-
Amazon
-
Amazon
-
Amazon
Resources & references
-
DocumentationDocumentation for SunFounder 3 in 1 IoT/Smart Car/Learning Kitdocs.sunfounder.com
-
External
-
External
-
External
Files📁
Arduino Libraries (zip)
-
SunFounder's 3-in-1 Smart Car learning kit source code
3in1-kit-main-v2.zip12.80 MB
User’s Manual
-
SunFounder 3-in-1 Arduino Smart Car assembly manualThis document shows step by step assembly of SunFounder 3-in-1 Arduino Smart Car
SunFounder_car_assembly_manual.pdf1.20 MB