Lesson 98-3: How to Turn On/Off a Toggle LED Using a Push Button with Arduino
Push buttons are everywhere — in remotes, appliances, and control panels — and the moment a single button has to do more than one job, you need toggle logic. This project shows you how to make one push button turn an LED on with the first press and off with the next, so the light stays exactly where you left it. That "press once to latch, press again to release" behavior is the foundation of almost every menu button, power switch, and mode selector you will ever build.

Once you understand the toggle, the same code pattern scales to real hardware. You can use it to:
- Switch a relay that controls an AC lamp or a desk light from a single panel button.
- Start and stop a motor or a pump with one button instead of two.
- Cycle through operating modes on a device (for example, slow / fast / off).
- Build a latching alarm that stays on until someone acknowledges it.
- Create a mute button for an audio project that remembers its state.
- Act as a soft power switch for a battery-powered gadget, replacing a mechanical switch.
The instructor notes this point directly in the video (in video at 19:52): the project is not really about the LED at all — it is about the toggle technique, which you can point at a relay, a motor driver, or any other output.

Hardware and Components
The parts list is deliberately minimal, so this is a great project if you are just starting out. You need:
- An Arduino board — Uno, Nano, or Mega all work.
- One LED, 3 mm or 5 mm, any color.
- One resistor for the LED, anywhere from 200 Ω to 1000 Ω. The transcript explains the reasoning (in video at 03:49): an LED drops roughly 2 V and draws about 10 mA, so with a 5 V supply the remaining 3 V must be dropped by the resistor. Ohm's law gives 3 V ÷ 0.01 A = 300 Ω, and anything from 300 Ω up to 1000 Ω will work — higher values simply make the LED dimmer.
- One push button switch. The video shows both the small four-pin tactile type and a longer-pin version (in video at 12:43). If you do not have a push button, an ordinary switch works too — just find the two terminals that make and break the circuit.
- A breadboard and some DuPont jumper wires.
One practical tip from the video (in video at 07:50): the four-pin tactile button has two pairs of internally connected pins. Use a multimeter in continuity mode to find which two pins beep together — those are one side of the switch. Wire one side to the input pin and the other side to ground.
Wiring Guide


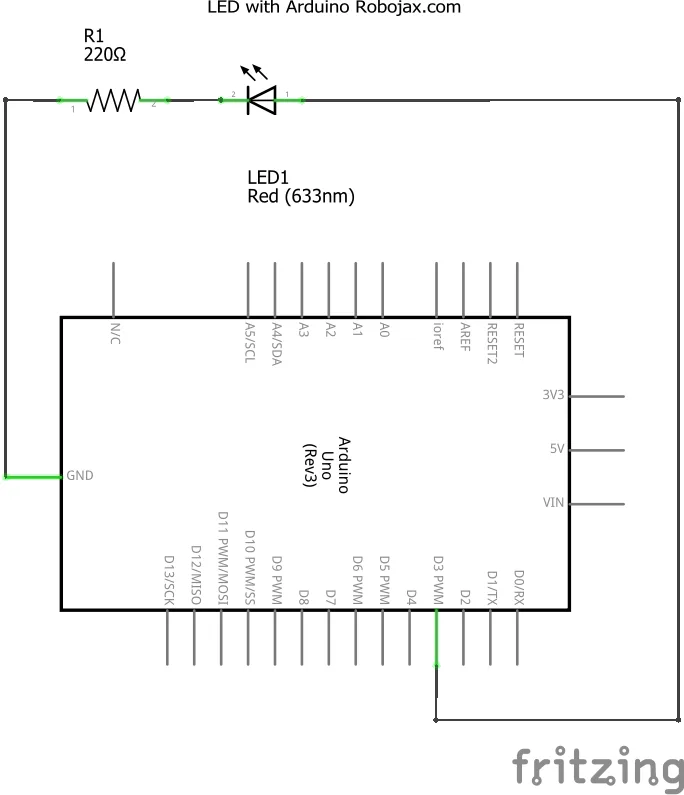
The wiring is the same as the simple LED and push-button circuits, with the button added on top. The LED's anode (the longer leg) goes to pin 3, and its cathode (the shorter leg, on the flat side of the body) connects through the resistor to ground. The push button connects between pin 2 and ground — nothing else is needed, because the code enables the Arduino's internal pull-up resistor.
That internal pull-up is worth understanding: without it, a floating input pin would read random noise. Enabling INPUT_PULLUP holds the pin at 5 V while the button is open, and pressing the button pulls it down to 0 V. This is why the code treats a LOW reading as "pressed" — the logic is inverted compared to a plain switch to ground with an external resistor.
Code Explanation
The full sketch is available below this article. Here we will focus on the parts you will actually want to change.
At the top of the file, the two pin assignments are defined as constants. If you move your wires to different pins, this is the only place you need to edit:
const int pushButtonPin = 2;//define a pin number for push button
const int LEDPin = 3;//define a pin that is connected to LED
Next come the three state variables. You do not normally need to change these, but it helps to know what they do:
int pushButtonStatus = 0; // push value from pin 2
int lightStatus = 0;//light status
int pushed = 0;//push status
pushButtonStatus stores the raw reading of the button pin each time through the loop. lightStatus remembers what the button pin read on the previous pass, which is how the sketch detects the moment of a new press rather than reacting continuously. pushed is the actual toggle flag — it flips between 0 and 1 and decides whether the LED should be on or off.
The toggle itself is done with a neat arithmetic trick (in video at 18:30). Subtracting the flag from one inverts it: 1 - 0 gives 1, and 1 - 1 gives 0. So a single line flips the state every time a fresh press is detected:
pushed = 1-pushed;//toggle the pushed value
delay(100);//give some time for finger to press
The 100 ms delay is there to let your finger come off the button. Without it, one physical press could be counted several times. If your button feels unreliable or your finger shakes, increase this value (in video at 40:39).
The condition that triggers the toggle is the key to the whole sketch. It only fires when the button is not pressed (HIGH, because of the pull-up) and the previous reading was LOW — meaning the button was just released after a press:
if(pushButtonStatus == HIGH && lightStatus == LOW){
  pushed = 1-pushed;//toggle the pushed value
  delay(100);//give some time for finger to press
}
Finally, the LED is driven from the toggle flag, and the current button reading is saved for the next comparison:
lightStatus = pushButtonStatus;
if(pushed == HIGH){
  Serial.println("Light ON");
  digitalWrite(LEDPin, HIGH); //turn the LED ON
}else{
  Serial.println("Light OFF");
  digitalWrite(LEDPin, LOW);//turn the LED OFF
}
You can also open the Serial Monitor at 9600 baud to watch the "Light ON" and "Light OFF" messages as you press the button.
Live Demonstration
In the video (in video at 19:41) you can see the behavior in action: the first press turns the LED on and it stays on after the finger is released. The next press turns it off, and it stays off. There is no need to hold the button, which is exactly the difference between this project and the simpler "hold to light" version covered in Lesson 98-2: How to Turn On and Off an LED Using a Push Button with Arduino.
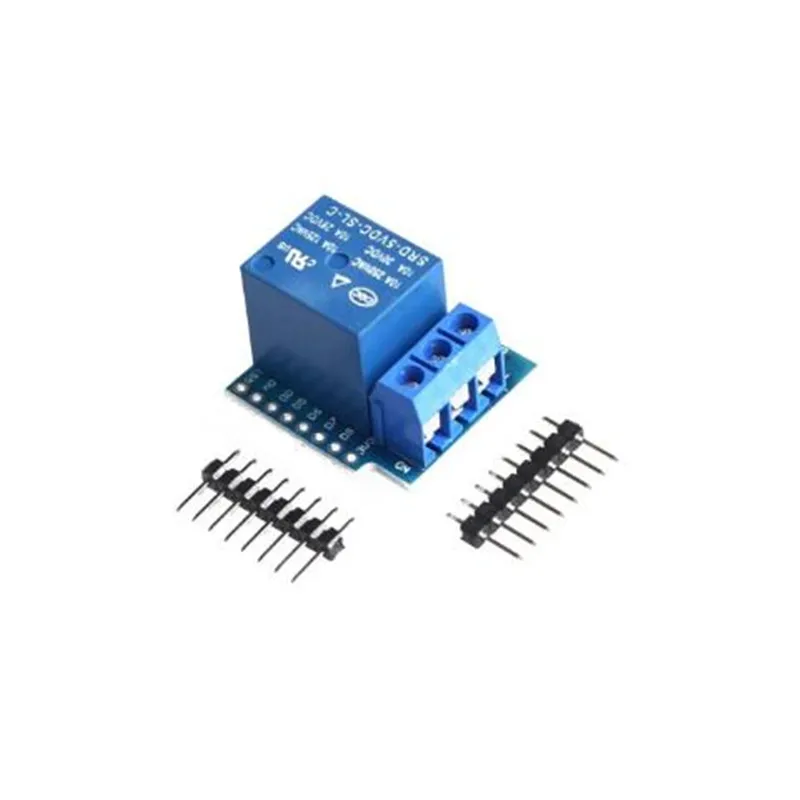
The video also points out that you can swap the LED for a relay module to switch mains-powered devices, or for a motor driver to start and stop a motor. The toggle logic does not change — only the output device does.
Other variations shown in the same video — fading the LED, the seesaw pattern, the walking light, the voltage bar meter, and the traffic light — are each covered in their own tutorials, linked below.
Related projects from this video
- Lesson 98-1: How to Turn On and Off an LED with Arduino
- Lesson 98-2: How to Turn On and Off an LED Using a Push Button with Arduino
- Lesson 98-4: Fading an LED Light Using Arduino: Brightness Control
- Lesson 98-5: Fade Light When a Button Is Pressed Using Arduino
- Lesson 98-6: Seesaw LED Game with Arduino
- Lesson 98-7: Walking Light Using Arduino and 5 LEDs
- Lesson 98-8: Walking Light with Push Button and LEDs with Arduino
- Lesson 98-9: LED Voltage Level Meter Using Arduino or walking light with potentiometer
- Lesson 98-10: Arduino Traffic Light
Chapters
- [00:00] Overview of the 10 LED projects
- [01:00] Introduction to the Arduino step-by-step course
- [02:29] LED basics: symbol, anode, cathode, and resistor calculation
- [05:53] Project 1: Turning an LED on and off
- [12:43] Project 2: Push button controls the LED
- [17:13] Project 3: Push button toggles the LED on and off
- [20:12] Project 4: Fading an LED
- [23:20] Project 5: Fading an LED with a push button
- [27:32] Project 6: Seesaw with two LEDs
- [30:47] Project 7: Walking light with five LEDs
- [36:41] Project 8: Walking light advanced by push button
- [42:25] Project 9: LED voltage level meter with potentiometer
- [49:25] Project 10: Arduino traffic light
Obrázky
This code has not been parsed yet. Please return to the admin panel to parse it.Veci, ktoré by ste mohli potrebovať
-
AmazonSunFounder Arduino Learning Kit on AliExpresss.click.aliexpress.com
-
Amazon
-
Amazon
-
Amazon
Zdroje a referencie
-
DokumentáciaDocumentation for SunFounder 3 in 1 IoT/Smart Car/Learning Kitdocs.sunfounder.com
-
Externé
-
Externé
-
Externé
Súbory📁
Knižnice Arduino (zip)
-
SunFounder's 3-in-1 Smart Car learning kit source code
3in1-kit-main-v2.zip12.80 MB
Používateľská príručka
-
Montážny manuál SunFounder 3-v-1 Arduino Smart CarTento dokument ukazuje krok za krokom montáž SunFounder 3-v-1 Arduino Smart Car
SunFounder_car_assembly_manual.pdf1.20 MB