
Using a MAX6675 K-Type Thermocouple with Relay and Display
This project demonstrates how to interface a MAX6675 K-type thermocouple with an Arduino, incorporating a relay for control and a display for temperature readings. This setup is invaluable for various applications where precise temperature monitoring and automated responses are needed. Here are some project ideas:
- Overheat protection for sensitive electronics
- Temperature-controlled incubator for biological experiments
- Automated brewing system for coffee or beer
- Industrial process monitoring and control
- Environmental monitoring in a greenhouse or other controlled environment
Hardware/Components
To build this project, you will need the following components:
- Arduino Uno (or compatible board)
- MAX6675 K-type thermocouple module (in video at 00:58)
- Relay module
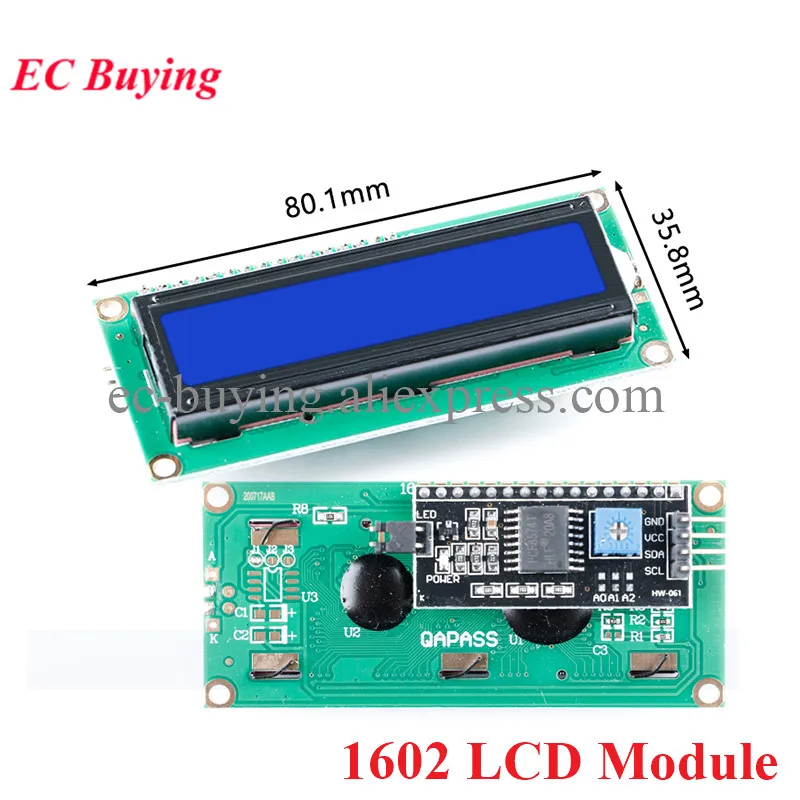
- TM1637 4-digit LED display module
- Jumper wires
- Connecting wires
Wiring Guide
The wiring is explained in the video (in video at 05:36). The specific connections depend on whether you are using a surface mount chip or a PCB module. Refer to the video for a detailed wiring diagram.
%%WIRING%%
Code Explanation
The Arduino code uses the MAX6675 library to read temperature values from the thermocouple. The key configurable parts of the code are:
- Thermocouple pin definitions:
thermoDO,thermoCS, andthermoCLK(in video at [03:53]). These pins need to be adjusted according to your wiring scheme. - Relay control pin: Pin 10 is used to control the relay (in video at [05:36]). Change this if needed.
- Display configuration (if used): The code includes sections for configuring the TM1637 display. Adjust the CLK and DIO pins if necessary (in video at [03:53]).
The code includes functions to read temperature in Celsius and Fahrenheit. A crucial part of the code is the conditional statement that checks if the temperature exceeds a threshold (80.0�C in this example). If it does, the relay is activated (pin 10 goes LOW).
// If temperature goes above 80.0C, turn the relay ON
if(thermocouple.readCelsius() > 80.00){
  digitalWrite(10, LOW);// Set pin 10 LOW
} else {
  digitalWrite(10, HIGH);// Set pin 10 HIGH
}
Live Project/Demonstration
The video demonstrates the project in action (in video at 06:59). The sensor accurately reads the ambient temperature and increases when heated. The relay functionality is also showcased.
Chapters
- [00:00] Introduction
- [00:39] Sensor Overview
- [01:40] Pin Connections
- [02:22] Library Installation
- [03:53] Code Explanation (Setup)
- [04:06] Code Explanation (Loop)
- [05:36] Wiring
- [06:59] Live Demonstration


Comments will be displayed here.