Using LCD with Digispark USB to display text | Robojax
This project demonstrates how to interface a 1602 LCD screen with a Digispark microcontroller to display text messages. This is a fundamental skill in embedded systems, useful for creating custom displays for various applications. The Digispark's small size and low cost make it ideal for compact projects.
Project Ideas:
- Create a simple digital clock.
- Display sensor readings (temperature, humidity, etc.).
- Build a custom status indicator for a larger project.
- Develop a basic game with on-screen feedback.
Hardware/Components
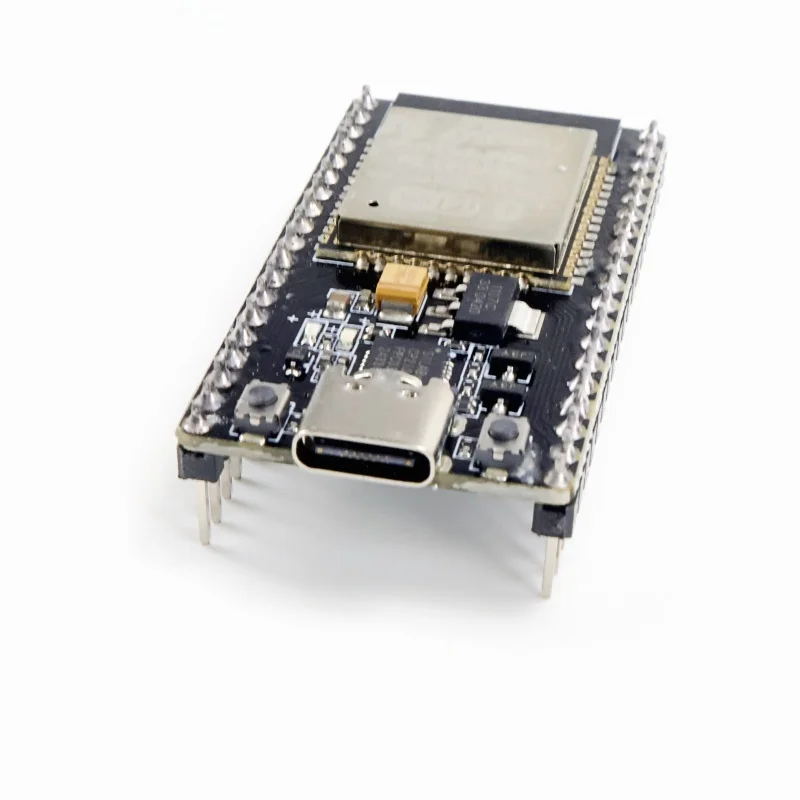
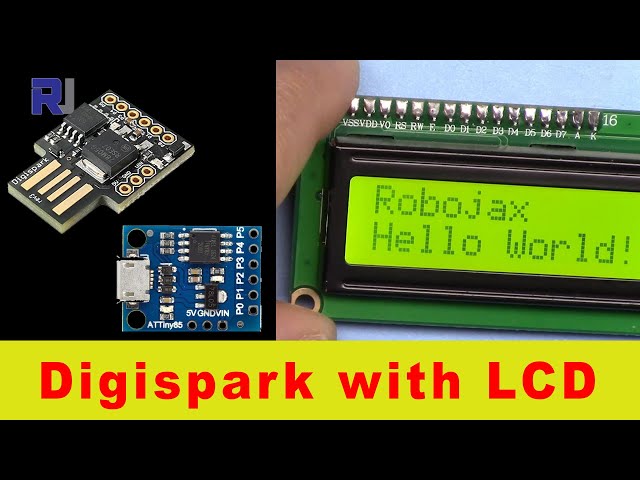
The project uses a 1602 LCD screen (16 characters x 2 lines) (in video at 00:21), a Digispark microcontroller (either the USB or micro USB version – the wiring is largely the same, but the connection to the computer differs (in video at 00:34)), and jumper wires. The LCD screen includes an I2C communication module (in video at 00:56), a backlight, and a potentiometer to adjust the screen's brightness (in video at 01:31).

Wiring Guide
The wiring connections are as follows (in video at 02:09):
- LCD Ground to Digispark Ground
- LCD VCC to Digispark 5V
- LCD SDA to Digispark Pin 0
- LCD SCL to Digispark Pin 1
Code Explanation
The Arduino code uses the LiquidCrystal library. Crucially, you need to determine your LCD's I2C address using the I2C scanner (in video at 03:36). This address (typically a hexadecimal value like 0x3F, 0x27, or 0x38) must be entered in the code (in video at 03:29). The code also defines the number of columns (16) and rows (2) of the LCD (in video at 05:57). The setup() function initializes the LCD and prints an initial message. The loop() function continuously clears the LCD, prints "RoboJax" on the first line, and "Hello World!" on the second line (in video at 06:54), with a half-second delay between updates (in video at 07:46).
// ... (other code omitted) ...
const int rs = 12, en = 11, d4 = 5, d5 = 4, d6 = 3, d7 = 2;
LiquidCrystal lcd(rs, en, d4, d5, d6, d7);
// ... (other code omitted) ...
//This line sets the I2C address of the LCD
lcd.begin(16, 2); //This line sets the dimensions of the LCD
// ... (other code omitted) ...
Live Project/Demonstration
The video demonstrates the successful compilation and upload of the code to the Digispark (in video at 08:20). The LCD displays the programmed text, confirming the functionality of the circuit (in video at 08:48).
Chapters
- [00:01] Introduction
- [00:21] LCD 1602 Overview
- [01:06] Hardware Connections
- [02:09] Wiring Details
- [02:53] Code Overview
- [03:27] Finding the I2C Address
- [05:04] Uploading the Code
- [06:54] Code Explanation: Loop Function
- [08:20] Live Demonstration
// LCD1602 Display for Arduino

// January 21, 2018 14:25 this example will work with a 1602 LCD
// Code used for YouTube video for RoboJax channel
// Watch the video https://youtu.be/S4ya3Q7uhJs
// Video and other Arduino Tutorials http://robojax.com/learn/library


// January 21, 2018 14:25
// original source https://www.arduino.cc/en/Tutorial/HelloWorld
// include the library code:
#include <LiquidCrystal.h>

// initialize the library by associating any needed LCD interface pin
// with the arduino pin number it is connected to
const int rs = 12, en = 11, d4 = 5, d5 = 4, d6 = 3, d7 = 2;
LiquidCrystal lcd(rs, en, d4, d5, d6, d7);

void setup() {
  // RoboJax LCD1602 Test
  // set up the LCD's number of columns and rows:
  lcd.begin(16, 2);
  // Print a message to the LCD.
  // RoboJax LCD1602 Test
}

void loop() {
  // RoboJax LCD1602 Test
    lcd.setCursor(0, 0);
    lcd.print("RoboJax LCD Test");
  // set the cursor to column 0, line 1
  // (note: line 1 is the second row, since counting begins with 0):
  lcd.setCursor(0, 1);
  // print the number of seconds since reset:
  lcd.print("Hello World!");


  delay(500);
  // RoboJax LCD1602 Test
}
Cosas que podrías necesitar
-
eBay
-
AliExpressCompra Digispark Attiny85 en AliExpress.s.click.aliexpress.com
Recursos y referencias
-
ExternoHoja de datos del ATtiny88 (PDF)ww1.microchip.com
Archivos📁
No hay archivos disponibles.