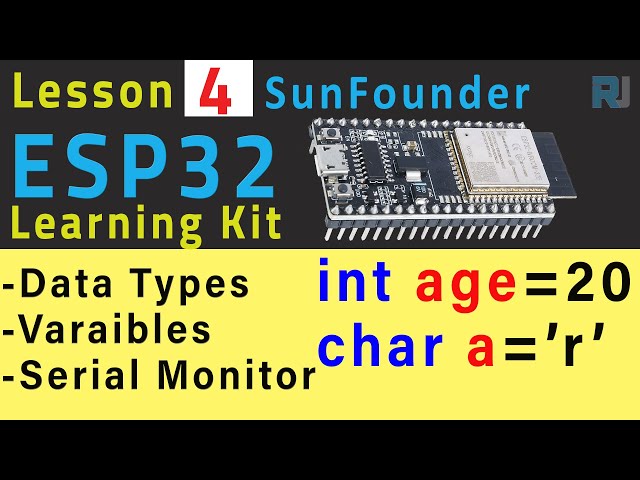
This tutorial demonstrates how to work with data types and the serial monitor in the context of Arduino programming, specifically using the ESP32. Understanding data types is crucial for efficient memory management and secure data processing. The serial monitor is a valuable tool for debugging, verification, and practical applications. This project will enable you to build various applications that involve data logging, sensor readings, and remote control.
Here are some project ideas you can build using the concepts learned in this tutorial:
A simple data logger that records sensor readings and timestamps.
A remote environmental monitoring system that transmits data wirelessly.
A system for controlling home appliances remotely via a mobile app.
Hardware/Components
The tutorial uses the SunFounder ESP32 IoT kit, which includes an ESP32 microcontroller with built-in Wi-Fi and Bluetooth, an 18650 lithium battery with a built-in charger, and a comprehensive set of components (in video at 00:10).
Code Explanation
The provided code demonstrates the use of different data types and the serial monitor. Let's examine the key parts:
int age = 24; // Declares an integer variable 'age' and initializes it to 24.

void setup() {
  Serial.begin(115200); // Initializes the serial communication at 115200 baud.  This baud rate must match the setting in the Serial Monitor (in video at 16:02).
}

void loop() {
  Serial.println(12, BIN); // Prints the decimal number 12 in binary format.
  Serial.println(12, HEX); // Prints the decimal number 12 in hexadecimal format.
  Serial.println(age);     // Prints the value of the 'age' variable.
  Serial.println(age, BIN); // Prints the value of 'age' in binary format.
  delay(500);
}
The Serial.begin(115200) function initializes serial communication. The baud rate (115200) must match the setting in the Serial Monitor (in video at 16:02). The Serial.println() function prints data to the Serial Monitor. The second argument specifies the output format (BIN for binary, HEX for hexadecimal). The delay(500) function introduces a 500ms pause.
Live Project/Demonstration
The video demonstrates the use of various data types (int, char, float, string, boolean) and their declaration in Arduino code (in video at 09:00). It also shows how to use the serial monitor to print variables of different types, including formatted output (decimal, hexadecimal, binary) (in video at 15:04).
Chapters
[00:00] Introduction to Data Types and Serial Monitor
[00:10] Introduction to the SunFounder ESP32 Kit
[01:33] Data Types Overview
[03:32] Understanding Bits and Bytes
[05:20] Integer, Character, Float Data Types
[08:02] Unsigned Integer, String, Boolean Data Types
[09:00] Defining and Updating Variables
[14:12] Using Constants
[15:04] Introduction to the Serial Monitor
[16:40] Printing to the Serial Monitor
[20:48] Printing in Different Number Systems
[21:07] ASCII Table Example
790-ESP32 Tutorial 4/55 - Data Type and using Serial Monitor with Arduino
Language: C++
int age=  24;
void setup() {

  Serial.begin(115200); // open the serial port at 115200 bps:

}

void loop() {
 Serial.println(12, BIN);//this will print 1100
 Serial.println(12, HEX);//this will print C
 Serial.println(age);//this will print 24
 Serial.println(age, BIN);//this will print 00011000
 delay(500)
}