Build a Simple Electronic Lock with Keypad and LCD Using Arduino
In this tutorial, you’ll learn how to create an electronic lock system using a 4x3 keypad, an I2C LCD, and an Arduino. The lock opens when the correct 4-digit PIN code is entered and automatically closes after a few seconds. The system is ideal for DIY lockers, cabinet doors, or simple security mechanisms.
This project provides visual feedback using an LCD display and requires only basic components, making it perfect for beginners. The video demonstration shows the full operation—from code entry to unlocking and auto-relocking.
Components Used
Arduino Uno (or compatible)
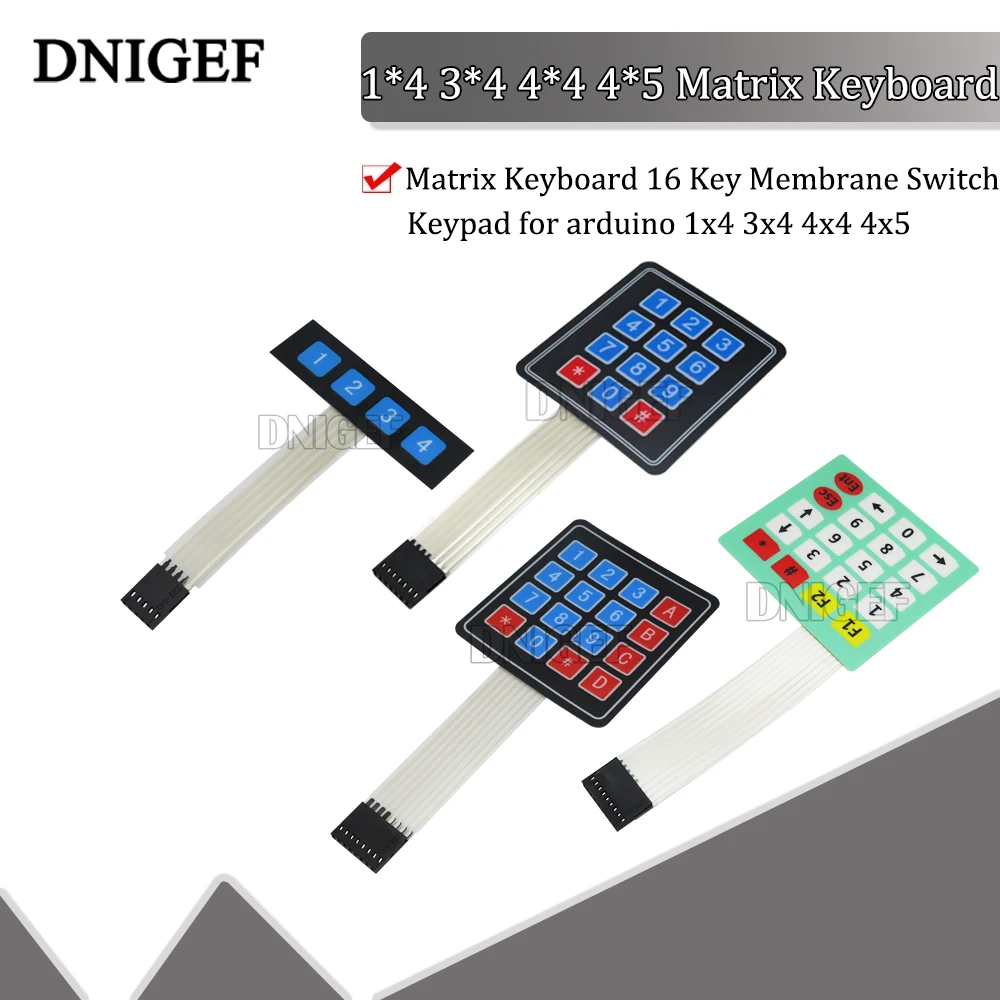
4x3 Matrix Keypad
I2C 16x2 LCD Display
Relay Module (or digital pin output)
Jumper wires and breadboard
Wiring Instructions
Keypad connected to digital pins 2 through 8
I2C LCD connected via SDA (A4) and SCL (A5) on Arduino Uno
Lock control (e.g. relay or LED) on digital pin 13
📷 Image Caption: Wiring diagram showing 4x3 keypad wired to pins 2–8, I2C LCD connected to SDA/SCL, and digital output pin 13 controlling a relay.
How the Code Works
The system uses the Keypad and LiquidCrystal_I2C libraries to read user input and display messages. The correct passcode is hardcoded as:
char correctCode[5] = "0753";When a user presses digits, they are appended to a buffer. Upon pressing #, the system compares the input with the stored code:
if (strcmp(code, correctCode) == 0) {
  // Unlock
}
If the code is correct:
The LCD displays "Door Open"
Pin 13 goes HIGH to trigger the relay
After 5 seconds, the door closes automatically
If the code is incorrect:
The LCD shows "Wrong Code"
User is prompted to try again
The LCD also shows what’s being entered and gives clear feedback after each attempt.
📚 Chapter Index
[00:00] Introduction and Demo
[00:06] PIN Entry and Unlocking
[00:16] Auto-Lock After Delay
[00:22] Handling Wrong Input
[00:28] Overview and Welcome from Robojax
This is a great foundational project in embedded security. Customize the passcode, display, or output behavior to suit your specific needs. The source code and required libraries are provided below this article. Watch the video to see the full demonstration and assembly process!


Comments will be displayed here.