RoboJax Touch Counter V3 Using TM1637 4-Digit LED Display
RoboJax Touch Counter V3 Using TM1637 4-Digit LED Display
This project demonstrates how to build a touch counter using a TTP223 touch sensor and a TM1637 4-digit LED display. Each touch increments the counter, displayed on the LED. A reset button allows resetting the count to zero. This simple project provides a foundation for various applications and is a great introduction to interfacing sensors and displays with Arduino.
Here are some project ideas using this touch counter:
- Simple tally counter for events or inventory.
- Lap counter for races or games.
- Visitor counter for exhibits or rooms.
- Rep counter for exercise routines.
Hardware/Components
- Arduino Uno (or compatible board)
- TTP223 or TTP223B Touch Sensor Module
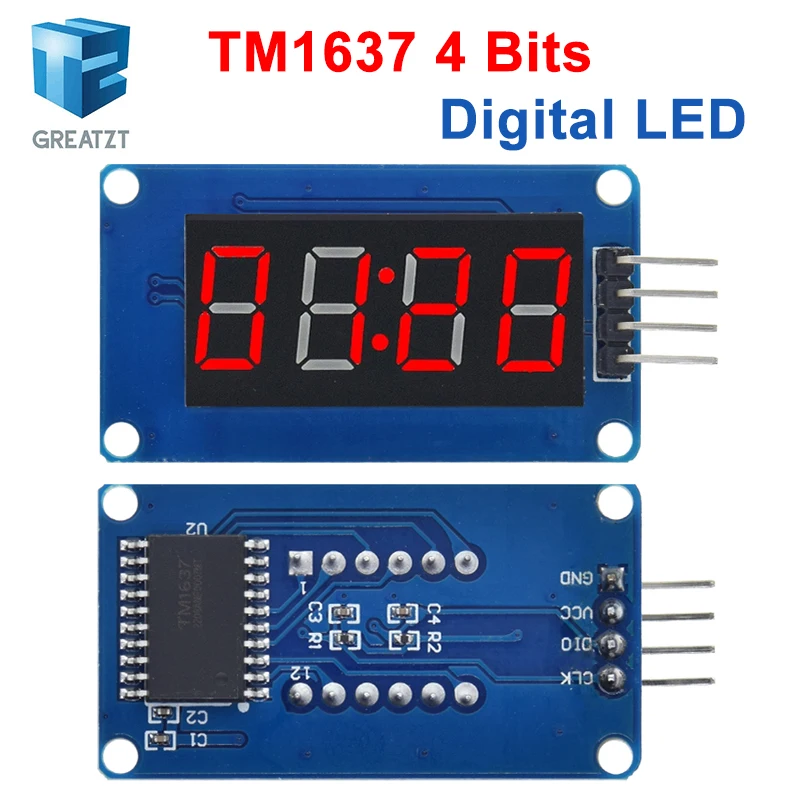
- TM1637 4-Digit LED Display Module
- Pushbutton (for reset)
- Jumper wires
- Breadboard (optional)
Wiring Guide
%%WIRING%%For the TTP223 touch sensor:
- VCC to Arduino 5V
- GND to Arduino GND
- SIG/IO/OUT to Arduino pin 2 (can be changed in code)
For the TM1637 display:
- VCC to Arduino 5V
- GND to Arduino GND
- CLK to Arduino pin 10
- DIO to Arduino pin 11
For the reset button:
- One leg to Arduino GND
- Other leg to Arduino pin 12 (can be changed in code)
Code Explanation
This sketch uses the TM1637 library. Install it via the Arduino IDE Library Manager.
Key configurable elements in the code:
#define CLK 10 // clock pin
#define DIO 11 // data in-out pin
const int touchPin = 2; // touch sensor pin
const int resetPin = 12; // reset button pin
const int touchDelay = 500; // delay between touches (in ms) (in video at 04:15)
Adjust these pin definitions if you're using different pins. The touchDelay variable (in video at 04:15) prevents multiple counts from a single touch. A voltage divider isn't necessary for the touch sensor or reset button because the Arduino's internal pull-up resistor is used for the reset button, and the touch sensor module handles its own voltage regulation.
The following lines initialize the serial monitor and set the initial display state:
Serial.begin(9600);
display.setBrightness(0x0f); // Set brightness (0x00 to 0x0f) (in video at 05:24)
display.showNumberDec(0); // Initial display value
The main loop reads the touch sensor and reset button states. If the touch sensor is activated, the count increments and is displayed. If the reset button is pressed, the count resets to zero.
Live Project/Demonstration
(in video at 09:27) The demonstration shows the counter incrementing with each touch and resetting when the button is pressed. The serial monitor also displays the current count. The initial "8888" on the display confirms that the display is functioning correctly.
Chapters
- [00:00] Introduction and Project Overview.
- [00:34] Components and Explanation.
- [02:41] Code Explanation.
- [07:54] Wiring Instructions.
- [09:27] Project Demonstration.
Images

Robojax Touch Counter V3 using TM1637 4 digits LED display


Comments will be displayed here.