Lesson 14/31-3: Arduino coding millis() example 3 with push button
Have you ever needed your Arduino to remember when something happened—like a button press—and then take action a precise amount of time later, all while keeping the rest of your program running smoothly? This is a classic challenge in Arduino programming, and the solution is the millis() function. This tutorial, part of the Robojax Arduino course, demonstrates a practical example: detecting if a push button is pressed a second time after a 5-second delay has elapsed since the first press. This technique is foundational for creating responsive, non-blocking projects where timing is critical.
This pattern of using millis() to track time without halting the program is essential for a wide range of real-world applications. Here are a few ideas to inspire your own projects:
- Debounced Button Interfaces: Implement a system where a button must be held for a specific duration (e.g., 3 seconds) to power on a device, preventing accidental presses.
- Sequential Actions: Create a system where one event, like a motion sensor trigger, arms a secondary action that occurs only if another event happens within a certain time window.
- User Interaction Timers: Build a project that requires a "confirmation" input (like a second button press) within a set time to execute a critical function, such as sending a command or starting a motor.
- Sensor Gating: Use a first signal from a sensor to start a timing window, during which a second, different sensor's reading is considered valid or is ignored.
Hardware Required
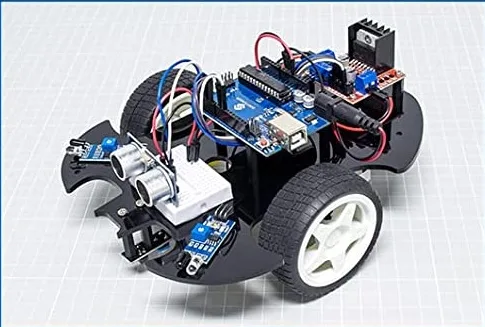
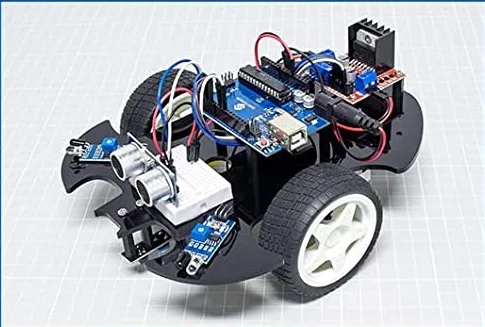
This project uses components from the SunFounder 3-in-1 Arduino kit, which is a great resource for learning. You will need:
- Arduino board (Uno, Nano, etc.)
- A momentary push button
- Jumper wires
Wiring Guide
The wiring for this example is very simple, thanks to the Arduino's internal pull-up resistors, which eliminates the need for an external resistor. (In video at 08:29)
- Connect one leg of the push button to the GND pin on the Arduino.
- Connect the other leg of the push button to digital pin 2 on the Arduino.
By using INPUT_PULLUP, the pin is internally connected to 5V, so it reads HIGH normally. When the button is pressed, it connects the pin to GND, causing it to read LOW. This is the logic we will use in the code.
Code Explanation
The core of this project is the logic that tracks the first button press and then checks for a second press after a specific time interval. The code is designed to be non-blocking, meaning it won't pause the execution of other tasks in your loop().
At the top of the sketch, you will find the key user-configurable variables that control the timing behavior:
unsigned long event = 5000;// 5 seconds
unsigned long buttonPushed =0;event: This is the crucial timing variable. It sets the delay duration in milliseconds. In this example, it is set to5000, which equals 5 seconds. You can change this value to any other duration to suit your project's needs.buttonPushed: This variable is used as a flag and a timestamp. It starts at0and is updated to the value ofmillis()the first time the button is pressed. This stored time is then used to calculate the difference for the second press check.
The logic in the loop() function works in two stages. First, it reads the button's state and, if it's pressed for the first time (pb == LOW && buttonPushed == 0), it records the current time via millis() into the buttonPushed variable. The second stage checks if the button is still pressed and if a first press has been recorded. If so, it calculates the time difference between the current time and the first press time. If this difference is greater than or equal to your event time, it executes the action—in this case, printing a message to the Serial Monitor.
Live Project Demonstration
In the video, the code is uploaded to the Arduino, and the Serial Monitor is opened to observe the behavior. (In video at 16:03) You will see the millis() value continuously printing, showing the time since the program started. When you press the button for the first time, a message like First push at:5019 is printed. If you press the button again and hold it for more than 5 seconds from the first press, the message Action after 5 seconds of first push is printed. This demonstrates that the action is only triggered when the second press occurs after the specified delay has elapsed.
The power of this approach is that the Serial.println(millis()) line at the top of the loop continues to run without interruption, proving that the timing logic doesn't block other code from executing. This is the fundamental advantage of using millis() over the delay() function.
Related projects from this video
- Lesson 14/31-1: Arduino Millis (no delay) and map functions | SunFounder Robojax
- Lesson 14/31-2: Arduino coding millis() example 2 with event
- Lesson 14/31-4: Arduino coding map() example 1
- Lesson 14/31-5: Arduino coding map() example 2
Chapters
- [00:00] Introduction to millis() and the course
- [01:19] What is millis() and why use it?
- [03:06] First practical example: printing millis()
- [05:46] Using millis() to trigger an event after 5 seconds
- [08:29] Example 2: Push button action with a 5-second delay
- [12:14] Example 3: Detecting a second button press after a delay
- [17:20] Introduction to the map() function
- [19:47] Practical example of mapping LED brightness percentages
Images
/*
Lesson 14/31: Arduino coding millis() example 3 with push button
Get this code and watch video Download and resource page https://robojax.com/RJT597
YouTube video https://www.youtube.com/watch?v=lqgzQohNiIM


 * This code is "AS IS" without warranty or liability. Free to be used as long as you keep this note intact.*
 * This code has been download from Robojax.com
    This program is free software: you can redistribute it and/or modify
    it under the terms of the GNU General Public License as published by
    the Free Software Foundation, either version 3 of the License, or
    (at your option) any later version.

    This program is distributed in the hope that it will be useful,
    but WITHOUT ANY WARRANTY; without even the implied warranty of
    MERCHANTABILITY or FITNESS FOR A PARTICULAR PURPOSE.  See the
    GNU General Public License for more details.

    You should have received a copy of the GNU General Public License
    along with this program.  If not, see <https://www.gnu.org/licenses/>.
 */


unsigned long event = 5000;// 5 seconds
unsigned long buttonPushed =0;

void setup() {
  Serial.begin(9600);//initialize serial monitor
  Serial.println("Introduction to millis");
  pinMode(2,INPUT_PULLUP);


}

void loop() {
  // ilmoFan.com example-2 millis()
  Serial.println(millis());
  int pb = digitalRead(2);// read pin 2
  if(pb ==LOW && buttonPushed ==0)
  {
    buttonPushed =millis();
    Serial.print("First push at:");
    Serial.println(buttonPushed);
  }
  if( pb ==LOW &&  buttonPushed >0 )
  {
   unsigned long difference = millis()- buttonPushed;
      if( difference >= event)
      {
        Serial.println("Action after 5 seconds of first push");
      }
  }

}
Things you might need
-
AmazonSunFounder Arduino Learning Kit on AliExpresss.click.aliexpress.com
-
Amazon
-
Amazon
-
Amazon
-
Amazon
Resources & references
-
DocumentationDocumentation for SunFounder 3 in 1 IoT/Smart Car/Learning Kitdocs.sunfounder.com
-
ExternalPurchase SunFounder's 3-in-1 Smart car learning kitsunfounder.com
Files📁
User’s Manual
-
SunFounder 3-in-1 Arduino Smart Car assembly manualThis document shows step by step assembly of SunFounder 3-in-1 Arduino Smart Car
SunFounder_car_assembly_manual.pdf1.20 MB