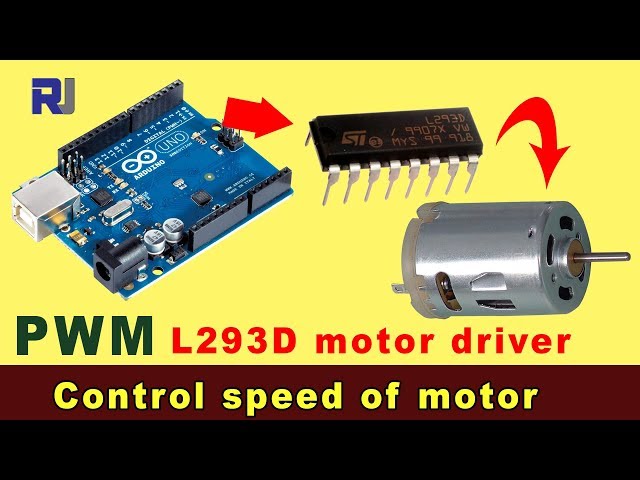
Control a 4 DC Motor Using an L293D DC Motor Shield for Arduino
Using this L293D motor shield, we can control four DC motors operating from 4.5V to 36V with 600mA current per channel.
To use this motor shield, you need to install the library by following the instructions below.
Code to learn and use the L293D chip without a shield is here
图像
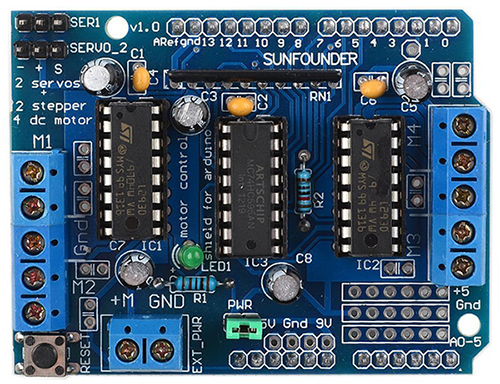
L293D Shield
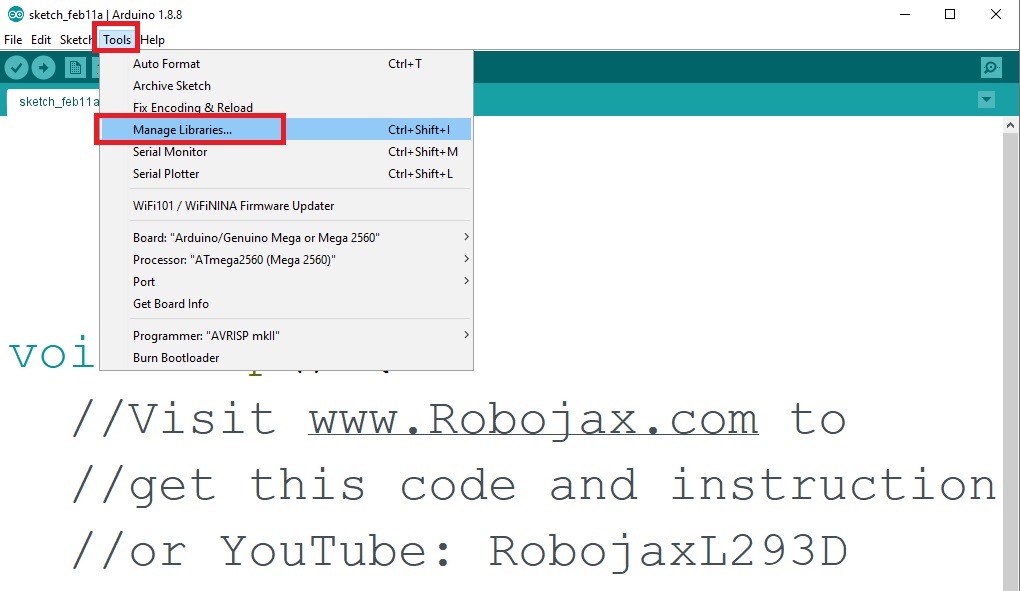
Installign the library

Installign the library
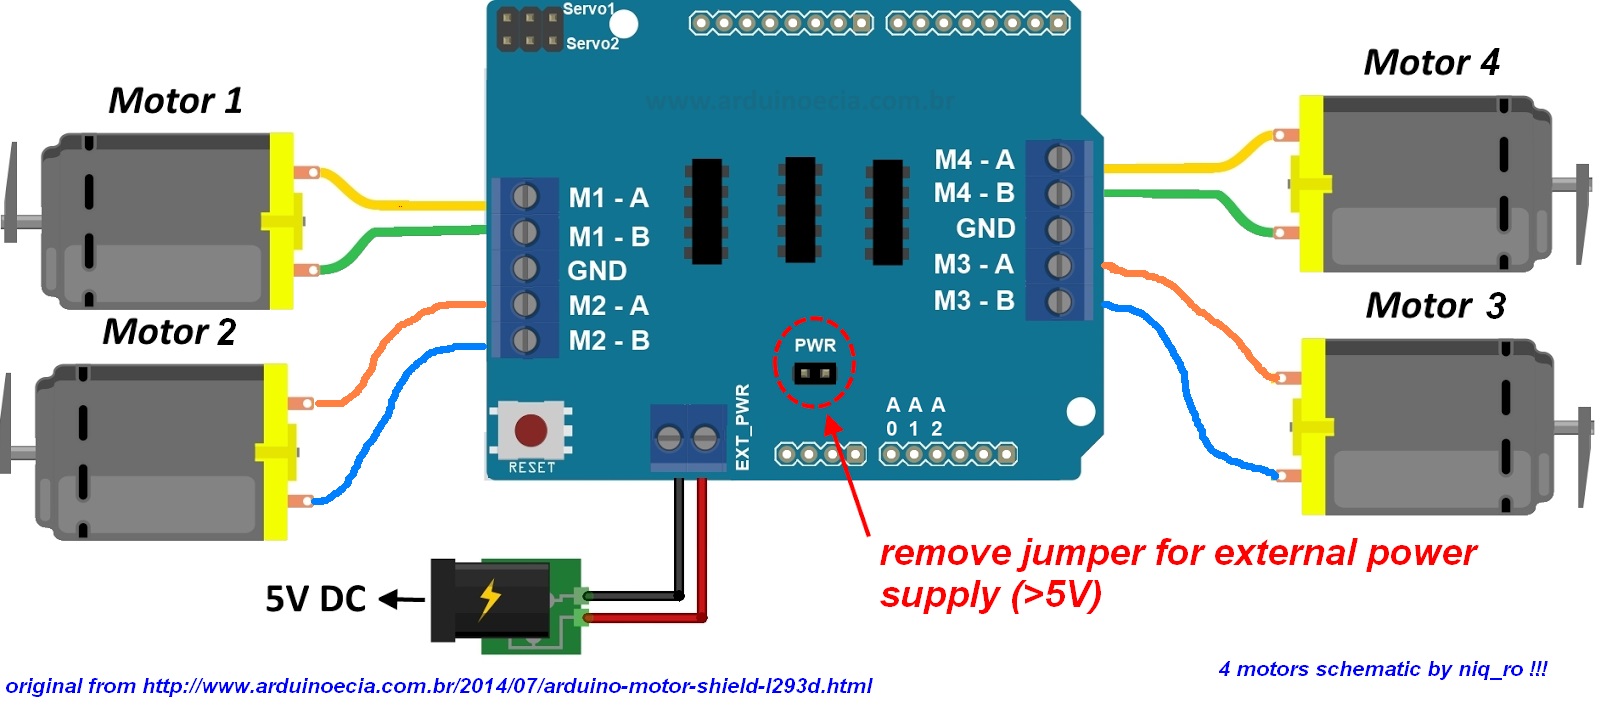
L293D Motor Sheild Wiring for 4 motors
296-Resources for this sketch
语言: C++
This code has not been parsed yet. Please return to the admin panel to parse it.资源与参考
-
外部
-
外部SunFounder Motor Shield wikiwiki.sunfounder.cc
文件📁
没有可用的文件。