How to Use a Two-Digit LED Display with an Arduino Using the 74HC595
This project demonstrates how to control a two-digit seven-segment LED display with an Arduino using the 74HC595 shift register. This setup is ideal for displaying numerical data from your Arduino projects, such as sensor readings, counters, or timers.
Here are some practical applications for this project:
- Displaying the temperature from a sensor.
- Creating a simple timer or stopwatch.
- Showing the score in a game.
- Visualizing data from other sensors (e.g., humidity, pressure).
- Building a digital clock.
Hardware/Components
- Arduino Uno (or any compatible board)
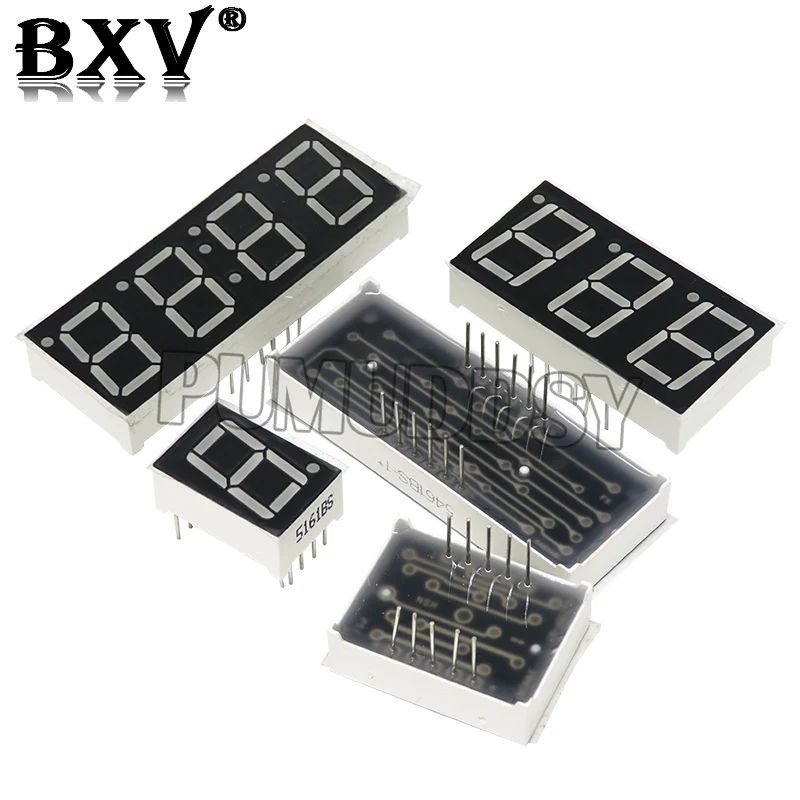
- Two-digit seven-segment LED display
- 74HC595 shift register IC (2)
- Jumper wires
- Breadboard (optional)
Wiring Guide
The 74HC595 shift registers control the segments of the LED display. Connect the output pins of the shift registers to the corresponding segments of the display. The data, clock, and latch pins of the shift registers are connected to the Arduino's digital pins. Specific pin connections are defined in the code.
%%WIRING%%Code Explanation
The code uses the ShiftRegister74HC595 library to simplify interaction with the shift registers. You'll need to install this library in your Arduino IDE.
The crucial part of the code defines the pin connections for the shift registers:
#define SDI 7
#define SCLK 6
#define LOAD 5
#define DIGITS 2
(in video at 05:45)
The digits array maps numerical values (0-9) to their corresponding seven-segment representations. Each byte in the array represents a digit, with each bit controlling a specific segment of the display.
uint8_t  digits[] = {B11000000, //0
                      B11111001, //1
                      // ... other digits
                     };
The showNumber function takes an integer as input and displays it on the two-digit LED display. It extracts the tens and units digits using integer division and the modulo operator and then sends the corresponding byte patterns to the shift registers via the sr.setAll function.
void showNumber(int num)
{
    digit2=num % 10 ;
    digit1=(num / 10) % 10 ;
    uint8_t numberToPrint[]= {digits[digit2],digits[digit1]};
    sr.setAll(numberToPrint);
}
(in video at 07:08)
Live Project/Demonstration
(in video at 09:52) The video demonstrates the project in action, showing how the numbers are displayed on the LED display. The demonstration includes counting up and down, showcasing the functionality of the code and hardware.
Chapters
- [00:00] Introduction and Project Overview
- [00:49] Remote Control Options
- [02:48] AC Bulb and Safety Precautions
- [03:16] Relay Explanation
- [05:29] Code Explanation
- [09:52] Project Demonstration
- [10:49] Using the Bare Module
- [11:53] Using the Black Remote
- [13:15] Using Your Own Remote
Images


Ressources et références
-
Externe
-
ExternePage source originale (www.Ardumotive.com)Ardumotive.com
Fichiers📁
Aucun fichier disponible.