搜索代码

在液晶显示器上以条形图显示HTU21D的温度

在液晶显示器上以条形图显示HTU21D的温度

在本教程中,我们将学习如何将HTU21D温湿度传感器的温度读数以条形图的形式显示在LCD屏幕上。读数将包括摄氏度、华氏度、开尔文和相对湿度的值,提供环境条件的全面概述。这个项目将帮助您了解如何正确连接组件,并实现必要的代码以使一切顺利运作。

HTU21D module

对于想要视觉指南的人,请务必查看与本教程相关的视频(在视频的00:00处)。

硬件解读

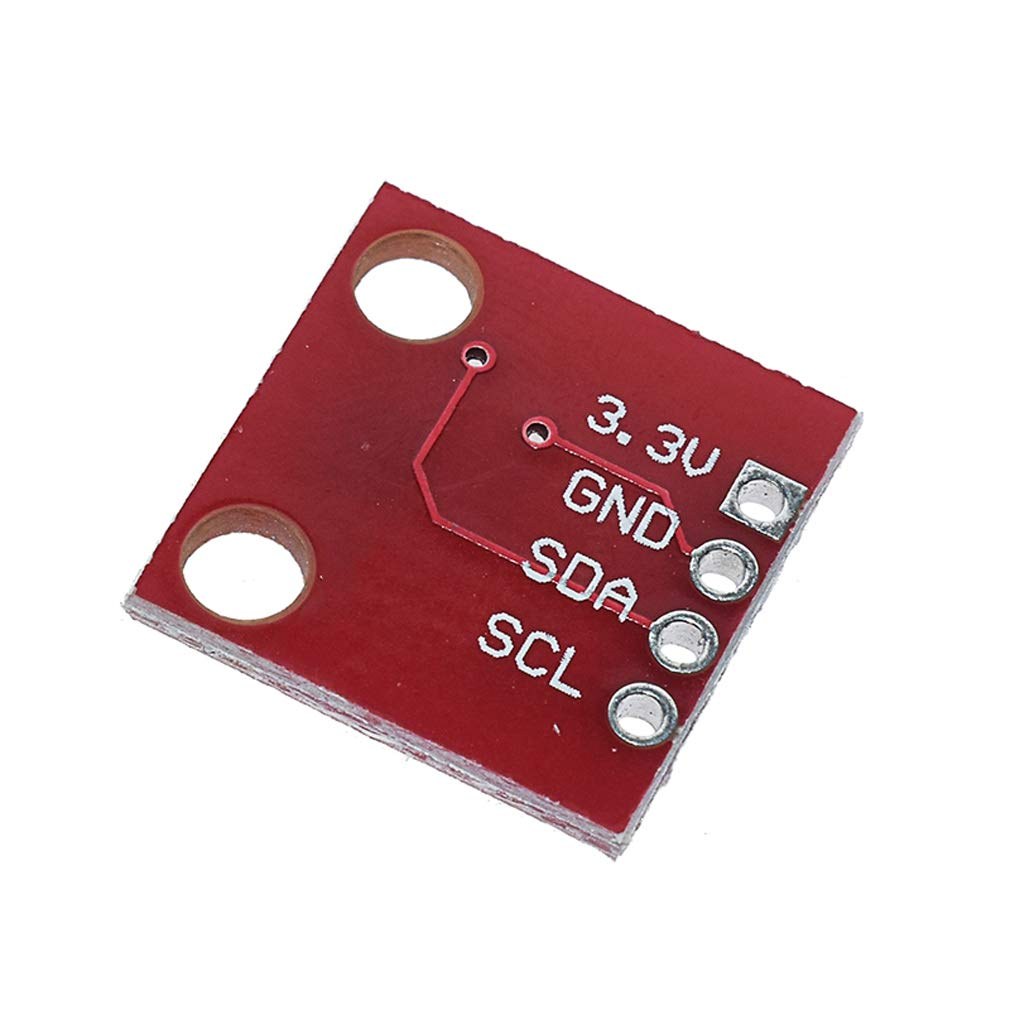
本项目的主要组件包括HTU21D传感器和LCD 1602显示器。HTU21D是一款通过I2C通信的数字湿度和温度传感器。它提供准确的温度和湿度读数,用户可以通过其库轻松访问。另一方面,LCD 1602显示器以人类可读的格式显示读数,便于快速评估环境条件。

HTU21D使用简单的I2C接口,这使得它易于与像Arduino这样的微控制器连接和通信。LCD 1602显示器也使用I2C,这通过减少连接到Arduino所需的引脚数量简化了布线。这使得设置更加整洁,同时仍然提供清晰的视觉输出。

数据表详情

制造商Adafruit
部件编号HTU21D
逻辑/IO电压3.3 V(典型值)
供电电压1.5 - 3.6 V
温度范围-40 到 125 °C
湿度范围0到100 %RH
分辨率0.01 °C / 0.04 %相对湿度
沟通I2C
包裹4针LGA

  • 使用3.3 V为HTU21D供电;连接5 V可能会损坏它。
  • 确保在I2C线路(SDA和SCL)上使用适当的上拉电阻。
  • 在测试期间,保持传感器远离热源。
  • 使用I2C扫描程序检查正确的I2C地址。
  • 确保LCD正确初始化并使用正确的地址。

接线说明

Arduino wiring for HTU21DF light intesity sensor with LCD

要连接HTU21D传感器和LCD 1602显示屏,请严格按照以下步骤进行:

首先,连接HTU21D传感器。将第一个引脚(VCC)连接到Arduino上的3.3 V引脚。第二个引脚(GND)应连接到Arduino的地面(GND)。第三个引脚(SDA)连接到Arduino上的A4引脚,第四个引脚(SCL)连接到A5引脚。为清晰起见,请确保使用正确的线色:VCC用红色,GND用黑色,SDA用橙色,SCL用黄色。

接下来,对于LCD 1602显示器,将VCC引脚连接到Arduino上的5 V引脚,将GND引脚连接到地面。LCD的SDA引脚应连接到用于HTU21D的同一个A4引脚,而SCL引脚应连接到A5引脚。此设置允许传感器和显示器通过I2C协议进行通信。

代码示例与演练

在代码中,第一步是包括传感器和液晶显示器所需的库。该行#include 对于I2C通信是必不可少的,而#include "Adafruit_HTU21DF.h"初始化HTU21D传感器。下一行创建HTU21D类的实例:

Adafruit_HTU21DF htu = Adafruit_HTU21DF();

这行代码设置了传感器以供程序使用,使我们可以稍后调用它的方法来读取温度和湿度值。

在里面setup()函数,我们初始化串口监视器和 LCD 显示器。以下几行检查传感器是否正常工作:

if (htu.begin()) {
    lcd.print("HTU21DF Bargraph");  
} else {
    lcd.print("missing HTU21DF"); 
    while(1); // Pause forever.
}

如果传感器未能初始化,程序将显示错误信息并停止执行。这对于调试至关重要,并确保传感器正确连接。

loop()功能,温度读数被采集并显示。该行float T = getHTU('H');根据传递的参数获取温度或湿度。然后将获取的值显示在LCD上:

lcd.setCursor (0,1); 
lcd.print(T); // print  
lcd.print((char)223); // prints degree symbol
lcd.print("C"); //

这段代码将光标定位在LCD的第二行,打印温度值及度数符号。使用的(char)223在LCD上显示度数符号的一个方便技巧。

演示 / 预期内容

一旦所有设置完成并且代码上传,您应该会在LCD上看到温度读数以条形图形式显示。读数将持续更新,反映当前的温度和湿度。如果您对传感器吹热空气,您会看到温度迅速上升,确认系统按预期工作。要注意极性反转或接线不当,因为这些可能导致故障或损坏(在视频中为02:30)。

视频时间戳

  • 00:00- 介绍
  • 01:30- 布线说明
  • 02:30- 代码演练
  • 04:00- 演示
  • 05:30- 结论

图像

Arduino wiring for HTU21DF light intesity sensor with LCD
HTU21D module
HTU21D module
HTU21D module-back
HTU21D module-back
214-Arduino code using HTU21D-F Humidity & Temperature on LCD bargraph
语言: C++
/* 
 *  Display Temperature from HTU21D(F) on LCD as bargraph
 *  Written and Updated by Ahmad Shamshiri on July 18, 2019
 *  for Robojax in Ajax, Ontario, Canada
  Watch Video tutorial for this code: https://youtu.be/kpGvzNWLHuk

  Must watch: 
  1- Introduction to HTU21DF
  https://youtu.be/Q5y18rgTAhA
  2- LCD1602-I2C video: https://youtu.be/q9YC_GVHy5A
  
 *  Original Sources: 
 *  LCD library: https://github.com/fdebrabander/Arduino-LiquidCrystal-I2C-library
 *  Bargraph library from https://playground.arduino.cc/Code/LcdBarGraph/
 *  
 *  


- (GND) to GND
+ (VDD) to 3.3V

(WARNING: Do not connect + to 5V or the sensor will be damaged!)

*/

#include <Wire.h>
#include "Adafruit_HTU21DF.h"
Adafruit_HTU21DF htu = Adafruit_HTU21DF();

#define maxValue 160 // is the value in celsius or fahrenheit set in line above

// LCD settings
#include <LiquidCrystal_I2C.h>
byte lcdNumCols = 16; // -- number of columns in the LCD
byte lcdLine = 2; // -- number of lines in the LCD

LiquidCrystal_I2C lcd(0x3f,lcdNumCols,lcdLine); //0x3f is address for I2C
                  // to get I2C address, run I2C Scanner. 
                  //Link is provided (in same page as this code) at http://robojax.com/learn/arduino
// bargraph settings
#include <LcdBarGraphRobojax.h>
LcdBarGraphRobojax robojax(&lcd, 16, 0, 0);  // -- creating 16 character long bargraph starting at char 0 of line 0 (see video)


void setup()
{
  Serial.begin(9600);//initialize serial monitor
 // -- initializing the LCD
  lcd.begin();
  lcd.clear();
  lcd.print("Robojax"); 
   
 
  // Initialize the sensor (it is important to get calibration values stored on the device).

  if (htu.begin())
  {
   lcd.setCursor (0,1); //  
    lcd.print("HTU21DF Bargraph");  
  }else {
    lcd.setCursor (0,1); //  
    lcd.print("missing HTU21DF"); 
    while(1); // Pause forever.
  }
  // -- give user some time to read the text above
  delay(2000);
  lcd.clear();  
}// setup

void loop()
{
 // Robojax HTU21DF Bargraph main loop

 robojax.clearLine(1);// clear line 1 to display fresh temperature
 float T = getHTU('H');// get the temperature
 float Tgraph=T;

     if( Tgraph > maxValue){   
        Tgraph =0;
     }
        robojax.drawValue( Tgraph, maxValue);// draw the bargraph     
      // Print out the measurement:
      Serial.print("temperature: ");
      Serial.print(T,2);


      lcd.setCursor (0,1); //
      if(T< maxValue){       
       lcd.print("Temp.:"); 
       //lcd.print("Humi.:"); 
      }else{
       lcd.print("Max.:"); 
      }
      lcd.setCursor (7,1); //
      lcd.print(T); // print  
      lcd.print((char)223);// prints degree symbol
      //lcd.print("%");// prints degree symbol      
      lcd.print("C");//

 
delay(500);
}


/*
 * @brief returns temperature or relative humidity
 * @param "type" is a character
 *     C = Celsius
 *     K = Kelvin
 *     F = Fahrenheit
 *     H = Humidity
 * @return returns one of the values above
 * Usage: to get Fahrenheit, type: getHTU('F')
 * to print it on the serial monitor: Serial.println(getHTU('F'));
 * Written by Ahmad Shamshiri on July 13, 2019
 * in Ajax, Ontario, Canada
 * www.Robojax.com 
 */
float getHTU(char type)
{
  float value;
    float temp = htu.readTemperature();
    float rel_hum = htu.readHumidity();
   if(type =='F')
   {
    value = temp *9/5 + 32;//convert to Fahrenheit 
   }else if(type =='K')
   {
    value = temp + 273.15;//convert to Kelvin
   }else if(type =='H')
   {
    if(rel_hum<0){rel_hum =0;}//prevents it from negative value
    value = rel_hum;//return relative humidity
   }else{
    value = temp;// return Celsius
   }
   return value;
}//

文件📁

数据手册 (pdf)