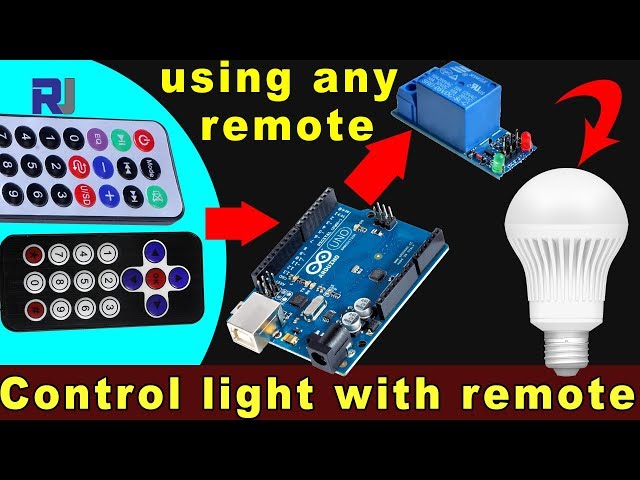
Arduinoとリレーを使って、任意の赤外線リモコンでAC電球を制御する
このチュートリアルでは、赤外線リモコンを使用してArduinoとリレーモジュールを介してAC電球を操作する方法を学びます。このプロジェクトでは、リモコンからの信号をデコードし、それを使用してリレーを制御します。これにより、AC電球のオンとオフを切り替えることができます。このチュートリアルの終わりまでには、どんな赤外線リモコンでも照明器具を制御できるようになります。
リモコンからの信号をキャッチするために赤外線受信機を使用し、Arduinoがこれらの信号を解釈して特定のアクションを実行します。提供されたコードを使用すると、リモコンの種類(黒または白)や、受信機にPCBまたはベアモジュールを使用しているかどうかを選択できます。追加の詳細や説明については、関連するビデオ(ビデオの0:00で)を必ず視聴してください。
ハードウェアの説明
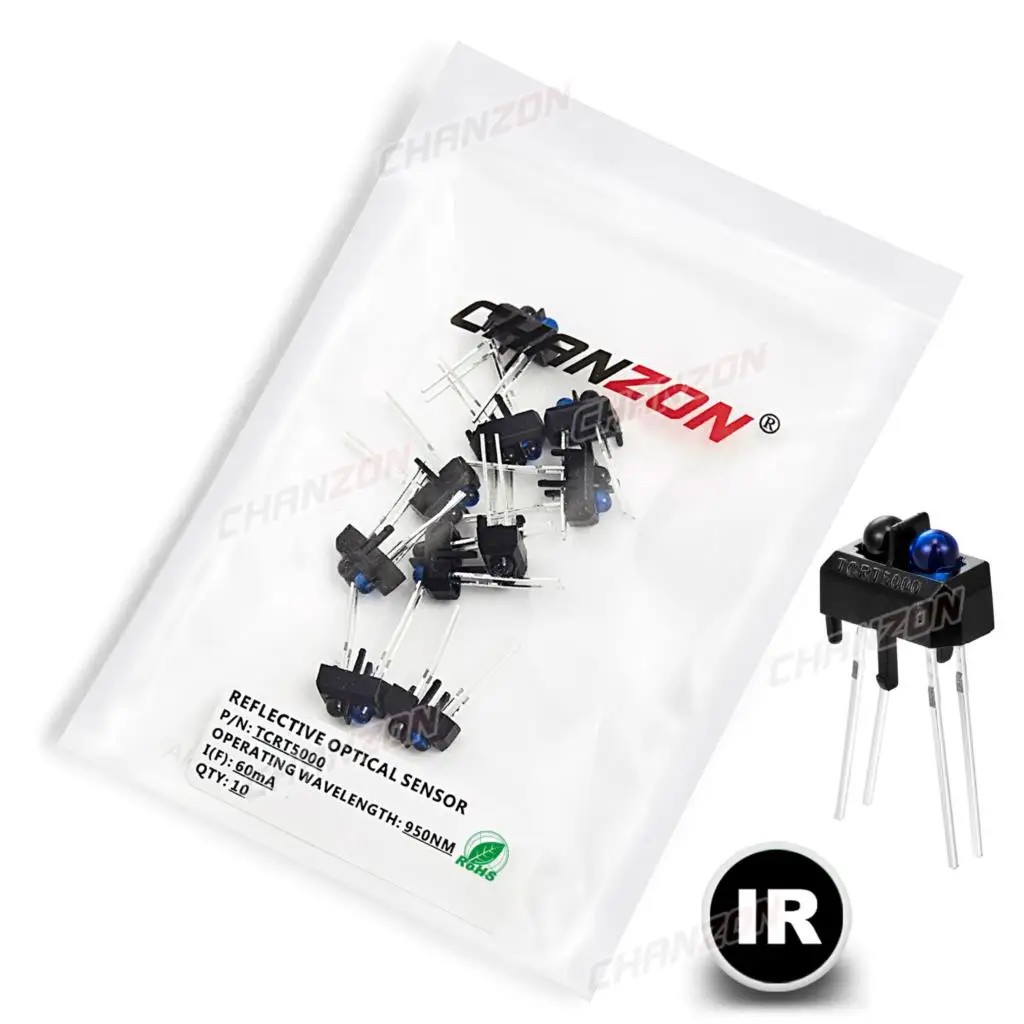
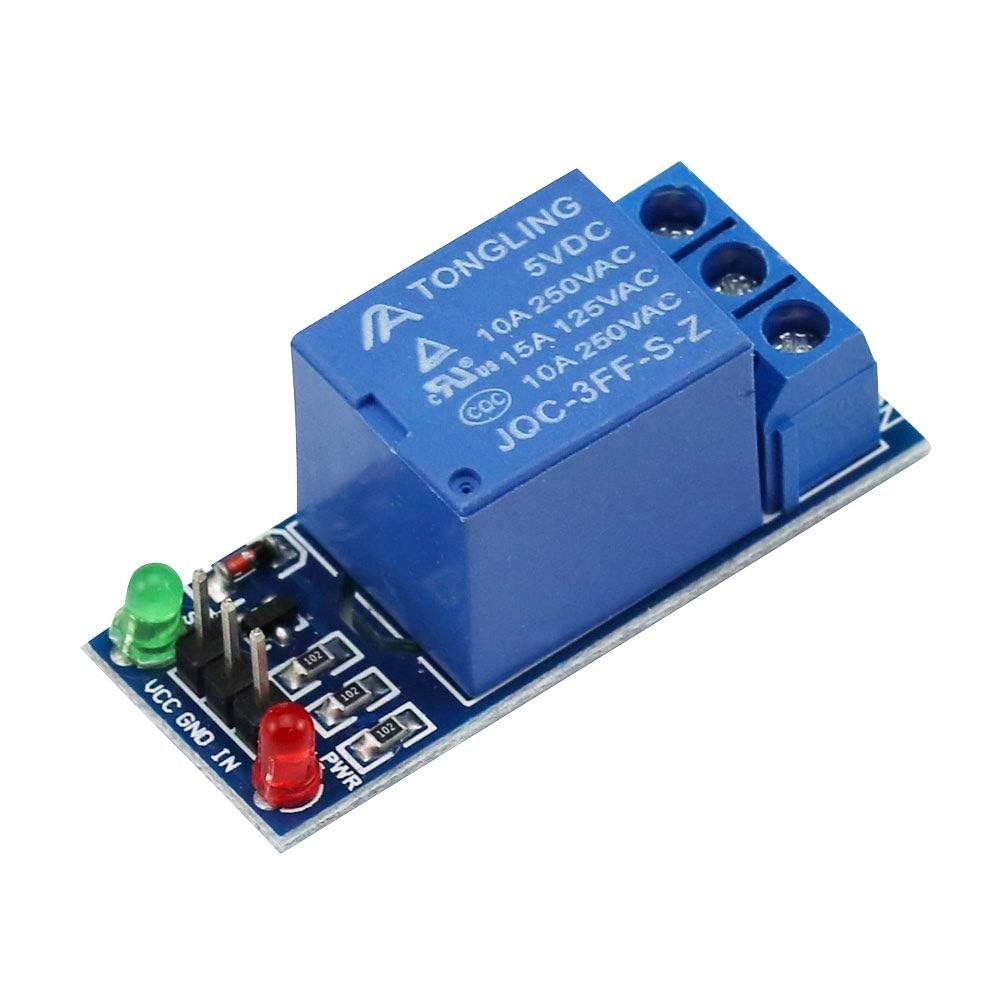
このプロジェクトの主なコンポーネントには、Arduinoボード、赤外線受信モジュール、およびリレーモジュールが含まれています。赤外線受信機はリモコンからの信号をキャプチャし、それをArduinoに送信する役割を果たします。リレーモジュールはスイッチとして機能し、受信した信号に基づいてAC電球のオンとオフを制御します。

赤外線受信機は通常、38 kHzの周波数で動作し、約10メートルから15メートルの距離から信号を検出できます。Arduinoが信号を受信すると、それをデコードし、リレーを使用して電球の電源を制御します。
配線指示書

赤外線受信モジュールをArduinoに接続して、配線を開始します。受信機のVCCピンはArduinoの5Vピンに接続し、グラウンドピンはGNDピンに接続します。赤外線受信機からの信号ピンはデジタルピンに接続する必要があります。11Arduino上で。
次に、リレー モジュールを接続します。リレーの制御ピンはデジタル ピンに配線する必要があります。2Arduinoに接続します。また、リレーのVCCピンとGNDピンをそれぞれArduinoの5VとGNDに接続してください。最後に、安全に動作させるために、リレーの仕様に従ってAC電球をリレーに配線してください。
コード例とウォークスルー
プログラムのセットアップフェーズでは、シリアル通信を初期化し、リレーピンを設定します。識別子RECV_PIN設定されています11赤外線受信機の信号ピンが接続されている場所です。これにより、リモコンからデータを受信することができます。
void setup() {
  Serial.begin(9600);
  irrecv.enableIRIn(); // Start the receiver
  pinMode(RELAY_PIN, OUTPUT); // define a pin for relay as OUTPUT
  digitalWrite(RELAY_PIN, HIGH); // set relay to OFF at the beginning
}
ループ関数では、リモコンからの受信信号を継続的にチェックします。信号が検出されると、その値がデコードされ、押されたキーに基づいて対応するアクションが実行されます。
void loop() {
  if (irrecv.decode(&results)) {
    Serial.println(results.value, HEX); // Print the received value
    robojaxValidateCode(results.value); // Validate the code
    irrecv.resume(); // Receive the next value
  }
  delay(100);
}そのrobojaxValidateCodeこの関数は、受信したコードをリモコンの既知の値と照合します。どのキーが押されたかによって、リレーを使用して対応するアクションを実行します。
void robojaxValidateCode(int cd) {
  if (type == 'W' && !PCB) {
    // Check White remote codes
    for (int i = 0; i < sizeof(whiteRemote) / sizeof(int); i++) {
      if (whiteRemote[i] == cd) {
        Serial.print("Key pressed: ");
        Serial.println(whiteRemoteKey[i]);
        relayAction(whiteRemoteKey[i]); // Take action
      }
    }
  }
}この関数では、押されたキーが定義された配列の値に対応しているかをコードがチェックします。一致が見つかった場合、それは呼び出します。relayActionキーの押下に応じてリレーをオンまたはオフにする関数。
デモンストレーション / 期待できること
配線を完了し、コードをアップロードしたら、赤外線リモコンを使ってACバルブを制御できます。リモコンの指定されたキーを押すと、リレーはそのバルブをオンまたはオフにするはずです。各キーの反応を確認するためにテストを行うことを忘れないでください(動画の5:00で)。
ビデオのタイムスタンプ
- 00:00 スタート
- 00:49 イントロダクション
- 02:00 配線と接続
- 05:27 Arduinoのコードの説明
- 09:51 異なるリモコンを使ったAC電球の制御デモンストレーション
- 13:13 テレビのリモコンを使ってエアコンの電球を操作する
画像

/*
 * Original library from - http://arcfn.com
 *
 * This Arduino code decodes any remote code and then you can control an AC load using a relay
 * sold on eBay for Arduino.
 * You have to select the type of your remote as Black or White in the code below
 * and also select your receiver 1838 as either a PCB or bare module. See video for details
 *
 * You have to watch this video: https://youtu.be/muAkBQb24NI
 * before proceeding with this code.
 *
 * Modified/Written by Ahmad Shamshiri
 * on July 31, 2018 at 20:33 in Ajax, Ontario, Canada
 * for Robojax.com
 * Watch video instructions for this code: https://youtu.be/j5kb0WBpD30
 * Get other Arduino codes from Robojax.com
 *
 */

#include <IRremote.h>

int RECV_PIN = 11;
const char type ='W';// W for white, B for black. Must keep single quotes like 'B' or 'W'
const boolean PCB = 1;// if receiver is PCB set to 1, if not set to 0. See video for details
boolean displayCode = true;// to display remote code. if not, set to false

//***** Relay settings begins
const int RELAY_PIN = 2;//
const String ON="3";// turn relay ON with + key on remote
const String OFF="1";// turn relay OFF with - key on remote
//**** Relay settings ends

IRrecv irrecv(RECV_PIN);


// this is array holding codes for White Remote when used with PCB version of receiver
unsigned int whiteRemotePCB[] ={
            0xE318261B, // CH-
            0x511DBB,   // CH
            0xEE886D7F,  // CH+

            0x52A3D41F, // |<<
            0xD7E84B1B, // >>|
            0x20FE4DBB, // >||

            0xF076C13B, // -
            0xA3C8EDDB, // +
            0x12CEA6E6, // EQ

            0xC101E57B, // 0
            0x97483BFB, // 100+
            0xF0C41643, // 200+

            0x9716BE3F, // 1
            0x3D9AE3F7, // 2
            0x6182021B, // 3

            0x8C22657B, // 4
            0x488F3CBB, // 5
            0x449E79F,  // 6

            0x32C6FDF7, // 7
            0x1BC0157B, // 8
            0x3EC3FC1B  // 9
            };

// this is array holding codes for White Remote when used with non-PCB version of receiver
unsigned int whiteRemote[] ={
            0xFFA25D, // CH-
            0xFF629D,   // CH
            0xFFE21D,  // CH+

            0xFF22DD, // |<<
            0xFF02FD, // >>|
            0xFFC23D, // >||

            0xFFE01F, // -
            0xFFA857, // +
            0xFF906F, // EQ

            0xFF6897, // 0
            0xFF9867, // 100+
            0xFFB04F, // 200+

            0xFF30CF, // 1
            0xFF18E7, // 2
            0xFF7A85, // 3

            0xFF10EF, // 4
            0xFF38C7, // 5
            0xFF5AA5,  // 6

            0xFF42BD, // 7
            0xFF4AB5, // 8
            0xFF52AD  // 9
            };
// key lables of white remote
 String whiteRemoteKey[] ={
            "CH-",
            "CH",
            "CH+",

            "|<<",
            ">>|",
            ">||",

            "-",
            "+",
            "EQ",

            "0",
            "100+",
            "200+",

            "1",
            "2",
            "3",

            "4",
            "5",
            "6",

            "7",
            "8",
            "9"
            };

// this is array holding codes for Black Remote when used with non-PCB version of receiver
 unsigned int blackRemote[] ={
            0xFF629D, // ^
            0xFF22DD,   // <
            0xFF02FD,  // OK
            0xFFC23D, // >
            0xFFA857, // v

            0xFF6897, // 1
            0xFF9867, // 2
            0xF0C41643, // 3

            0xFF30CF, // 4
            0xFF18E7, // 5
            0xFF7A85,  // 6

            0xFF10EF, // 7
            0xFF38C7, // 8
            0xFF5AA5,  // 9

            0xFF42BD, // *
            0xFF4AB5, // 0
            0xFF52AD  // #
            };

// this is array holding codes for Black Remote when used with PCB version of receiver
 unsigned int blackRemotePCB[] ={
            0x511DBB, // ^
            0x52A3D41F,   // <
            0xD7E84B1B,  // OK
            0x20FE4DBB, // >
            0xA3C8EDDB, // v


            0xC101E57B, // 1
            0x97483BFB, // 2
            0xF0C41643, // 3

            0x9716BE3F, // 4
            0x3D9AE3F7, // 5
            0x6182021B,  // 6

            0x8C22657B, // 7
            0x488F3CBB, // 8
            0x449E79F,  // 9

            0x32C6FDF7, // *
            0x1BC0157B, // 0
            0x3EC3FC1B  // #
            };

// Black remote key names
 String blackRemoteKey[] ={
            "^",
            "<",
            "OK",
            ">",
            "v",

            "1",
            "2",
            "3",

            "4",
            "5",
            "6",

            "7",
            "8",
            "9",

            "*",
            "0",
            "#"
            };

decode_results results;


void setup()
{
  Serial.begin(9600);
  // In case the interrupt driver crashes on setup, give a clue
  // to the user what's going on.
  Serial.println("Robojax IR Decode");
  Serial.println("Control Relay with Remote");
  irrecv.enableIRIn(); // Start the receiver

  pinMode(RELAY_PIN,OUTPUT);// define a pin for relay as OUTPUT
  digitalWrite(RELAY_PIN, HIGH);// set relay to OFF at the begining
}

void loop() {

  if (irrecv.decode(&results)) {
    if(displayCode)Serial.println(results.value, HEX);
    robojaxValidateCode(results.value);// used the "robojaxValidateCode" bellow
    irrecv.resume(); // Receive the next value
  }
  delay(100);
}

/*
 * function: robojaxValidateCode
 * validates the remote code and prints the correct key name
 * cd is code passed from the loop
 * Written by A. S. for Robojax
 */
void robojaxValidateCode(int cd)
{

  // Robojax IR Remote decoder
  int found=0;

 if(type =='W' && !PCB)
 {
    // Robojax IR White Remote decoder
    // if type is set to 'W' (white remote) and PCB=0 then check White remote code
      for(int i=0; i< sizeof(whiteRemote)/sizeof(int); i++)
      {
        if(whiteRemote[i] ==cd)
        {

          Serial.print("Key pressed:");
          Serial.println(whiteRemoteKey[i]);
          relayAction(whiteRemoteKey[i]);// take action
          found=1;
        }// if matched
      }// for
 }else if(type =='W' && PCB){
    // Robojax IR White Remote decoder
    // if type is set to 'W' (white remote) and PCB=1 then check White remote code
      for(int i=0; i< sizeof(whiteRemotePCB)/sizeof(int); i++)
      {
        if(whiteRemotePCB[i] ==cd)
        {

          Serial.print("Key pressed:");
          Serial.println(whiteRemoteKey[i]);
          relayAction(whiteRemoteKey[i]);// take action
          found=1;
        }// if matched
      }// for
 }else if(type =='B' && PCB){
    // Robojax IR Black Remote decoder
       // if type is set to 'B' (black remote) and PCB=1 then check Black remote code
       for(int i=0; i< sizeof(blackRemotePCB)/sizeof(int); i++)
      {
        // Robojax IR black Remote decoder
        if(blackRemotePCB[i] ==cd)
        {

          Serial.print("Key pressed:");
          Serial.println(blackRemoteKey[i]);
         relayAction(blackRemoteKey[i]);// take action
          found=1;
        }// if matched
      }// for
 }else{

      // if type is set to 'B' (black remote) and PCB =0 then check Black remote code
       for(int i=0; i< sizeof(blackRemote)/sizeof(int); i++)
      {
        // Robojax IR black Remote decoder
        if(blackRemote[i] ==cd)
        {

          Serial.print("Key pressed:");
          Serial.println(blackRemoteKey[i]);
          relayAction(blackRemoteKey[i]);// take action

          found=1;
        }// if matched
      }// for
 }// else
  if(!found){
    if(cd !=0xFFFFFFFF)
      {
    Serial.println("Key unknown");
      }
  }// found
}// robojaxValidateCode end

/*
 *
 * relayAction()
 * receives string "value" as input and based on the settings,
 * turns relay pin HIGH or LOW
 */
void relayAction(String value)
{
  // Robojax IR Relay control
   if(value == ON)
   {
    digitalWrite(RELAY_PIN, LOW);// Turn relay ON
    Serial.println("Relay Turned ON");
   }

   if(value == OFF)
   {
    digitalWrite(RELAY_PIN, HIGH);// Turn relay OFF
    Serial.println("Relay Turned OFF");
   }
}//relayAction end
必要かもしれないもの
-
アマゾンAmazonで赤外線リモコンを購入するamzn.to
-
イーベイeBayから赤外線リモコンを購入するebay.us
リソースと参考文献
まだリソースはありません。
ファイル📁
ファイルは利用できません。