Lesson 9/31: Reading Voltage Using Arduino, Potentiometer AnalogRead | SunFounder's Arduino Learning kit
Introduction
This project guide explores the fundamental skill of reading analog DC voltages with an Arduino. While this is a core concept for any electronics enthusiast, its real-world applications are incredibly diverse. The ability to accurately measure a changing voltage allows you to interface your Arduino with a vast array of analog sensors and components.

Here are a few practical examples of what you can build with this knowledge:
- Building a custom power supply monitor: Display the real-time voltage of a battery or solar panel to ensure it's within safe operating limits.
- Creating a simple light meter: Use a light-dependent resistor (LDR) in a voltage divider circuit to measure ambient light levels and automate lighting.
- Making a temperature gauge: Interface with an analog temperature sensor like the TMP36 to read and display the current temperature.
- Adding a user control knob: Use a potentiometer as an analog input to adjust parameters like LED brightness, motor speed, or the volume of a sound module.
- Developing a distance sensor: Read the voltage output from an analog distance sensor (like a Sharp IR sensor) to measure the distance to an object.
Hardware & Components
This lesson focuses on the fundamental concept of reading an analog voltage. To demonstrate this, we will use a potentiometer, which acts as a variable voltage divider. The components required for this project are simple and are commonly found in starter kits:
- Arduino Uno (or similar board like the Nano)
- A Potentiometer (10kΩ is a common value)
- Jumper wires
- USB cable for programming and power
Understanding Analog vs. Digital
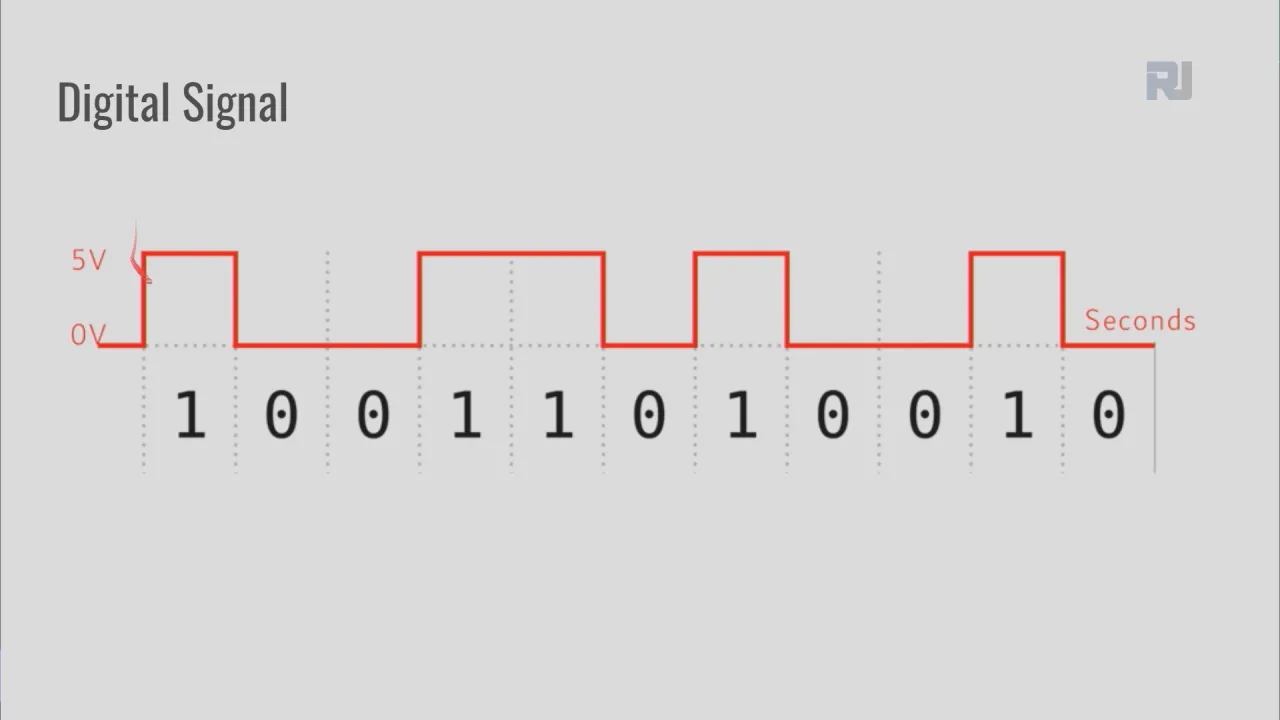
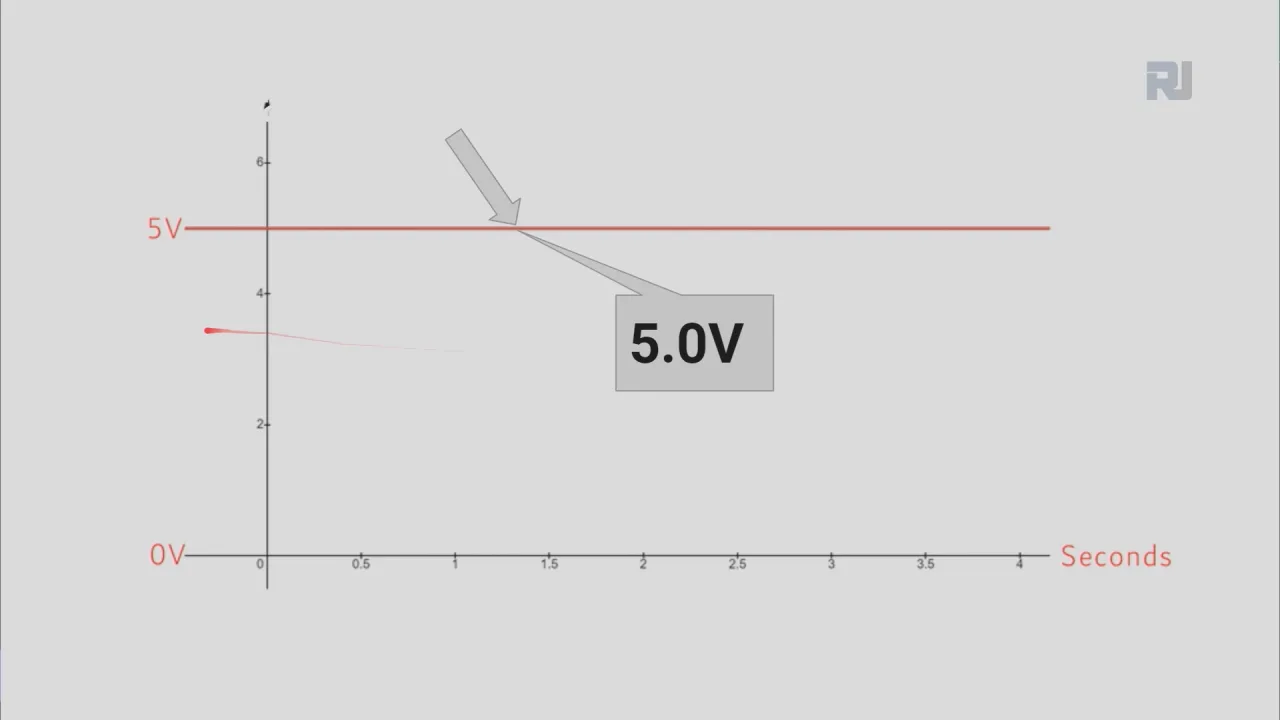
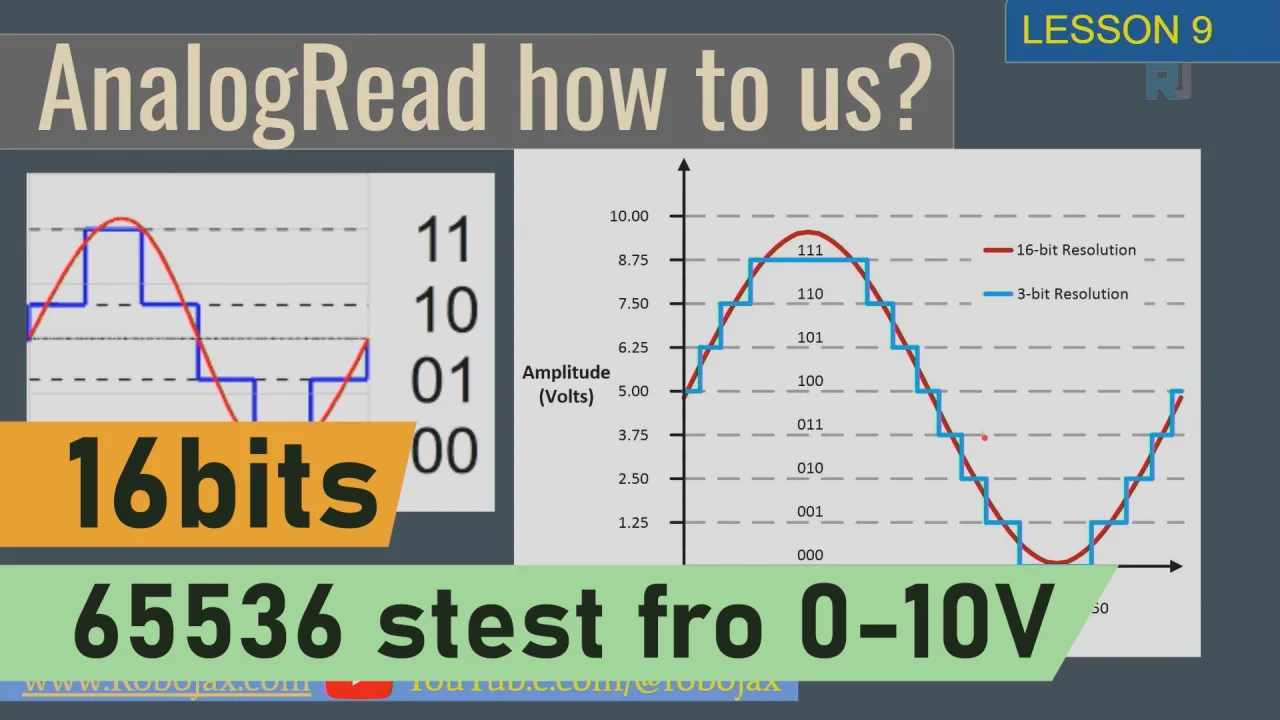
Unlike digital signals, which are strictly high (5V) or low (0V), analog signals can be any voltage between these two limits. The Arduino's analog pins (labeled A0 to A5) are connected to an Analog-to-Digital Converter (ADC). This component measures an analog voltage and converts it into a proportional digital number the microcontroller can understand.
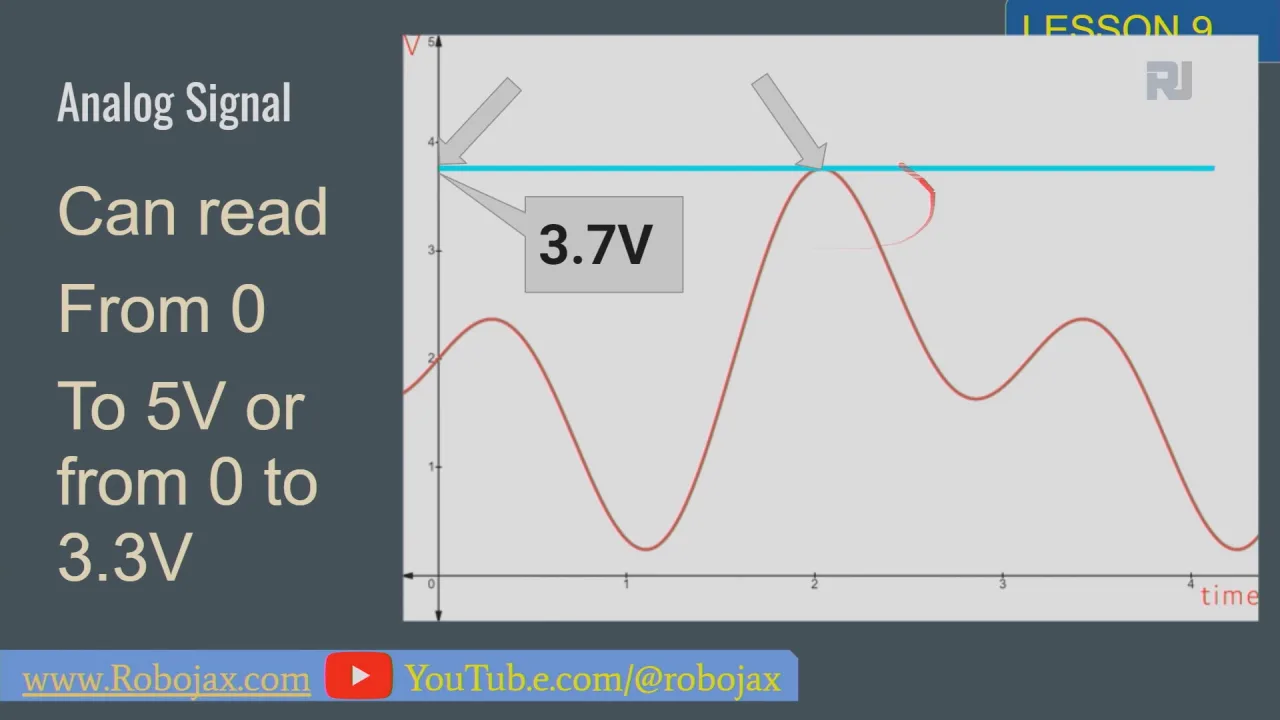
The resolution of this conversion is determined by the number of bits the ADC uses. The Arduino Uno has a 10-bit ADC, which means it can represent the input voltage in 210 = 1024 discrete steps. This results in a digital value ranging from 0 to 1023. The precision of other boards can vary; for example, some have a 12-bit ADC, which provides 212 = 4096 steps, offering a much finer resolution. (in video at 04:01)
The Potentiometer as a Voltage Divider
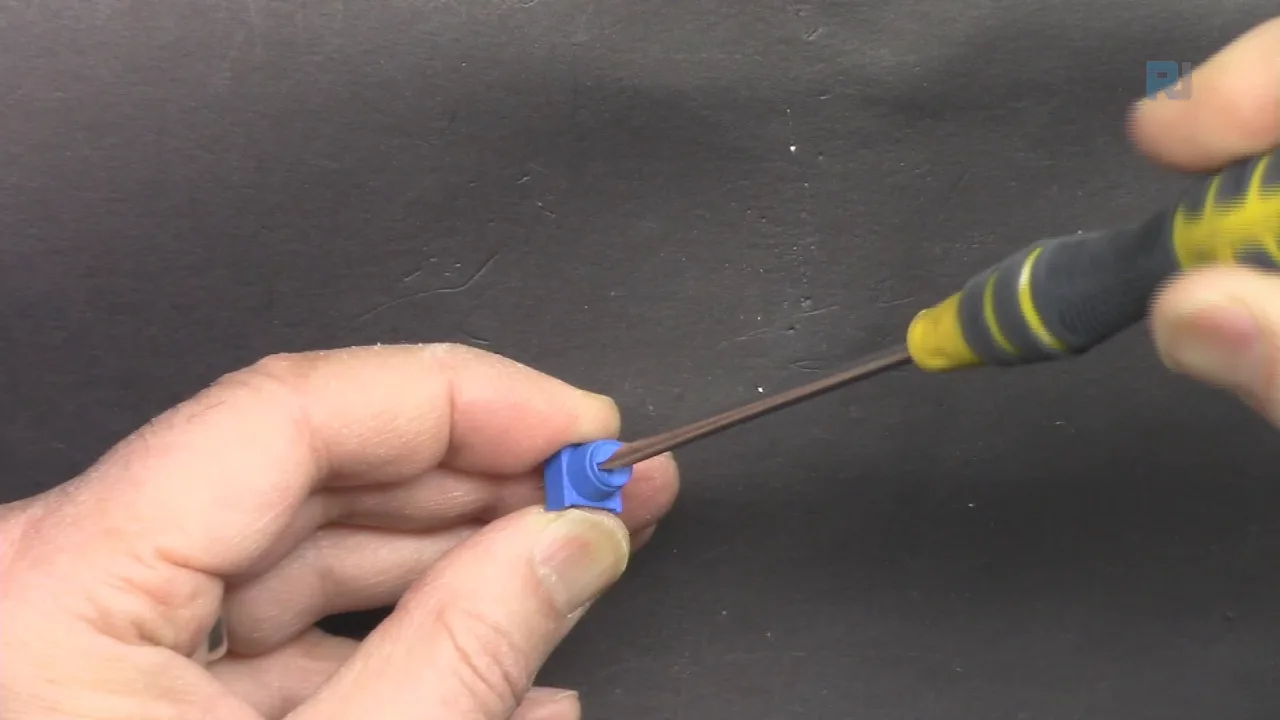
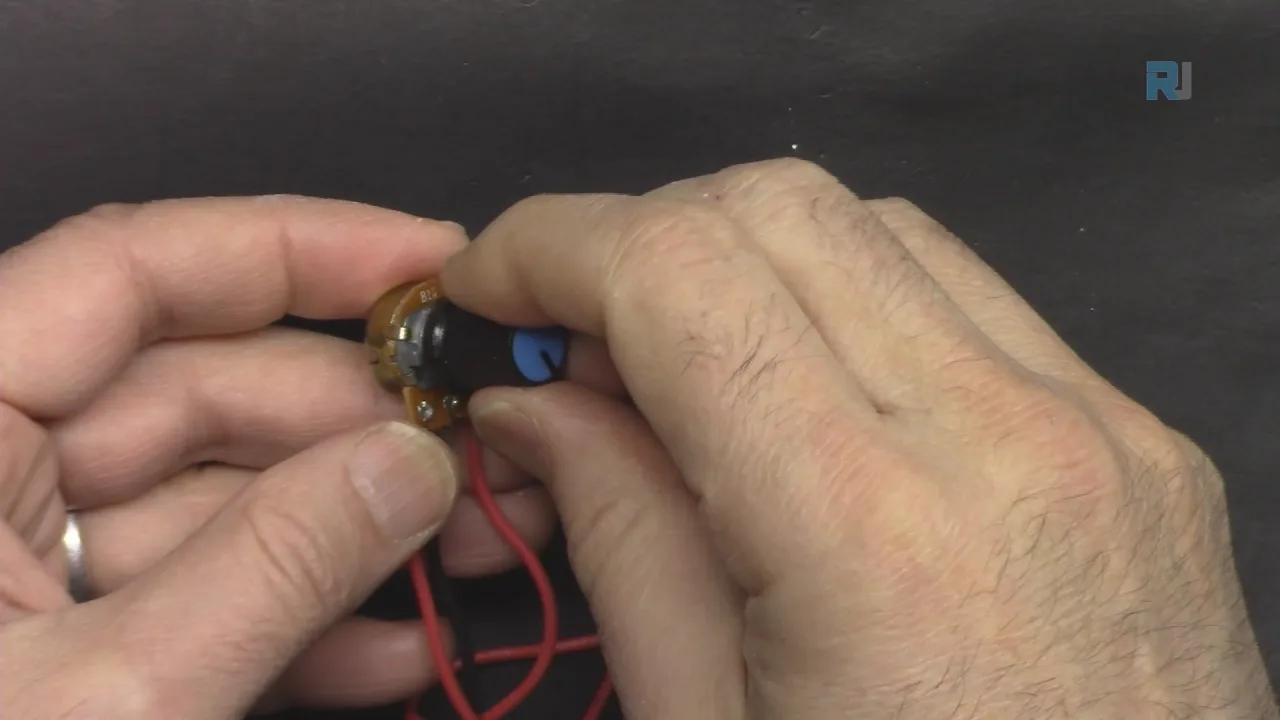
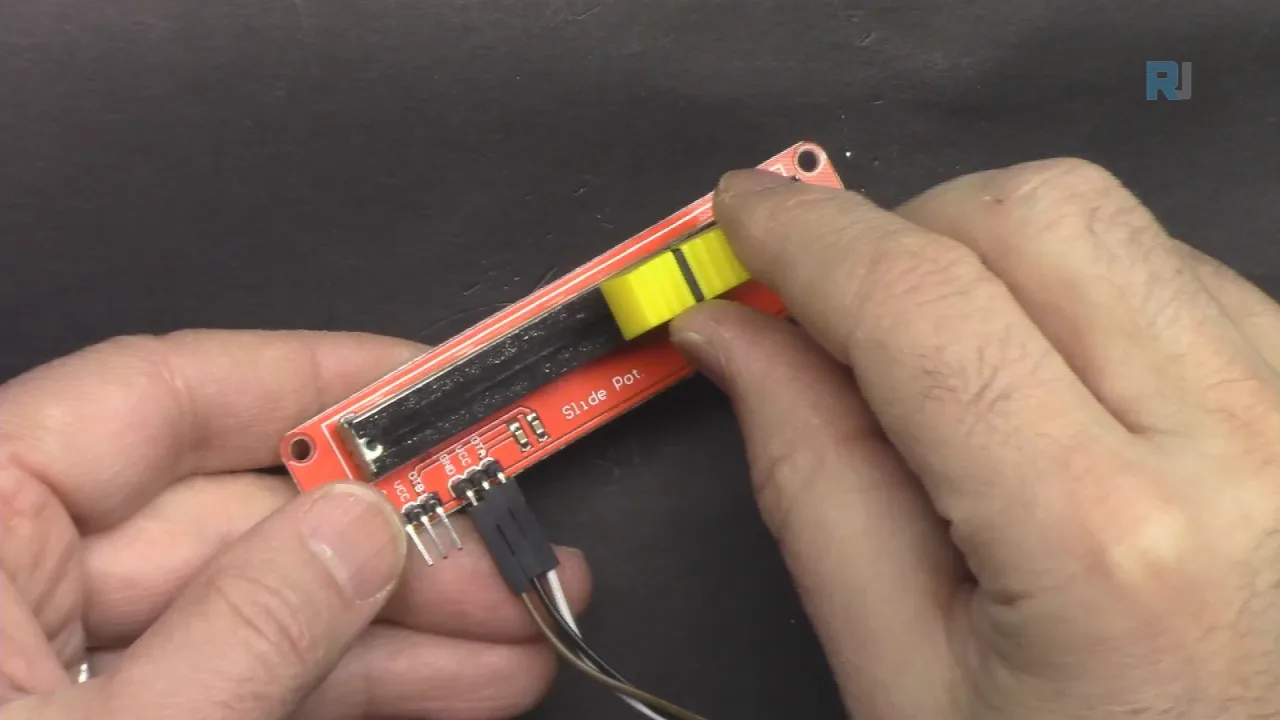
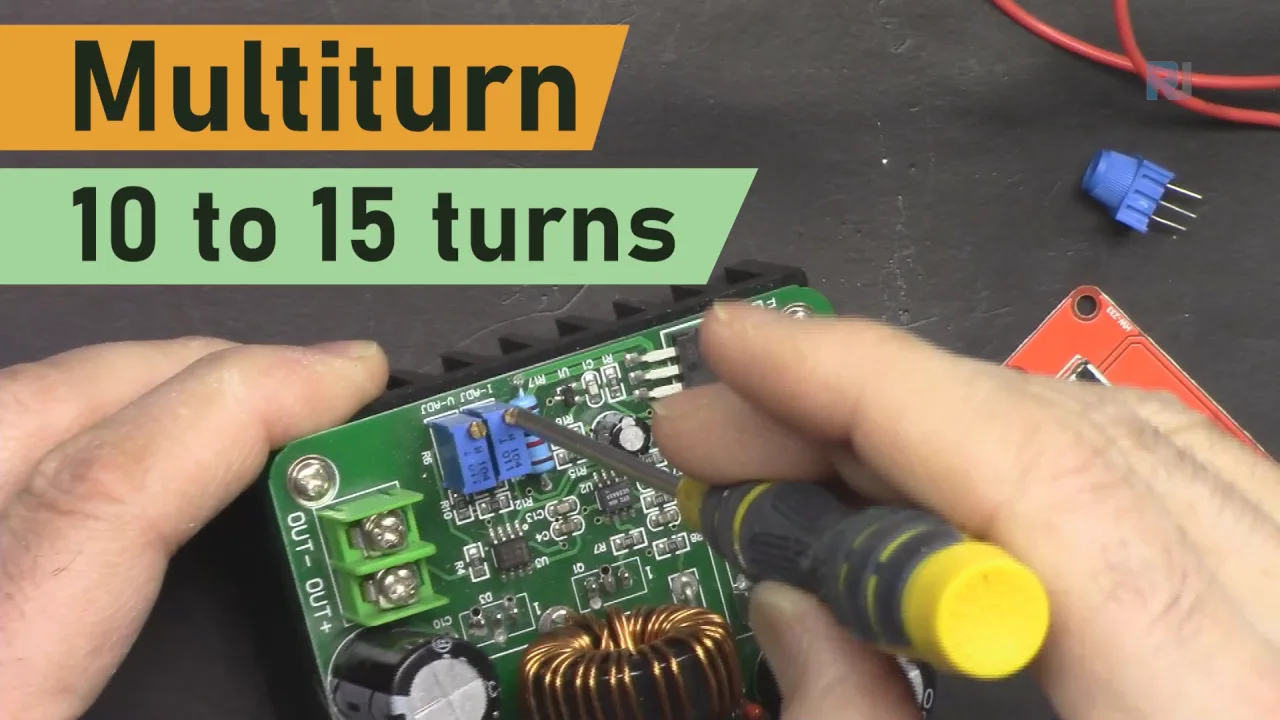
A potentiometer is a variable resistor with three pins. When wired with the outer pins connected to 5V and GND, it functions as a voltage divider. The middle pin (the wiper) slides along a resistive track, allowing you to tap off any voltage between 0V and 5V. (in video at 07:45)
This makes it an ideal tool for this lesson, as it provides a simple, hands-on way to manually vary the voltage we are reading. By turning the knob, you can see the ADC value and the calculated voltage change in real-time.
Wiring Guide
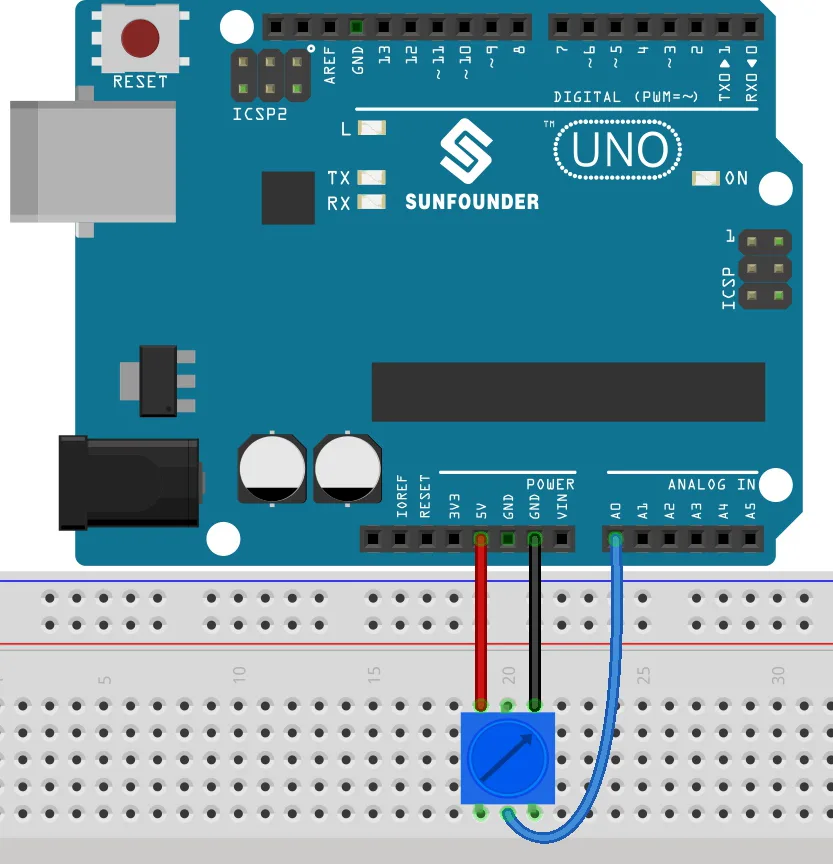
Connecting the potentiometer to the Arduino is very straightforward.
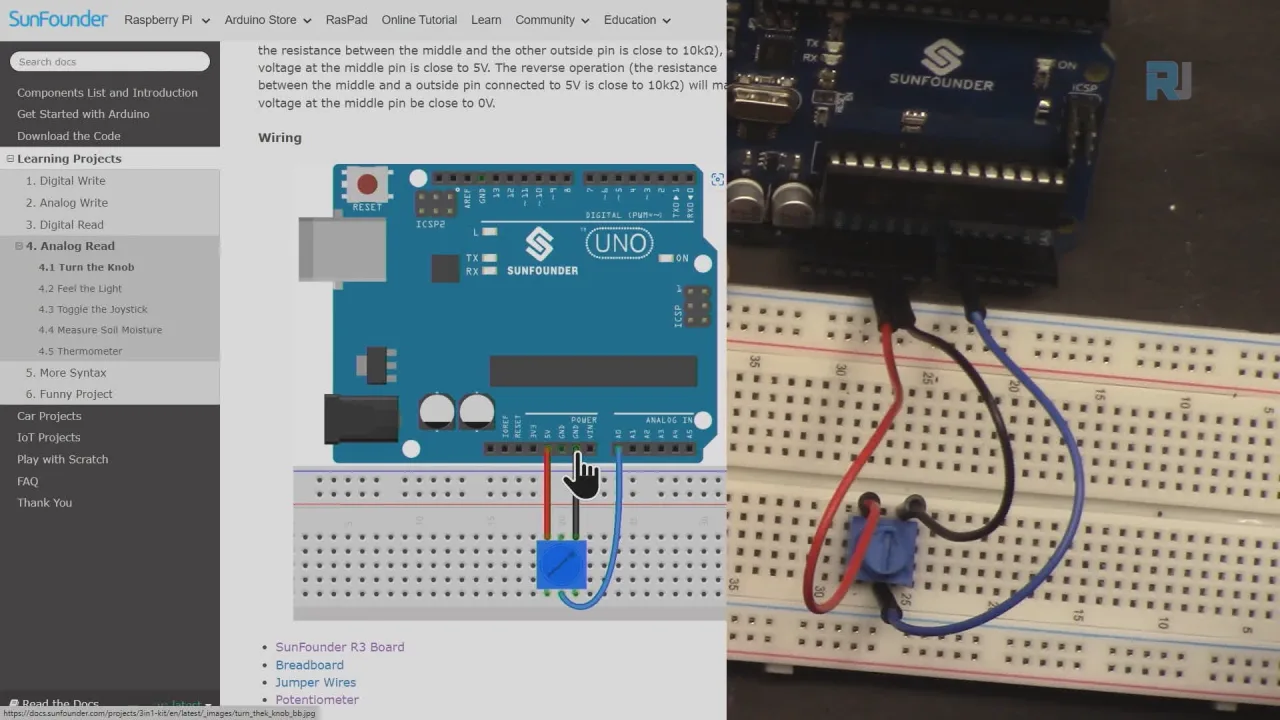
While the video demonstrates a specific wiring method, the following is the standard and most reliable way to connect the components:
- Connect the left pin of the potentiometer to the 5V pin on the Arduino.
- Connect the right pin of the potentiometer to a GND pin on the Arduino.
- Connect the middle pin of the potentiometer to the A0 analog pin on the Arduino.
Code Explanation
This tutorial covers four distinct programs, each demonstrating a slightly different method for reading and calculating the voltage. They all share the same core logic but show you different ways to structure your code. The key concept is converting the raw ADC value (0-1023) to a voltage using the formula: Voltage = (ADC Value) * (5.0 / 1023).
In the code snippets below, you will notice a few user-configurable variables at the top of each sketch:
int analogPin = A0;- This is the pin on the Arduino to which your potentiometer's middle pin is connected. You can change this to any other analog pin (e.g., A1, A2).Serial.begin(9600);- This sets the baud rate for serial communication. It must match the baud rate selected in your Arduino IDE's Serial Monitor.
Lesson 9/31-1 code - Reading analog DC voltage Method 1
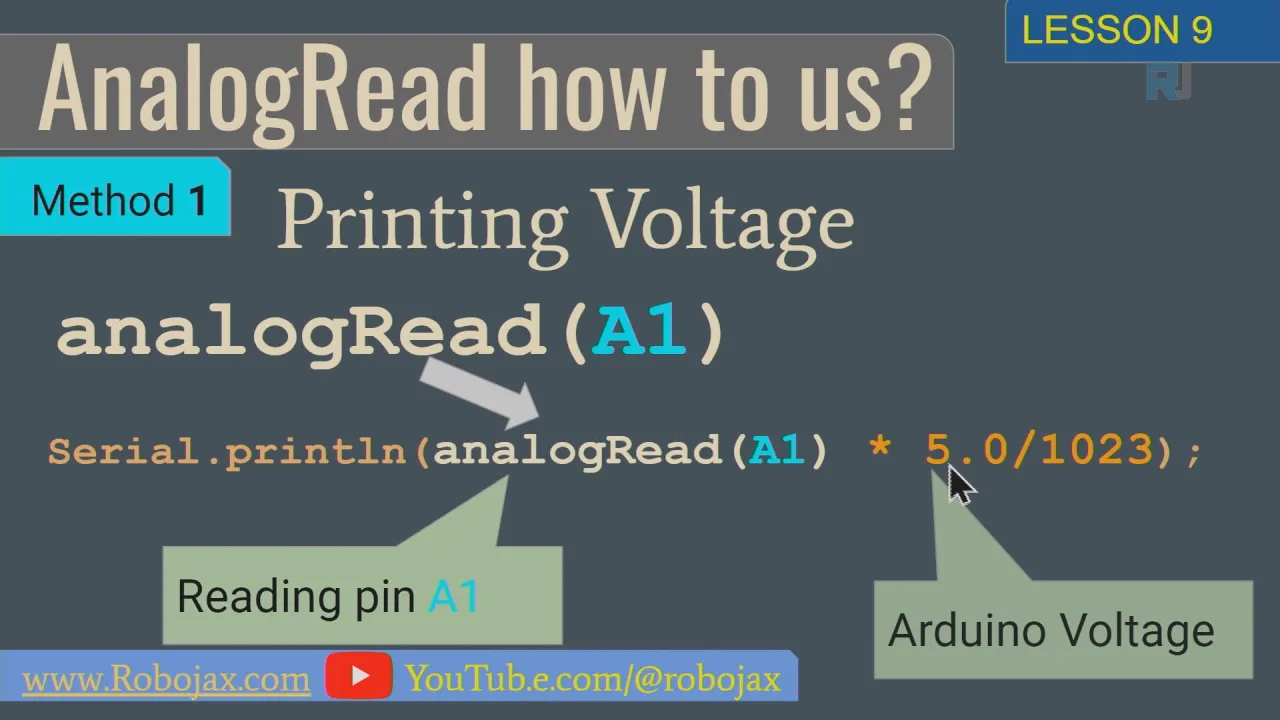
This first method is the most concise. It performs the voltage calculation and printing all in a single line of code within the loop(). This is a great approach for quick tests when you just need to see the voltage value without storing it for later use.
void loop() {
    Serial.println(analogRead(analogPin) * 5.0/1023);          // debug value
}
Lesson 9/31-2 code - Reading analog DC voltage Method 2
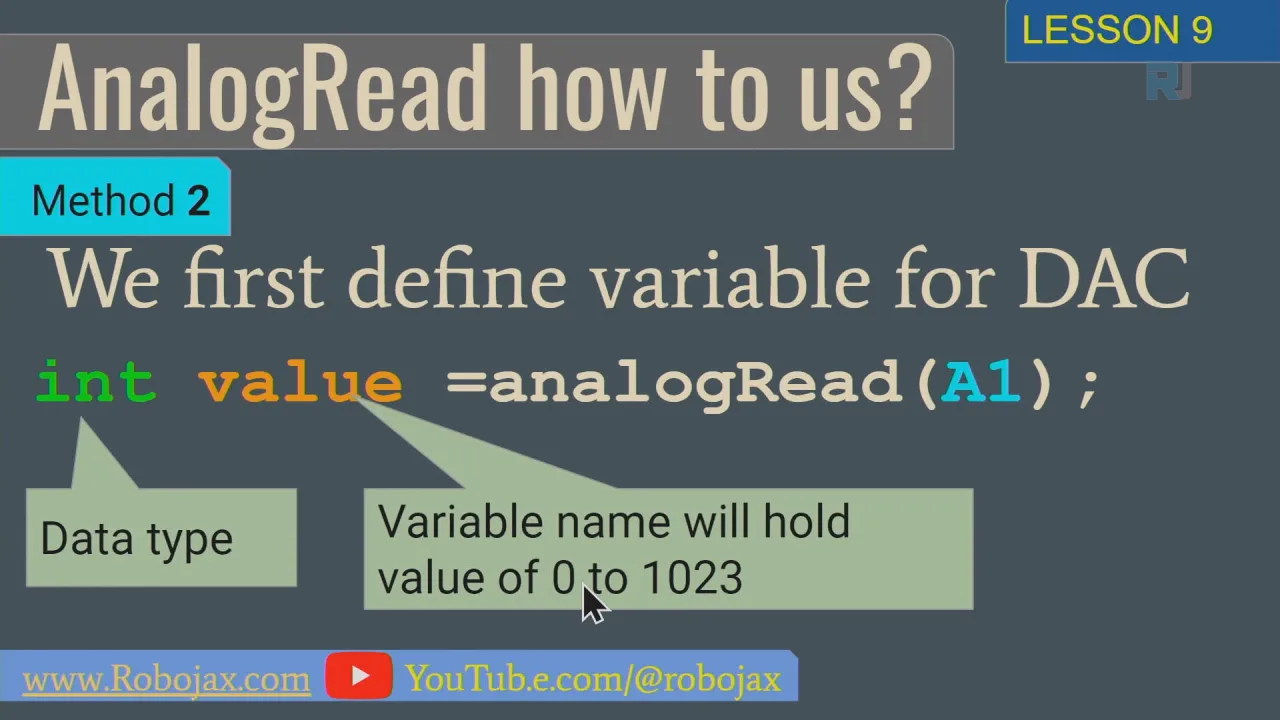
This method introduces a local variable called value inside the loop(). This makes the code slightly more readable by separating the act of reading the analog pin from the calculation. The analogRead() function returns the raw digital value, which is then stored in value before being used in the calculation.
int value = analogRead(analogPin);
Serial.println( value* 5.0/1023); // debug value
Lesson 9/31-3 code - Reading analog DC voltage Method 3
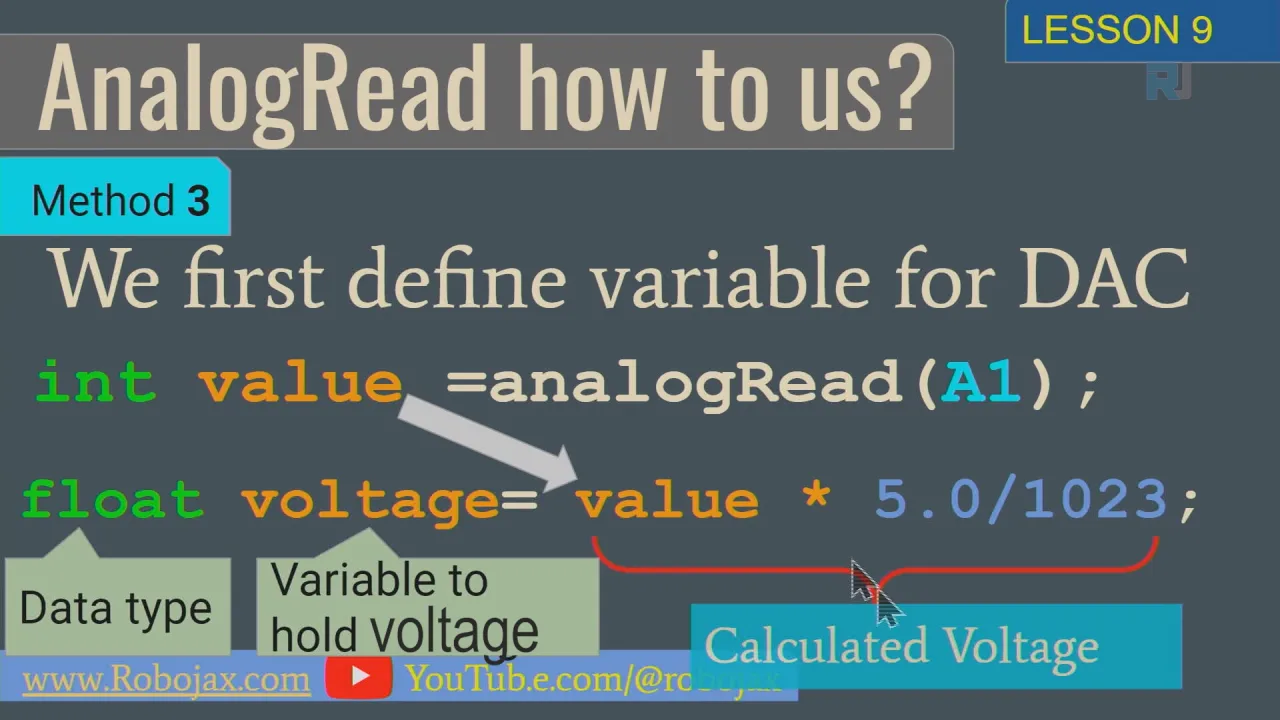
This approach is the most structured and practical for larger projects. Here, the calculated voltage is stored in its own variable, voltage, which is declared as a float. This is necessary because the voltage calculation results in a decimal number. By storing it in a variable, you can easily use this value later in your program for other purposes, such as displaying it on an LCD or using it in a control loop.
int value = analogRead(analogPin);
float voltage = value* 5.0/1023;
Serial.println(voltage); // print the voltage
Lesson 9/31-4 code - Reading analog DC voltage Method 4
The final method builds upon the third by formatting the output to be more user-friendly. It uses Serial.print(voltage,1) to print the voltage with only one decimal place. The second argument, 1, specifies the number of decimal places. It then prints the letter "V" to indicate the unit of measurement, producing a clean output like 3.3V.
int value = analogRead(analogPin);
float voltage = value* 5.0/1023;
Serial.print(voltage,1); // print the voltage
Serial.println("V");
Live Project & Demonstration
In the video, the presenter demonstrates each of the four code examples. After uploading the first program, the Serial Monitor displays the raw ADC values. As the potentiometer knob is turned, you can see the value change from 0 to 1023. (in video at 16:46)
When the code is changed to calculate the voltage, the Serial Monitor now displays the actual voltage, which ranges from 0V to 5V as the knob is turned. This provides a clear, visual confirmation that the code is working correctly. The presenter also shows how disconnecting the analog pin causes the reading to fluctuate, as the pin is now "floating," and demonstrates that connecting it to 3.3V results in a reading of approximately 3.3V. (in video at 20:30)
Chapters
- [00:00] Introduction to Reading DC Voltage with Arduino
- [01:30] How Analog-to-Digital Conversion Works
- [07:39] Introduction to the Potentiometer
- [15:07] Wiring the Potentiometer and First Code Upload
- [17:33] Method 1: Printing Voltage Directly
- [19:21] Method 2: Using a Variable for the Reading
- [20:58] Method 3: Storing the Calculated Voltage
- [23:16] Method 4: Formatting the Voltage Output
Images
/*
 * Lesson 9/31-1 Analog read
 * In this lesson we learn to read analog voltage in 4 ways.
Download and resource page https://robojax.com/RJT592
watch video tutorial https://www.youtube.com/watch?v=Y9_PgvgfOIc
 * written/updated by Ahmad Shamshiri www.Robojax.com
 * Dec 12, 2022
 *

*/
 int analogPin = A0; // device connected to analog pin A0
                   // outside leads to ground and +5V
 int value = 0;  // variable to store the value read

 void setup() {
    Serial.begin(9600);           //  setup serial
 }

 void loop() {

    Serial.println(analogRead(analogPin) * 5.0/1023);          // debug value
 }
/*
 * Lesson 9/31-2 Analog read
 * In this lesson we learn to read analog voltage in 4 ways.
Download and resource page https://robojax.com/RJT592
watch video tutorial https://www.youtube.com/watch?v=Y9_PgvgfOIc
 * written/updated by Ahmad Shamshiri www.Robojax.com
 * Dec 12, 2022
 *

*/
  //Method 2 of lesson 9
 int analogPin = A0; // device connected to analog pin A0
                   // outside leads to ground and +5V

 void setup() {
    Serial.begin(9600);           //  setup serial
 }

 void loop() {
    int value = analogRead(analogPin);
    Serial.println( value* 5.0/1023); // debug value
 }
/*
 * Lesson 9/31-3 Analog read
 * In this lesson we learn to read analog voltage in 4 ways.
Download and resource page https://robojax.com/RJT592
watch video tutorial https://www.youtube.com/watch?v=Y9_PgvgfOIc
 * written/updated by Ahmad Shamshiri www.Robojax.com
 * Dec 12, 2022
 *

*/
  //Method 3 of lesson 9
 int analogPin = A0; // device connected to analog pin A0
                   // outside leads to ground and +5V

 void setup() {
    Serial.begin(9600);           //  setup serial
 }

 void loop() {
    int value = analogRead(analogPin);
    float voltage = value* 5.0/1023;
    Serial.println(voltage); // print the voltage

 }
/*
 * Lesson 9/31-4 Analog read
 * In this lesson we learn to read analog voltage in 4 ways.
Download and resource page https://robojax.com/RJT592
watch video tutorial https://www.youtube.com/watch?v=Y9_PgvgfOIc
 * written/updated by Ahmad Shamshiri www.Robojax.com
 * Dec 12, 2022
 *

*/

 //Method 4 of lesson 9
 int analogPin = A0; // device connected to analog pin A0
                   // outside leads to ground and +5V

 void setup() {
    Serial.begin(9600);           //  setup serial
 }

 void loop() {
    int value = analogRead(analogPin);
    float voltage = value* 5.0/1023;
    Serial.print(voltage,1); // print the voltage
    Serial.println("V");
 }
Common Course Links
Common Course Files
Things you might need
-
AmazonSunFounder Arduino Learning Kit on AliExpresss.click.aliexpress.com
-
Amazon
-
Amazon
-
Amazon
-
Amazon
Resources & references
-
DocumentationDocumentation for SunFounder 3 in 1 IoT/Smart Car/Learning Kitdocs.sunfounder.com
-
ExternalPurchase SunFounder's 3-in-1 Smart car learning kitsunfounder.com
Files📁
Arduino Libraries (zip)
-
SunFounder's 3-in-1 Smart Car learning kit source code
3in1-kit-main-v2.zip12.80 MB
User’s Manual
-
SunFounder 3-in-1 Arduino Smart Car assembly manualThis document shows step by step assembly of SunFounder 3-in-1 Arduino Smart Car
SunFounder_car_assembly_manual.pdf1.20 MB