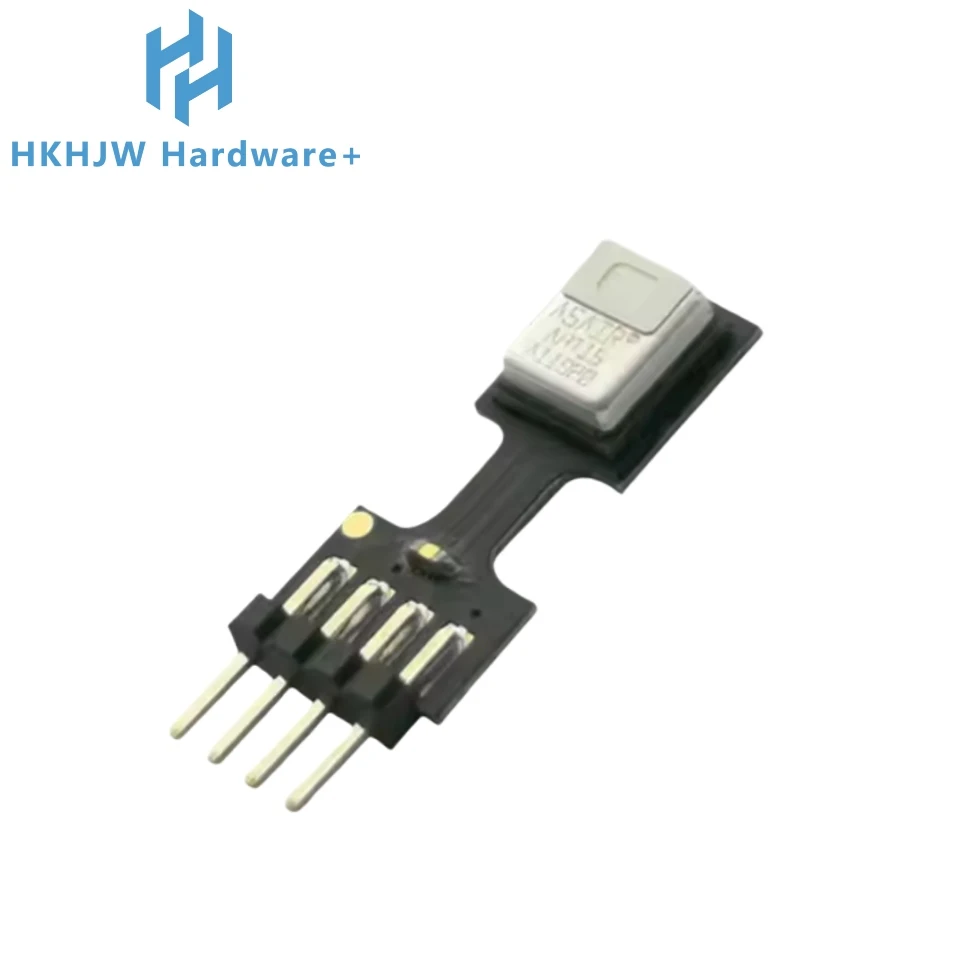
Sensor ya BMP180 ya Joto na Shinikizo la Hewa kwa Arduino
Sensor ya BMP180 ni kifaa chenye matumizi mengi ambacho hupima joto na shinikizo la anga, na kuifanya kuwa bora kwa matumizi mbalimbali kama vile ufuatiliaji wa hali ya hewa na upimaji wa mwinuko. Katika mafunzo haya, tutaunganisha sensor ya BMP180 kwenye Arduino, kusoma data ya joto na shinikizo, na kuonyesha matokeo. Kufikia mwisho wa mradi huu, utaweza kupata usomaji sahihi wa joto kwa Selsiasi na Fahrenheiti, pamoja na thamani za shinikizo katika millibars na inchi za zebaki.

Ili kufafanua dhana na hatua za uandishi wa msimbo, nakuhimiza kutazama video inayohusiana kwa maelezo ya kina (katika video saa 00:00).
Maelezo ya Vifaa
BMP180 ni sensor ya dijitali inayowasiliana kupitia I2C, ambayo inaruhusu kuunganishwa kwa urahisi na vidhibiti vidogo kama Arduino. Ina pini nne: Vn (usambazaji wa nguvu), GND (ardhi), SDA (njia ya data), na SCL (njia ya saa). Sensor hufanya kazi ndani ya anuwai ya voltage ya 1.8 hadi 3.6 volti, lakini inaweza kuendeshwa na usambazaji wa 5V uliodhibitiwa kwa kutumia kidhibiti cha voltage.
Uwezo wa sensor hii kupima shinikizo la anga hufanya iwe inafaa kwa matumizi yanayohitaji makadirio ya mwinuko na ufuatiliaji wa hali ya hewa. BMP180 pia inajumuisha sensor ya joto iliyojengewa ndani, ambayo ni muhimu kwa kupata usomaji sahihi wa shinikizo. Kwa kupima joto kwanza, sensor inaweza kurekebisha tofauti za joto zinazoathiri usomaji wa shinikizo.
Maelezo ya Karatasi ya Data
| Mtengenezaji | Bosch |
|---|---|
| Nambari ya sehemu | BMP180 |
| Voltage ya mantiki/IO | 1.8 - 3.6 V |
| Voltage ya usambazaji | 1.8 - 5.0 V |
| Mkondo wa pato (kawaida) | 5 μA |
| Mkondo wa kilele (max.) | 1 mA |
| Mwongozo wa mzunguko wa PWM | Haipatikani |
| Vizingiti vya mantiki ya kuingiza | Haipatikani |
| Kushuka kwa voltage / RDS(on) / kueneza | Haipatikani |
| Mipaka ya joto | -40 hadi 85 °C |
| Kifurushi | 3.6 x 3.8 mm |
| Vidokezo / lahaja | Matumizi ya nguvu ya chini |
- Hakikisha viwango sahihi vya voltage ili kuepuka kuharibu sensor.
- Tumia resistors za kuvuta-juu kwenye njia za I2C ikiwa ni lazima.
- Weka sensor katika mazingira ya joto thabiti kwa usomaji sahihi.
- Rekebisha mwinuko kulingana na eneo lako maalum kwa matokeo sahihi.
- Fuatilia usambazaji wa nguvu ili kuhakikisha unabaki ndani ya mipaka iliyowekwa.
Maagizo ya Uunganishaji

Ili kuunganisha sensor ya BMP180 kwenye Arduino yako, anza kwa kuunganisha pini ya Vn ya BMP180 kwenye pini ya 5V kwenye Arduino. Ifuatayo, unganisha pini ya GND kwenye ardhi ya Arduino. Kwa mawasiliano ya I2C, unganisha pini ya SDA kwenye pini ya analogi A4 ya Arduino na pini ya SCL kwenye A5. Hakikisha miunganisho yako ni salama ili kuzuia matatizo ya mawasiliano.
Ikiwa unatumia mfano tofauti wa Arduino, fahamu kwamba pini za I2C zinaweza kutofautiana. Kwa mfano, kwenye Mega2560, pini za SDA na SCL ni 20 na 21, mtawalia. Daima angalia mara mbili ramani ya pini kwa bodi yako maalum ili kuhakikisha utendaji sahihi.
Mifano ya Msimbo na Maelezo
#include
#include

SFE_BMP180 pressure;
#define ALTITUDE 90.0 // Mwinuko wa Makao Makuu ya Robojax
Katika msimbo, tunaanza kwa kujumuisha maktaba muhimu: SFE_BMP180.h kwa sensor na Wire.h kwa mawasiliano ya I2C. Tunaunda kitu cha BMP180 kinachoitwa pressure na kufafanua mwinuko ambao usomaji wetu utachukuliwa kwa kutumia kiwango cha ALTITUDE.
void setup() {
  Serial.begin(9600);
  if (pressure.begin()) Serial.println("BMP180 init success");
  else { Serial.println("BMP180 init fail\n\n"); while(1); }
}
Kazi ya setup huanzisha mawasiliano ya mfululizo kwa baud 9600 na kujaribu kuanzisha sensor ya BMP180. Ikiwa uanzishaji unashindwa, programu inaingia kwenye kitanzi kisicho na mwisho ili kusimamisha utekelezaji zaidi, ikionyesha tatizo la muunganisho.
void loop() {
  char status;
  double T, P, p0, a;

  status = pressure.startTemperature();
  if (status != 0) {
    delay(status);
    status = pressure.getTemperature(T);
    if (status != 0) {
      Serial.print("temperature: "); Serial.print(T,2);
    }
  }
}
Katika kazi ya loop, kwanza tunaanzisha usomaji wa joto kwa kuita startTemperature(). Ikiwa itafanikiwa, tunasubiri kipimo kikamilike na kupata joto kwa getTemperature(T), ambapo T huhifadhi thamani ya joto. Joto kisha linachapishwa kwenye kichunguzi cha mfululizo.
Maonyesho / Nini cha Kutarajia
Inapowashwa na kuunganishwa kwa usahihi, BMP180 itasoma na kuonyesha data ya joto na shinikizo kila sekunde tano. Utapaswa kuona thamani za joto katika Selsiasi na Fahrenheiti, pamoja na thamani za shinikizo kamili na jamaa. Ikiwa sensor inafanya kazi kwa usahihi, utapokea usomaji bila makosa. Fahamu hatari zinazowezekana kama viwango visivyo sahihi vya voltage au miunganisho iliyolegea, ambayo inaweza kusababisha kushindwa kupata data.
Bilder


/*
 *
 * Arduino Sketch for BMP180 Temperature and Barometric Pressure sensor for Arduino
 * to display temperature and pressure and altitude (calculated from pressure)

 *
 *
 * updated by Ahmad Shamshiri on June 27, 2018 at 17:30 in Ajax, Ontario, Canada
 * for Robojax.com

 * This code has been explained in this video: https://youtu.be/76zxBjIK3WM
 * This code has been downloaded from Robojax.com
 */
/* SFE_BMP180 library example sketch

This sketch shows how to use the SFE_BMP180 library to read the
Bosch BMP180 barometric pressure sensor.
https://www.sparkfun.com/products/11824

Like most pressure sensors, the BMP180 measures absolute pressure.
This is the actual ambient pressure seen by the device, which will
vary with both altitude and weather.

Before taking a pressure reading you must take a temperature reading.
This is done with startTemperature() and getTemperature().
The result is in degrees C.

Once you have a temperature reading, you can take a pressure reading.
This is done with startPressure() and getPressure().
The result is in millibar (mb) aka hectopascals (hPa).

If you'll be monitoring weather patterns, you will probably want to
remove the effects of altitude. This will produce readings that can
be compared to the published pressure readings from other locations.
To do this, use the sealevel() function. You will need to provide
the known altitude at which the pressure was measured.

If you want to measure altitude, you will need to know the pressure
at a baseline altitude. This can be average sealevel pressure, or
a previous pressure reading at your altitude, in which case
subsequent altitude readings will be + or - the initial baseline.
This is done with the altitude() function.

Hardware connections:

- (GND) to GND
+ (VDD) to 3.3V

(WARNING: do not connect + to 5V or the sensor will be damaged!)

You will also need to connect the I2C pins (SCL and SDA) to your
Arduino. The pins are different on different Arduinos:

Any Arduino pins labeled:  SDA  SCL
Uno, Redboard, Pro:        A4   A5
Mega2560, Due:             20   21
Leonardo:                   2    3

Leave the IO (VDDIO) pin unconnected. This pin is for connecting
the BMP180 to systems with lower logic levels such as 1.8V

Have fun! - Your friends at SparkFun.

The SFE_BMP180 library uses floating-point equations developed by the
Weather Station Data Logger project: http://wmrx00.sourceforge.net/

Our example code uses the "beerware" license. You can do anything
you like with this code. No really, anything. If you find it useful,
buy me a beer someday.

V10 Mike Grusin, SparkFun Electronics 10/24/2013
V1.1.2 Updates for Arduino 1.6.4 5/2015
*/

// Your sketch must #include this library, and the Wire library.
// (Wire is a standard library included with Arduino.):

#include <SFE_BMP180.h>
#include <Wire.h>

// You will need to create an SFE_BMP180 object, here called "pressure":

SFE_BMP180 pressure;

#define ALTITUDE 90.0 // Altitude of Robojax Headquarter (Ajax, Ontario, Canada)

void setup()
{
  Serial.begin(9600);
  Serial.println("REBOOT");

  // Initialize the sensor (it is important to get calibration values stored on the device).

  if (pressure.begin())
    Serial.println("BMP180 init success");
  else
  {
    // Oops, something went wrong, this is usually a connection problem,
    // see the comments at the top of this sketch for the proper connections.

    Serial.println("BMP180 init fail\n\n");
    while(1); // Pause forever.
  }
}

void loop()
{
  char status;
  double T,P,p0,a;

  // Loop here getting pressure readings every 10 seconds.

  // If you want sea-level-compensated pressure, as used in weather reports,
  // you will need to know the altitude at which your measurements are taken.
  // We're using a constant called ALTITUDE in this sketch:

  Serial.println();
  Serial.print("provided altitude: ");
  Serial.print(ALTITUDE,0);
  Serial.print(" meters, ");
  Serial.print(ALTITUDE*3.28084,0);
  Serial.println(" feet");

  // If you want to measure altitude, and not pressure, you will instead need
  // to provide a known baseline pressure. This is shown at the end of the sketch.

  // You must first get a temperature measurement to perform a pressure reading.

  // Start a temperature measurement:
  // If request is successful, the number of ms to wait is returned.
  // If request is unsuccessful, 0 is returned.

  status = pressure.startTemperature();
  if (status != 0)
  {
    // Wait for the measurement to complete:
    delay(status);

    // Retrieve the completed temperature measurement:
    // Note that the measurement is stored in the variable T.
    // Function returns 1 if successful, 0 if failure.

    status = pressure.getTemperature(T);
    if (status != 0)
    {
      // Print out the measurement:
      Serial.print("temperature: ");
      Serial.print(T,2);
      Serial.print(" deg C, ");
      Serial.print((9.0/5.0)*T+32.0,2);
      Serial.println(" deg F");

      // Start a pressure measurement:
      // The parameter is the oversampling setting, from 0 to 3 (highest res, longest wait).
      // If request is successful, the number of ms to wait is returned.
      // If request is unsuccessful, 0 is returned.

      status = pressure.startPressure(3);
      if (status != 0)
      {
        // Wait for the measurement to complete:
        delay(status);

        // Retrieve the completed pressure measurement:
        // Note that the measurement is stored in the variable P.
        // Note also that the function requires the previous temperature measurement (T).
        // (If temperature is stable, you can do one temperature measurement for a number of pressure measurements.)
        // Function returns 1 if successful, 0 if failure.

        status = pressure.getPressure(P,T);
        if (status != 0)
        {
          // Print out the measurement:
          Serial.print("absolute pressure: ");
          Serial.print(P,2);
          Serial.print(" mb, ");
          Serial.print(P*0.0295333727,2);
          Serial.println(" inHg");

          // The pressure sensor returns abolute pressure, which varies with altitude.
          // To remove the effects of altitude, use the sealevel function and your current altitude.
          // This number is commonly used in weather reports.
          // Parameters: P = absolute pressure in mb, ALTITUDE = current altitude in m.
          // Result: p0 = sea-level compensated pressure in mb

          p0 = pressure.sealevel(P,ALTITUDE); // we're at 90 meters (Boulder, CO)
          Serial.print("relative (sea-level) pressure: ");
          Serial.print(p0,2);
          Serial.print(" mb, ");
          Serial.print(p0*0.0295333727,2);
          Serial.println(" inHg");

          // On the other hand, if you want to determine your altitude from the pressure reading,
          // use the altitude function along with a baseline pressure (sea-level or other).
          // Parameters: P = absolute pressure in mb, p0 = baseline pressure in mb.
          // Result: a = altitude in m.

          a = pressure.altitude(P,p0);
          Serial.print("computed altitude: ");
          Serial.print(a,0);
          Serial.print(" meters, ");
          Serial.print(a*3.28084,0);
          Serial.println(" feet");
        }
        else Serial.println("error retrieving pressure measurement\n");
      }
      else Serial.println("error starting pressure measurement\n");
    }
    else Serial.println("error retrieving temperature measurement\n");
  }
  else Serial.println("error starting temperature measurement\n");

  delay(5000);  // Pause for 5 seconds.
}
Resurser och referenser
-
Extern.Product details from the manufacturerbosch-sensortec.com
-
Extern.SparkFun BMP180 librarygithub.com
Filer📁
Arduino-bibliotek (zip)
-
BMP180 Arduino library
robojax-BMP180-Library.zip0.02 MB
Datablad (pdf)
-
Bosch BMP180 Datasheet
https://ae-bst.resource.bosch.com/media/_tech/media/datasheets/BST-BMP180-DS000.pdf0.64 MB