BMP180 teplotný a barometrický senzor tlaku pre Arduino
Senzor BMP180 je všestranné zariadenie, ktoré meria teplotu a barometrický tlak, vďaka čomu je ideálny pre rôzne aplikácie, ako je monitorovanie počasia a meranie nadmorskej výšky. V tomto návode pripojíme senzor BMP180 k Arduinu, prečítame údaje o teplote a tlaku a zobrazíme výsledky. Na konci tohto projektu budete schopní získať presné merania teploty v stupňoch Celzia a Fahrenheita, ako aj hodnoty tlaku v milibaroch a palcoch ortuti.

Na objasnenie konceptov a krokov programovania vám odporúčam pozrieť si príslušné video s podrobnými vysvetleniami (vo videu o 00:00).
Vysvetlenie hardvéru
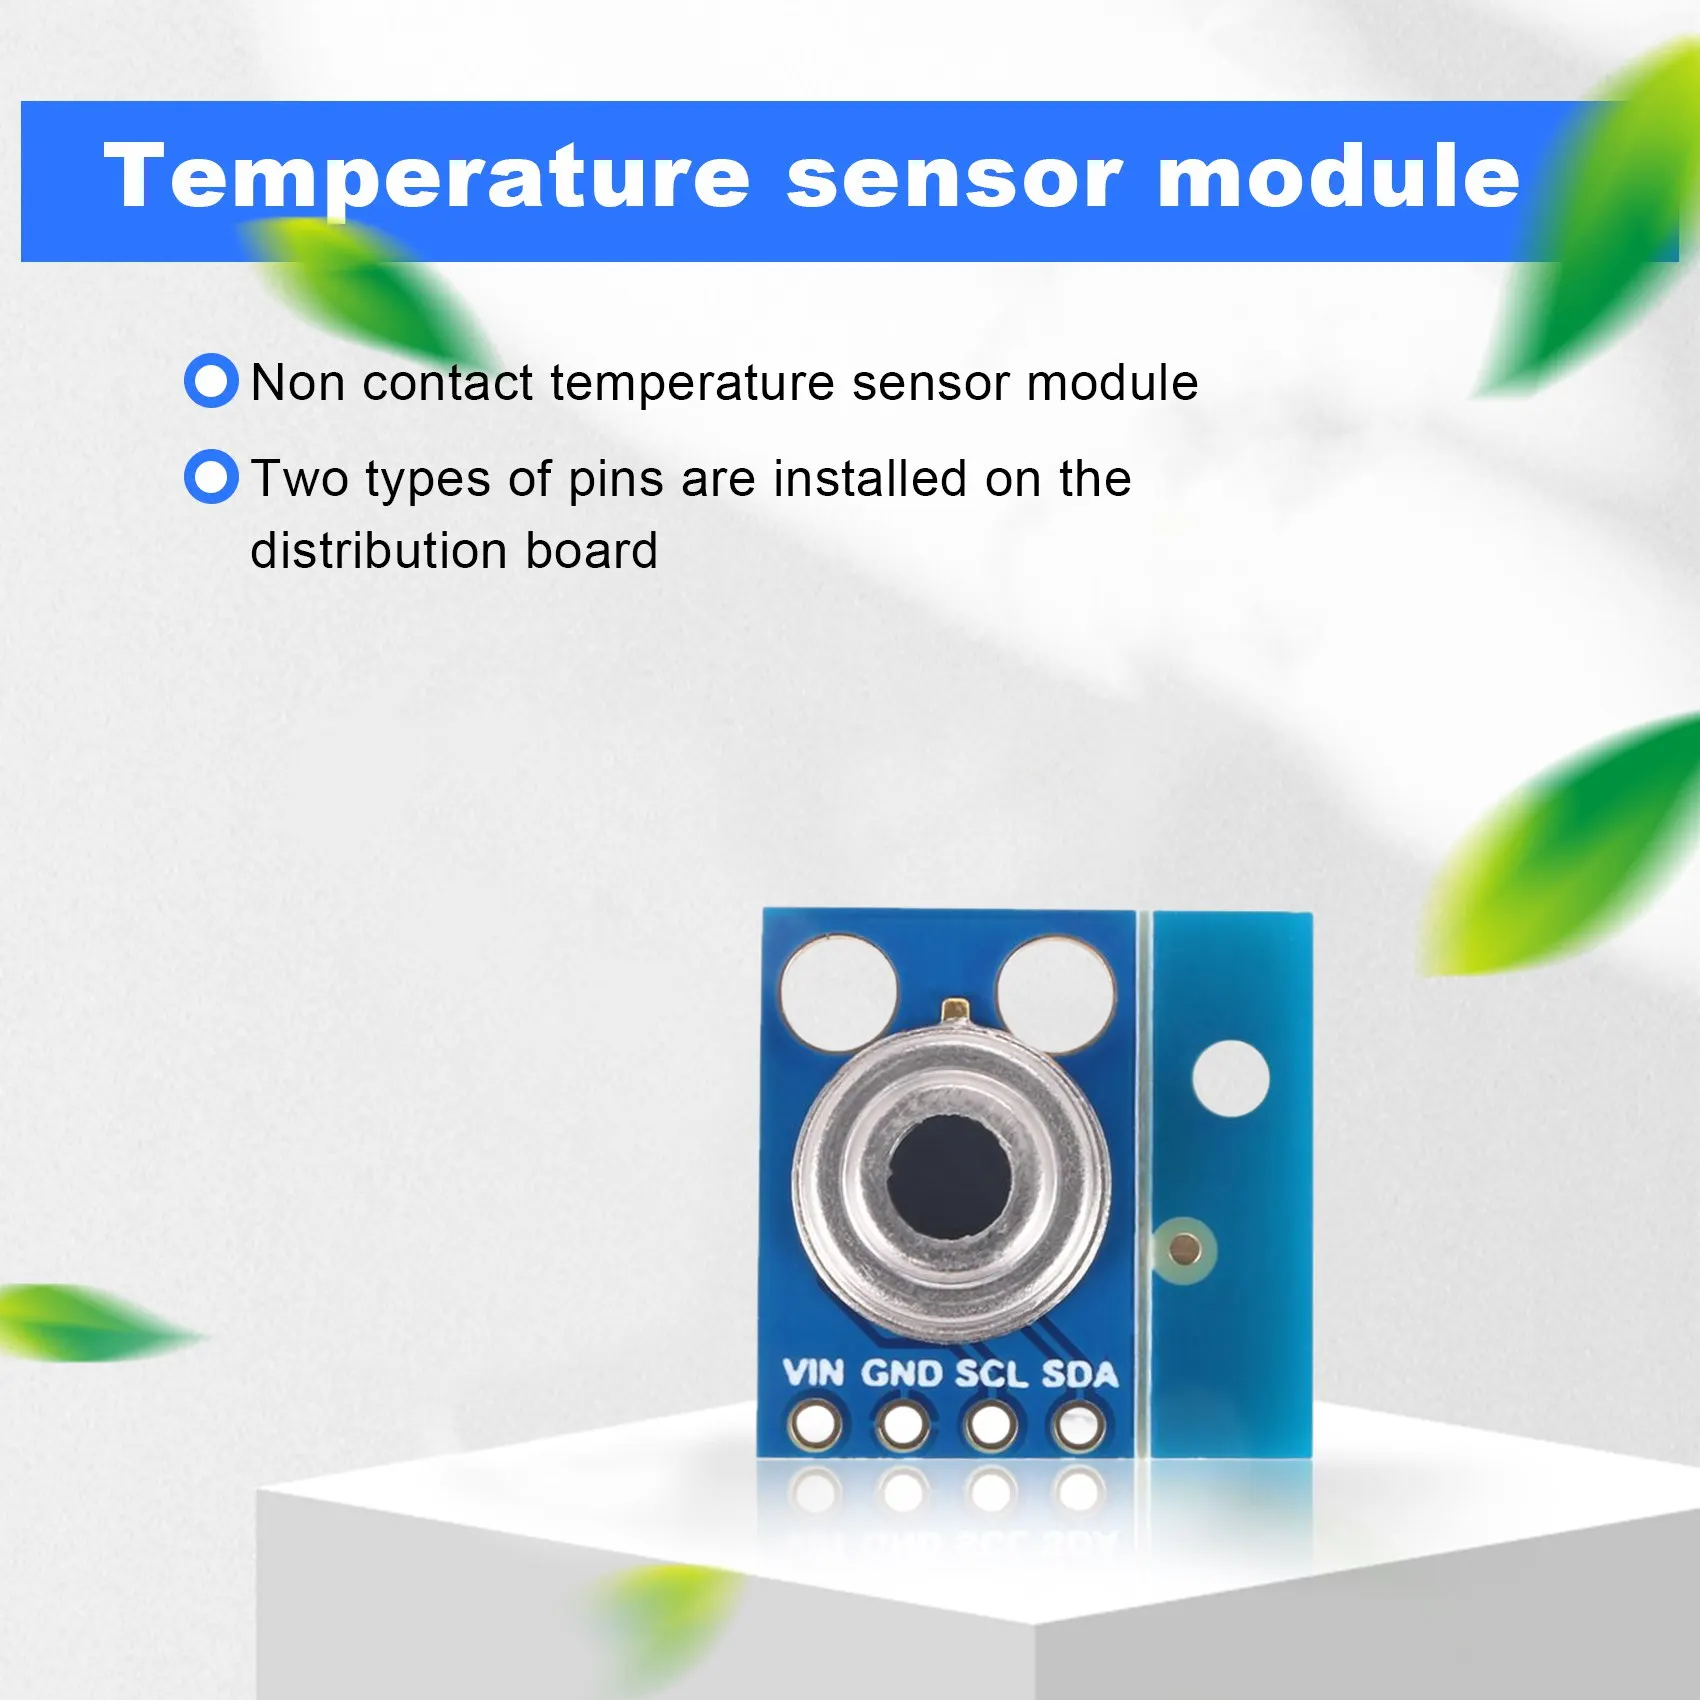
BMP180 je digitálny senzor, ktorý komunikuje cez I2C, čo mu umožňuje jednoduché prepojenie s mikrokontrolérmi, ako je Arduino. Má štyri piny: Vn (napájanie), GND (uzemnenie), SDA (dátový vodič) a SCL (hodinový vodič). Senzor pracuje v rozsahu napätia 1,8 až 3,6 voltov, ale môže byť napájaný regulovaným 5V zdrojom pomocou napäťového regulátora.
Schopnosť tohto senzora merať atmosférický tlak ho robí vhodným pre aplikácie, ktoré vyžadujú odhad nadmorskej výšky a monitorovanie počasia. BMP180 tiež obsahuje vstavaný teplotný senzor, ktorý je nevyhnutný na získanie presných hodnôt tlaku. Meraním teploty ako prvej môže senzor kompenzovať teplotné odchýlky, ktoré ovplyvňujú hodnoty tlaku.
Podrobnosti z datasheetu
| Výrobca | Bosch |
|---|---|
| Označenie súčiastky | BMP180 |
| Logické/vstupno-výstupné napätie | 1,8 - 3,6 V |
| Napájacie napätie | 1,8 - 5,0 V |
| Výstupný prúd (typ.) | 5 μA |
| Špičkový prúd (max.) | 1 mA |
| Odporúčaná frekvencia PWM | N/A |
| Logické prahové hodnoty vstupu | N/A |
| Pokles napätia / RDS(on) / saturácia | N/A |
| Tepelné limity | -40 až 85 °C |
| Puzdro | 3,6 x 3,8 mm |
| Poznámky / varianty | Nízka spotreba energie |
- Zabezpečte správne úrovne napätia, aby nedošlo k poškodeniu senzora.
- V prípade potreby použite pull-up rezistory na I2C linkách.
- Udržujte senzor v stabilnom teplotnom prostredí pre presné merania.
- Kalibrujte nadmorskú výšku podľa vašej konkrétnej polohy pre presné výsledky.
- Sledujte napájanie, aby ste zabezpečili, že zostane v stanovených limitoch.
Pokyny na zapojenie

Na zapojenie senzora BMP180 k Arduinu začnite pripojením pinu Vn senzora BMP180 na 5V pin Arduina. Potom pripojte pin GND na uzemnenie Arduina. Pre I2C komunikáciu pripojte pin SDA na analógový pin A4 Arduina a pin SCL na A5. Uistite sa, že sú vaše pripojenia pevné, aby ste predišli problémom s komunikáciou.
Ak používate iný model Arduina, uvedomte si, že I2C piny sa môžu líšiť. Napríklad na Mega2560 sú piny SDA a SCL 20 a 21. Vždy si overte mapovanie pinov pre vašu konkrétnu dosku, aby ste zabezpečili správnu funkčnosť.
Príklady kódu a vysvetlenie
#include
#include

SFE_BMP180 pressure;
#define ALTITUDE 90.0 // Nadmorská výška centrály Robojax
V kóde začneme zahrnutím potrebných knižníc: SFE_BMP180.h pre senzor a Wire.h pre I2C komunikáciu. Vytvoríme inštanciu objektu BMP180 s názvom pressure a definujeme nadmorskú výšku, v ktorej sa budú vykonávať naše merania, pomocou konštanty ALTITUDE.
void setup() {
  Serial.begin(9600);
  if (pressure.begin()) Serial.println("BMP180 init success");
  else { Serial.println("BMP180 init fail\n\n"); while(1); }
}
Funkcia setup inicializuje sériovú komunikáciu pri rýchlosti 9600 baudov a pokúsi sa spustiť senzor BMP180. Ak inicializácia zlyhá, program vstúpi do nekonečnej slučky, aby zastavil ďalšie vykonávanie, čo indikuje problém s pripojením.
void loop() {
  char status;
  double T, P, p0, a;

  status = pressure.startTemperature();
  if (status != 0) {
    delay(status);
    status = pressure.getTemperature(T);
    if (status != 0) {
      Serial.print("temperature: "); Serial.print(T,2);
    }
  }
}
Vo funkcii loop najprv iniciujeme meranie teploty volaním startTemperature(). Ak je úspešné, počkáme na dokončenie merania a získame teplotu pomocou getTemperature(T), kde T uchováva hodnotu teploty. Teplota sa potom vytlačí na sériový monitor.
Demonštrácia / Čo očakávať
Po napájanie a správnom zapojení bude BMP180 nepretržite čítať a zobrazovať údaje o teplote a tlaku každých päť sekúnd. Mali by ste vidieť hodnoty teploty v stupňoch Celzia aj Fahrenheita, ako aj hodnoty absolútneho a relatívneho tlaku. Ak senzor funguje správne, dostanete hodnoty bez chýb. Buďte si vedomí možných problémov, ako sú nesprávne úrovne napätia alebo voľné pripojenia, ktoré môžu viesť k zlyhaniu získavania údajov.
Obrázky


/*
 *
 * Arduino Sketch for BMP180 Temperature and Barometric Pressure sensor for Arduino
 * to display temperature and pressure and altitude (calculated from pressure)

 *
 *
 * updated by Ahmad Shamshiri on June 27, 2018 at 17:30 in Ajax, Ontario, Canada
 * for Robojax.com

 * This code has been explained in this video: https://youtu.be/76zxBjIK3WM
 * This code has been downloaded from Robojax.com
 */
/* SFE_BMP180 library example sketch

This sketch shows how to use the SFE_BMP180 library to read the
Bosch BMP180 barometric pressure sensor.
https://www.sparkfun.com/products/11824

Like most pressure sensors, the BMP180 measures absolute pressure.
This is the actual ambient pressure seen by the device, which will
vary with both altitude and weather.

Before taking a pressure reading you must take a temperature reading.
This is done with startTemperature() and getTemperature().
The result is in degrees C.

Once you have a temperature reading, you can take a pressure reading.
This is done with startPressure() and getPressure().
The result is in millibar (mb) aka hectopascals (hPa).

If you'll be monitoring weather patterns, you will probably want to
remove the effects of altitude. This will produce readings that can
be compared to the published pressure readings from other locations.
To do this, use the sealevel() function. You will need to provide
the known altitude at which the pressure was measured.

If you want to measure altitude, you will need to know the pressure
at a baseline altitude. This can be average sealevel pressure, or
a previous pressure reading at your altitude, in which case
subsequent altitude readings will be + or - the initial baseline.
This is done with the altitude() function.

Hardware connections:

- (GND) to GND
+ (VDD) to 3.3V

(WARNING: do not connect + to 5V or the sensor will be damaged!)

You will also need to connect the I2C pins (SCL and SDA) to your
Arduino. The pins are different on different Arduinos:

Any Arduino pins labeled:  SDA  SCL
Uno, Redboard, Pro:        A4   A5
Mega2560, Due:             20   21
Leonardo:                   2    3

Leave the IO (VDDIO) pin unconnected. This pin is for connecting
the BMP180 to systems with lower logic levels such as 1.8V

Have fun! - Your friends at SparkFun.

The SFE_BMP180 library uses floating-point equations developed by the
Weather Station Data Logger project: http://wmrx00.sourceforge.net/

Our example code uses the "beerware" license. You can do anything
you like with this code. No really, anything. If you find it useful,
buy me a beer someday.

V10 Mike Grusin, SparkFun Electronics 10/24/2013
V1.1.2 Updates for Arduino 1.6.4 5/2015
*/

// Your sketch must #include this library, and the Wire library.
// (Wire is a standard library included with Arduino.):

#include <SFE_BMP180.h>
#include <Wire.h>

// You will need to create an SFE_BMP180 object, here called "pressure":

SFE_BMP180 pressure;

#define ALTITUDE 90.0 // Altitude of Robojax Headquarter (Ajax, Ontario, Canada)

void setup()
{
  Serial.begin(9600);
  Serial.println("REBOOT");

  // Initialize the sensor (it is important to get calibration values stored on the device).

  if (pressure.begin())
    Serial.println("BMP180 init success");
  else
  {
    // Oops, something went wrong, this is usually a connection problem,
    // see the comments at the top of this sketch for the proper connections.

    Serial.println("BMP180 init fail\n\n");
    while(1); // Pause forever.
  }
}

void loop()
{
  char status;
  double T,P,p0,a;

  // Loop here getting pressure readings every 10 seconds.

  // If you want sea-level-compensated pressure, as used in weather reports,
  // you will need to know the altitude at which your measurements are taken.
  // We're using a constant called ALTITUDE in this sketch:

  Serial.println();
  Serial.print("provided altitude: ");
  Serial.print(ALTITUDE,0);
  Serial.print(" meters, ");
  Serial.print(ALTITUDE*3.28084,0);
  Serial.println(" feet");

  // If you want to measure altitude, and not pressure, you will instead need
  // to provide a known baseline pressure. This is shown at the end of the sketch.

  // You must first get a temperature measurement to perform a pressure reading.

  // Start a temperature measurement:
  // If request is successful, the number of ms to wait is returned.
  // If request is unsuccessful, 0 is returned.

  status = pressure.startTemperature();
  if (status != 0)
  {
    // Wait for the measurement to complete:
    delay(status);

    // Retrieve the completed temperature measurement:
    // Note that the measurement is stored in the variable T.
    // Function returns 1 if successful, 0 if failure.

    status = pressure.getTemperature(T);
    if (status != 0)
    {
      // Print out the measurement:
      Serial.print("temperature: ");
      Serial.print(T,2);
      Serial.print(" deg C, ");
      Serial.print((9.0/5.0)*T+32.0,2);
      Serial.println(" deg F");

      // Start a pressure measurement:
      // The parameter is the oversampling setting, from 0 to 3 (highest res, longest wait).
      // If request is successful, the number of ms to wait is returned.
      // If request is unsuccessful, 0 is returned.

      status = pressure.startPressure(3);
      if (status != 0)
      {
        // Wait for the measurement to complete:
        delay(status);

        // Retrieve the completed pressure measurement:
        // Note that the measurement is stored in the variable P.
        // Note also that the function requires the previous temperature measurement (T).
        // (If temperature is stable, you can do one temperature measurement for a number of pressure measurements.)
        // Function returns 1 if successful, 0 if failure.

        status = pressure.getPressure(P,T);
        if (status != 0)
        {
          // Print out the measurement:
          Serial.print("absolute pressure: ");
          Serial.print(P,2);
          Serial.print(" mb, ");
          Serial.print(P*0.0295333727,2);
          Serial.println(" inHg");

          // The pressure sensor returns abolute pressure, which varies with altitude.
          // To remove the effects of altitude, use the sealevel function and your current altitude.
          // This number is commonly used in weather reports.
          // Parameters: P = absolute pressure in mb, ALTITUDE = current altitude in m.
          // Result: p0 = sea-level compensated pressure in mb

          p0 = pressure.sealevel(P,ALTITUDE); // we're at 90 meters (Boulder, CO)
          Serial.print("relative (sea-level) pressure: ");
          Serial.print(p0,2);
          Serial.print(" mb, ");
          Serial.print(p0*0.0295333727,2);
          Serial.println(" inHg");

          // On the other hand, if you want to determine your altitude from the pressure reading,
          // use the altitude function along with a baseline pressure (sea-level or other).
          // Parameters: P = absolute pressure in mb, p0 = baseline pressure in mb.
          // Result: a = altitude in m.

          a = pressure.altitude(P,p0);
          Serial.print("computed altitude: ");
          Serial.print(a,0);
          Serial.print(" meters, ");
          Serial.print(a*3.28084,0);
          Serial.println(" feet");
        }
        else Serial.println("error retrieving pressure measurement\n");
      }
      else Serial.println("error starting pressure measurement\n");
    }
    else Serial.println("error retrieving temperature measurement\n");
  }
  else Serial.println("error starting temperature measurement\n");

  delay(5000);  // Pause for 5 seconds.
}
Zdroje a referencie
-
ExternéProduct details from the manufacturerbosch-sensortec.com
-
ExternéSparkFun BMP180 librarygithub.com
Súbory📁
Knižnice Arduino (zip)
-
BMP180 Arduino library
robojax-BMP180-Library.zip0.02 MB
Datasheet (pdf)
-
Bosch BMP180 Datasheet
https://ae-bst.resource.bosch.com/media/_tech/media/datasheets/BST-BMP180-DS000.pdf0.64 MB


![[4 pc] TC4452 VPA MOSFET / IGBT 12A Gate Power Driver TC4452VPA](https://i.ebayimg.com/images/g/g9sAAOSwreRmNM8G/s-l225.jpg)