Allegro ACS758 電流センサー(LCD表示・過電流保護機能付き)Arduino用
このチュートリアルでは、Allegro ACS758 電流センサーを LCD と組み合わせて電流の読み取り値を表示し、過電流保護を実装する方法を学びます。この構成により、電流を監視し、あらかじめ定めた閾値を超えた場合に自動的に負荷を切り離すことができます。プロジェクトはハードウェアとソフトウェアの両方を組み合わせて、機能的な電流監視システムを作成します。

このガイドに従えば、コンポーネントを正しく配線でき、コードの背後にあるプログラミングロジックを理解できます。より視覚的な説明をお求めなら、関連動画(動画の00:00で)もぜひご覧ください。
ハードウェアの解説
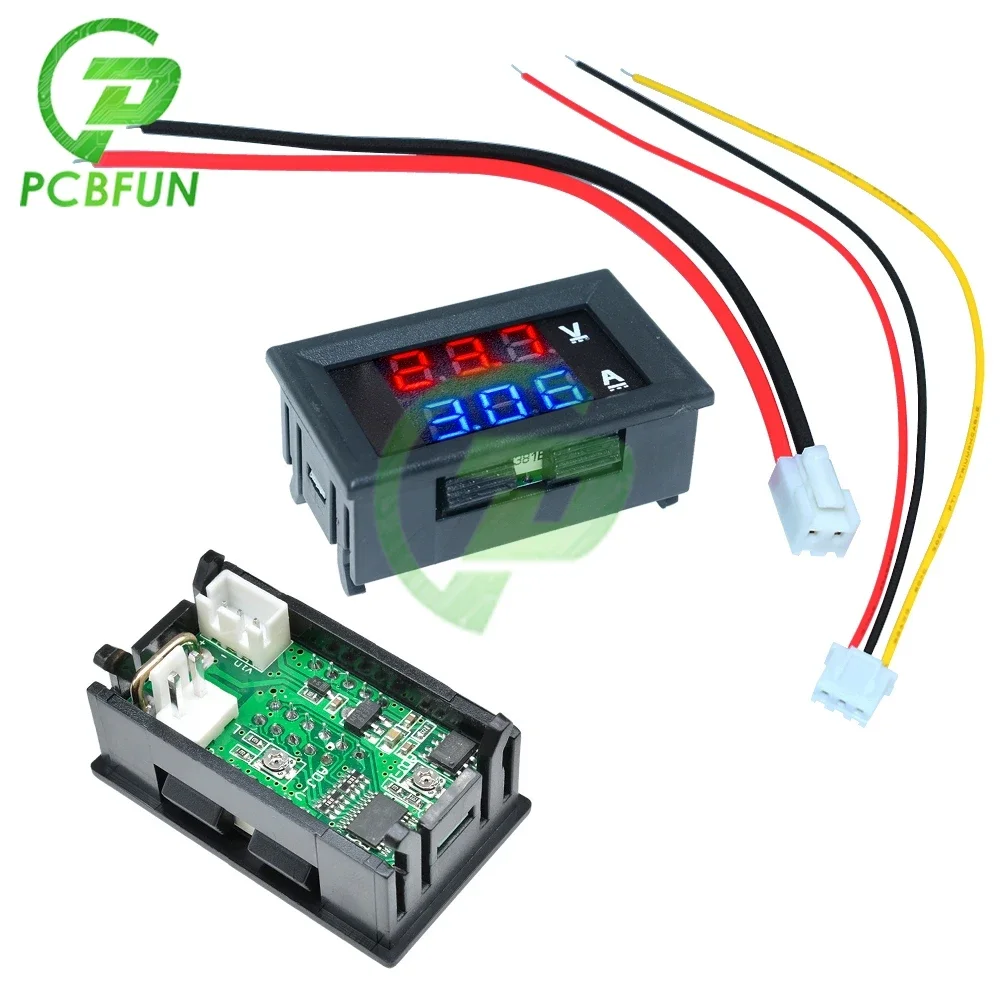
このプロジェクトの主要な構成要素には、Allegro ACS758電流センサー、I2Cインターフェース付きのLCD1602ディスプレイ、およびArduinoボードが含まれます。ACS758センサーはその中を流れる電流を測定し、電流に比例した電圧を出力します。LCD1602は電流の測定値とステータスメッセージを表示し、Arduinoはデータを処理して過電流保護のためにリレーを制御します。
ACS758センサーはホール効果センシングと呼ばれる原理で動作し、直接電気的接触を必要とせずに電流を測定できます。通過する電流の大きさに応じて出力電圧が変化し、電気負荷を安全かつ効率的に監視する手段を提供します。
データシートの詳細
| 製造者 | アレグロ・マイクロシステムズ |
|---|---|
| 部品番号 | ACS758 |
| ロジック/入出力電圧 | 3.3V / 5V |
| 電源電圧 | 5V |
| 出力電流(チャンネルごと) | 最大200A |
| ピーク電流(チャンネルあたり) | 200A |
| PWM周波数に関するガイダンス | 該当なし |
| 入力論理レベルのしきい値 | 0.5×VCC(双方向) |
| 電圧降下 / Rドレイン・ソース(オン)/ 彩度 | 該当なし |
| 熱制限 | 150℃ |
| パッケージ | 基板取り付け |
| 備考 / バリエーション | 異なる電流範囲向けに複数のモデルを用意しています |
- 最大定格に近い条件で動作させる場合は、適切な放熱対策を行ってください。
- デカップリングコンデンサを使用して電源電圧を安定化させてください。
- 使用するリレーが最大負荷電流に耐えられることを確認してください。
- 短絡を避けるため、配線には注意してください。
- よくある落とし穴としてフローティング入力があります。すべての接続が確実であることを確認してください。
- 長時間使用時はセンサーの過熱を監視してください。
必要な部品
- ACS758 電流センサー
- 12V 100Aリレー
- I2C(4線)対応のLCD1602
- 2N2222または2N3904トランジスタ
- 1kΩ 1/4W、または任意の電力用抵抗器
- リレー用電源
- 負荷用電源
- ブレッドボード
- ジャンパー線
配線手順

Allegro ACS758電流センサーとLCD1602ディスプレイを配線するには、まずACS758センサーを接続します。接続するVCCセンサーのピンをArduinoの5Vピンに接続します。そのGNDピンはArduinoのGNDピンに接続する必要があります。そのSセンサーの(信号)ピンはアナログ入力ピンに接続する必要があります。A0Arduino上で。
次に、LCD1602では、次のように接続します:VCCピンをArduinoの5Vピンに接続し、GND地面に押さえつける。そのSDALCDのピンは…に接続するべきだA4Arduinoのピン(SDA)では、一方でSCLピンはそれに接続する必要があるA5Arduinoのピン(SCL)に接続します。最後に、リレーモジュールをデジタルピンに接続してください。2電流の測定値に基づいて負荷を制御するため。
コード例とウォークスルー
Arduinoのコードでは、まず次のような主要な識別子を定義することから始めますVIN、これはACS758センサーに接続されたアナログ入力ピンを表します。そのrelayPinリレー制御用に設定されている一方でmaxCurrent過電流保護の閾値を定義する。
#define VIN A0 // define the Arduino pin A0 as voltage input (V in)
const int relayPin = 2; // set a digital pin for relay
const float maxCurrent = 15.00; // set maximum Current
そのsetup()関数はLCDを初期化し、リレーピンを出力として設定します。また、使用中の電流センサーについてユーザーに知らせる歓迎メッセージをLCDに表示します。
void setup() {
    pinMode(relayPin, OUTPUT); // set relayPin as output
    Serial.begin(9600); // initialize serial monitor
    lcd.begin(); // initialize the LCD
    lcd.backlight(); // Turn on the blacklight
    lcd.print("Robojax");
}
〜の中でloop()この関数では、センサーから電圧を継続的に読み取り、電流を算出します。電流が最大許容値を超えた場合、リレーが作動して負荷を切り離します。このロジックにより、システムは過電流状態から保護されます。
void loop() {
  float voltage_raw = (5.0 / 1023.0) * analogRead(VIN); // Read the voltage from sensor
  float current = voltage / FACTOR; // Calculate current
  if (current >= minCurrent) {
    if (current <= maxCurrent) {
      digitalWrite(relayPin, LOW); // turn the relay OFF to allow current
    } else {
      digitalWrite(relayPin, HIGH); // turn the relay ON to disconnect current
    }
  }
}
デモンストレーション/当日のご案内
配線とコードのアップロードが完了すると、LCDに電流の現在値が表示されます。電流が定義されたものを超えるとmaxCurrent, リレーが作動して負荷を切り離します。負荷電流を徐々に増やし、LCDとシリアルモニタの変化を観察することでこれをテストできます。極性の逆接続を避けてください。これにより部品が損傷するおそれがあります(ビデオの10:15で)。
画像


/*
 *
 * Arduino Sketch for Allegro ACS758 Current Sensor with LCD1602 & I2C module and current protection
 * This sensor can measure current at a range of up to 200A. It has overcurrent protection with a relay to disconnect the load if
 * the current reaches beyond the limit.
 * It operates with 3.3V or 5V.
 * This sketch requires you to watch the following 2 videos before using this code:
 * 1- ACS758 Sensor https://www.youtube.com/watch?v=SiHfjzcqnU4
 * 2- LCD1602 with I2C https://www.youtube.com/watch?v=q9YC_GVHy5A
 * 3- Combined 1 and 2 in one video https://www.youtube.com/watch?v=tug9wjCwDQA
 * 4- Allegro ACS with Robojax Library (latest video and code) https://youtu.be/sB6EULTix2k
 *
 * Written by Ahmad Shamshiri on Tuesday, June 26, 2018 at 17:56 in Ajax, Ontario, Canada
 * for Robojax.com
 * You can watch a detailed video on the ACS758 Current sensor at: https://youtu.be/SiHfjzcqnU4
 * This code has been explained in this video: https://youtu.be/GE4I10IZ1jY
 * This code has been downloaded from Robojax.com
 */
#define VIN A0 // define the Arduino pin A0 as voltage input (V in)
const int relayPin = 2;// set a digital pin for relay
const float VCC   = 5.0;// supply voltage 5V or 3.3V. If using PCB, set to 5V only.
const int model = 2;   // enter the model (see below)

const float maxCurrent = 15.00;// set maximum Current
int maxCurrentWait = 6000;// wait time before current is connected

float minCurrent = 1.00;// reading cutt-off current. 1.00 is 1 Amper

/*
          "ACS758LCB-050B",// for model use 0
          "ACS758LCB-050U",// for model use 1
          "ACS758LCB-100B",// for model use 2
          "ACS758LCB-100U",// for model use 3
          "ACS758KCB-150B",// for model use 4
          "ACS758KCB-150U",// for model use 5
          "ACS758ECB-200B",// for model use 6
          "ACS758ECB-200U"// for model use  7
The sensitivity array holds the sensitivity of the ACS758
current sensors. Do not change.
*/
float sensitivity[] ={
          40.0,// for ACS758LCB-050B
          60.0,// for ACS758LCB-050U
          20.0,// for ACS758LCB-100B
          40.0,// for ACS758LCB-100U
          13.3,// for ACS758KCB-150B
          16.7,// for ACS758KCB-150U
          10.0,// for ACS758ECB-200B
          20.0,// for ACS758ECB-200U
         };

/*
 *   Quiescent output voltage is a factor of VCC that appears at the output
 *   when the current is zero.
 *   For bidirectional sensors it is 0.5 x VCC
 *   For unidirectional sensors it is 0.12 x VCC
 *   For model ACS758LCB-050B, the B at the end represents Bidirectional (polarity doesn't matter)
 *   For model ACS758LCB-100U, the U at the end represents Unidirectional (polarity must match)
 *    Do not change.
 */
float quiescent_Output_voltage [] ={
          0.5,// for ACS758LCB-050B
          0.12,// for ACS758LCB-050U
          0.5,// for ACS758LCB-100B
          0.12,// for ACS758LCB-100U
          0.5,// for ACS758KCB-150B
          0.12,// for ACS758KCB-150U
          0.5,// for ACS758ECB-200B
          0.12,// for ACS758ECB-200U
          };
const float FACTOR = sensitivity[model]/1000;// set sensitivity for selected model
const float QOV =   quiescent_Output_voltage [model] * VCC;// set quiescent Output voltage for selected model
float voltage;// internal variable for voltage


// ======== start of LCD1602 with i2C settings
#include <Wire.h>
#include <LiquidCrystal_I2C.h>

// Set the LCD address to 0x27 for a 16 chars and 2 line display
LiquidCrystal_I2C lcd(0x27, 16, 2);
// ======= END of  LCD1602 with i2C settings
void setup() {
    //Robojax.com ACS758 Current Sensor
    pinMode(relayPin,OUTPUT);// set relayPin as output
    Serial.begin(9600);// initialize serial monitor
    Serial.println("Robojax Tutorial");
    Serial.println("ACS758 Current Sensor");
    Serial.println("with LCD1602 & I2C");
    // initialize the LCD,
    lcd.begin();
  // Turn on the blacklight and print a message.
  lcd.backlight();
    lcd.clear();
  lcd.print("Robojax");
  lcd.setCursor (0,1); // go to start of 2nd line
  lcd.print("ACS758 Current Sensor");
  delay(2000);
  lcd.clear();
}

void loop() {
  //Robojax code ACS758 with LCD1602 and I2C
  float voltage_raw =   (5.0 / 1023.0)* analogRead(VIN);// Read the voltage from sensor
  voltage =  voltage_raw - QOV + 0.007 ;// 0.007 is a value to make voltage zero when there is no current
  float current = voltage / FACTOR;
  if( current >= minCurrent){
     if(current <= maxCurrent)
     {
              Serial.print("Current Limit: ");
              Serial.print(maxCurrent,3);// print voltage with 3 decimal places
              Serial.print("A, I: ");
              Serial.print(current,2); // print the current with 2 decimal places
              Serial.println("A");
              //start of loop Robojax code ACS758 with LCD1602 and I2C
              lcd.clear();
              lcd.setCursor (0,0); // set to line 1, char 0
              lcd.print("Current: ");
              lcd.setCursor (9,0); // go to start of 2nd line
              lcd.print(current);
              lcd.setCursor (15,0); // go to start of 2nd line
              lcd.print("A");

              lcd.setCursor (0,1);
              lcd.print("I Limit: ");
              lcd.setCursor (9,1); // go to start of 2nd line
              lcd.print(maxCurrent);
              lcd.setCursor (15,1); // go to start of 2nd line
              lcd.print("A");
              lcd.backlight();
             //end of loopcode Robojax code ACS758 with LCD1602 and I2C

              digitalWrite(relayPin,LOW);// turn the relay OFF to allow the current.
     }else{
      // the lines bellow will execute if current reaches above the maxCurrent value
              digitalWrite(relayPin,HIGH);// turn the relay ON to disconnect the current.

              Serial.print("Max Reached:");
              Serial.print(maxCurrent,3);// print the maxCurrent
              Serial.println("A");
              Serial.print("Disconnected ");

              //start of loop Robojax code ACS758 with LCD1602 and I2C
              lcd.clear();
              lcd.setCursor (0,0); // set to line 1, char 0
              lcd.print("I Max: ");
              lcd.setCursor (8,0); // go to start of 2nd line
              lcd.print(maxCurrent);
              lcd.setCursor (15,0); // go to start of 2nd line
              lcd.print("A");

              lcd.setCursor (0,1);
              lcd.print("Disconnected");
              lcd.backlight();
             //end of loopcode Robojax code ACS758 with LCD1602 and I2C
             delay(maxCurrentWait );// wait for maxCurrentWait  seconds
     }

  }else{
    Serial.println("No Current");
  lcd.clear();
  lcd.setCursor (0,0);
  lcd.print("No Current");
  digitalWrite(relayPin,LOW);// turn the relay OFF to allow the current.

  }
  delay(500);
}
必要かもしれないもの
-
アマゾンACS758電流センサー(アメリカAmazon)amzn.to
-
アマゾンAmazonで100A 12Vリレーを購入するamzn.to
-
アマゾンAmazonカナダのACS758電流センサーamzn.to
-
アリエクスプレスAliExpressから10個のLCD1602-I2Cを購入するs.click.aliexpress.com
-
アリエクスプレスAliExpressからLCD1602を購入するs.click.aliexpress.com
-
バングッドBanggoodからLCD1602ディスプレイを購入するbanggood.com
リソースと参考文献
-
外部AliExpressからLCD1602を購入するs.click.aliexpress.com
-
外部Amazon USAからLCD1602ディスプレイを購入するamzn.to
-
外部AmazonカナダでLCD1602ディスプレイを購入するamzn.to
-
外部AmazonヨーロッパからLCD1602ディスプレイを購入するamzn.to
-
外部BanggoodからLCD1602ディスプレイを購入するbanggood.com
ファイル📁
データシート(pdf)
-
ACS758電流センサのデータシート
robojax_ACS758_current_sensor_datasheet.pdf1.03 MB