600TVL Mini FPV Camera with 170 Degree wide angle lens Explained
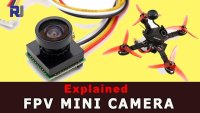
This guide covers the 600TVL Mini FPV Camera with a 170-degree wide-angle lens. This tiny camera is an excellent choice for first-person view (FPV) drone flying, RC vehicles, or any project requiring a compact, lightweight video feed. Its key feature is the integrated condenser microphone, allowing you to capture audio alongside the video signal without needing a separate module.
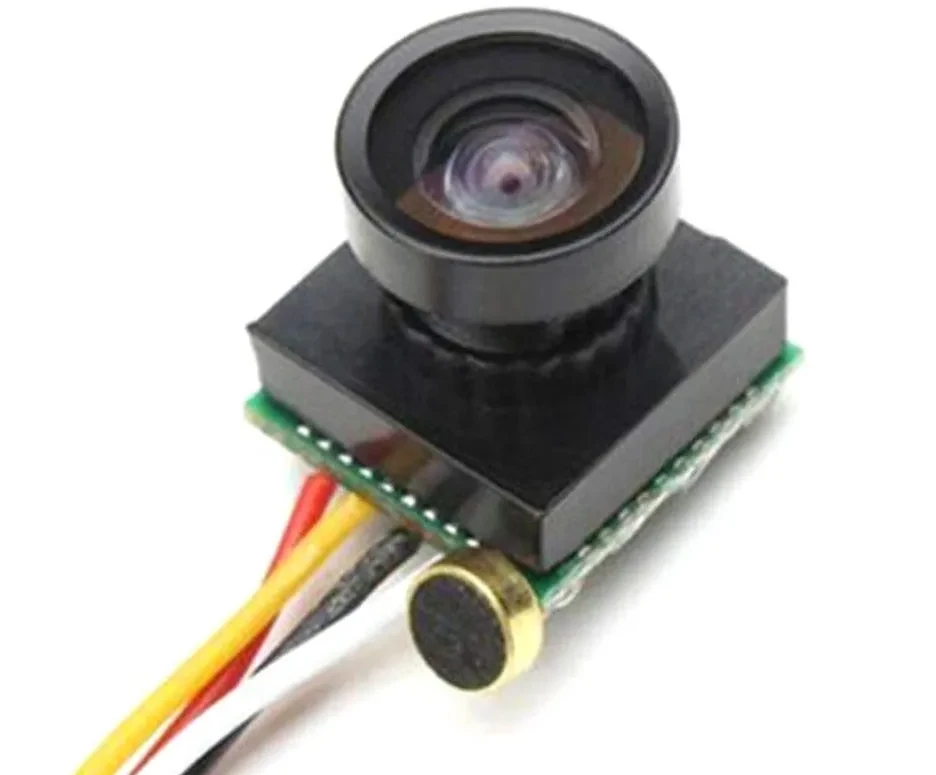
The camera is designed to be a simple, self-contained unit. You can use it to build a wide variety of projects, including:
- Adding a live video feed to a first-person view (FPV) drone or RC car.
- Creating a lightweight, portable security or baby monitor.
- Building a custom camera system for a robotics project.
- Streaming live video from a remote or hard-to-reach location.
Hardware Overview
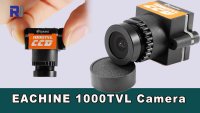
The camera module is exceptionally small, as shown in the video, easily fitting on a fingertip. It has a bare PCB, so it is recommended to protect it with tape or a small enclosure if used in harsh conditions (in video at 00:46). The most notable feature is the built-in microphone, which picks up audio from the surroundings (in video at 00:27).
Pinout and Wiring
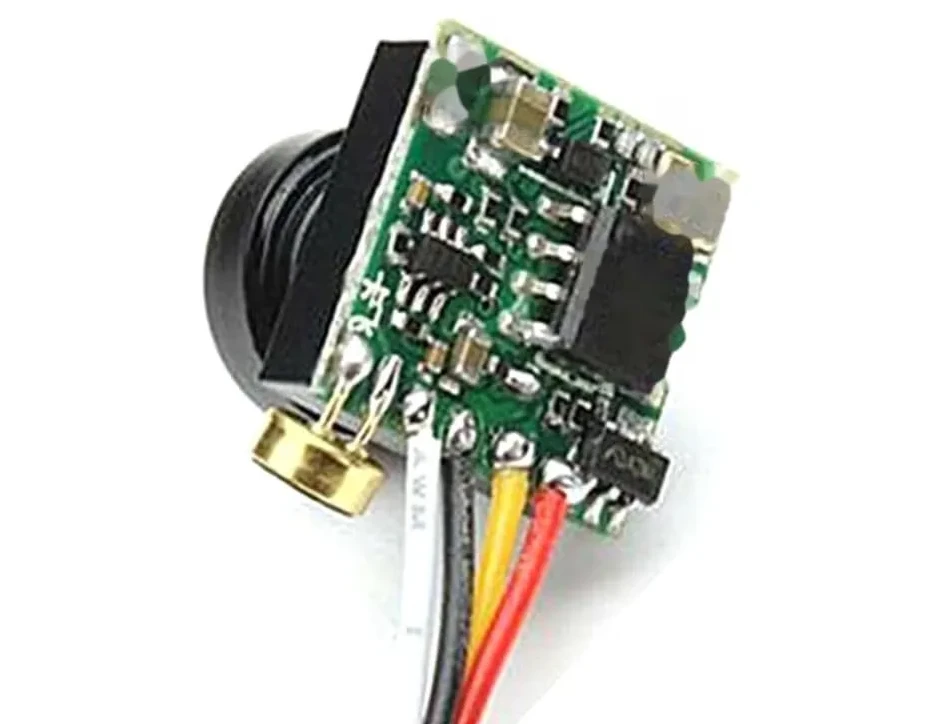
The camera connects via four wires, each with a specific function. Understanding this wiring is crucial for proper operation. The camera requires a strict 5V power supply (in video at 01:03).
- Red Wire (Power): Connects to the positive (+) terminal of a 5V power source.
- Black Wire (Ground): Connects to the negative (-) terminal of the power source and serves as the common ground.
- Yellow Wire (Video Out): This is the composite video output signal. Connect this to the video input of your display or video transmitter (VTX).
- White Wire (Audio Out): This is the audio output signal from the built-in microphone.
Wiring Guide
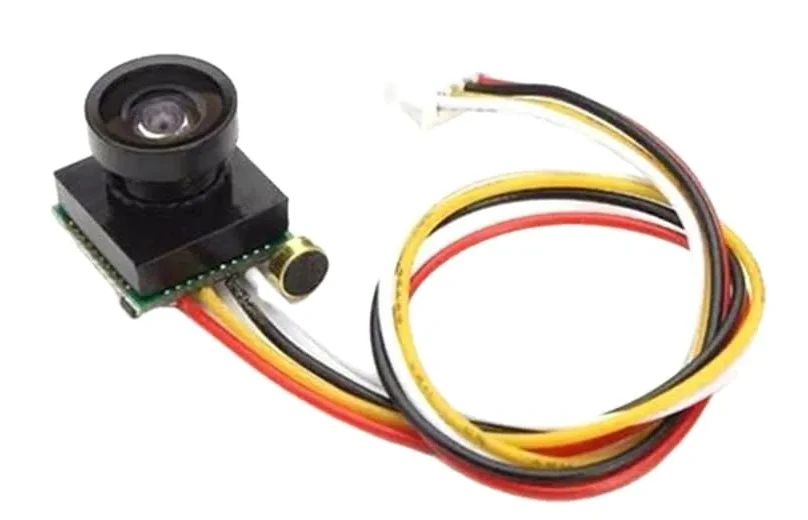
Wiring the camera is straightforward. The video demonstrates connecting it to a monitor for a quick test (in video at 02:14).
- Power: Connect the red wire to a 5V source and the black wire to the ground (GND) of the same source.
- Video: Connect the yellow wire to the video input of your display or video transmitter.
- Audio: Connect the white wire to the audio input of your video transmitter or recording device.
In the video, the presenter connects the power and ground to a 5V power board and the yellow video wire directly to a monitor to verify the feed (in video at 02:48). The image appears instantly, confirming the setup is correct (in video at 03:01).
Power Requirements
The camera is strictly a 5V device. Supplying a higher voltage, such as 12V, will likely damage it. When connecting to a power distribution board (PDB) on a drone, ensure you use the 5V output pads, not the battery voltage pads (in video at 01:41).
Testing the Camera
To test the camera, simply provide 5V power and connect the yellow video wire to a compatible display. The video feed will start immediately without any additional configuration.
Video Chapters
- [00:06] Introduction to the FPV camera
- [00:27] Features and physical size
- [00:56] Wire color coding and functions
- [01:41] Power connection options
- [02:14] Testing the camera with a monitor
- [03:14] Conclusion and final thoughts
Images
Things you might need
-
Amazon
-
eBay
-
AliExpressBuy FPV camera or transmitter from AliExpresss.click.aliexpress.com
-
AliExpressRC Micro Camera FPV AIO 5.8G 25MW 40CH 800TVL on AliExpresss.click.aliexpress.com
Resources & references
No resources yet.
Files📁
No files available.