સરળ આર્ડુઇનો પ્રોજેક્ટ: પુશબટન વડે સર્વોને 180 ડિગ્રીથી 0 અને પાછળ નિયંત્રિત કરો
પરિચય
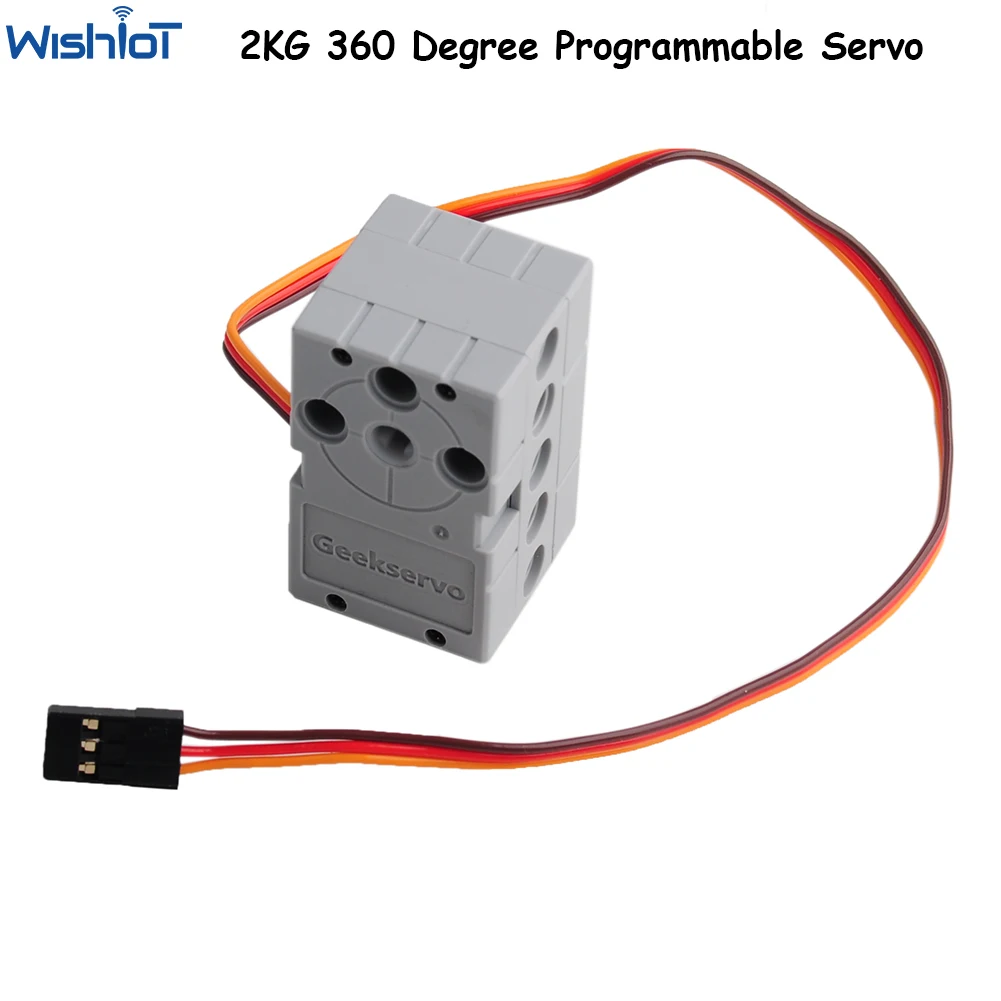
આ લેખ એક સરળ Arduino પ્રોજેક્ટ સમજાવે છે જે સર્વો મોટરને નિયંત્રિત કરવા માટે પુશબટનનો ઉપયોગ કરે છે. સર્વો મોટર એ એક ચોક્કસ મોટર છે જે ચોક્કસ સ્થિતિમાં ફરી શકે છે, જે તેને રોબોટિક્સ અને ઓટોમેશન જેવી એપ્લિકેશનો માટે આદર્શ બનાવે છે. આ પ્રોજેક્ટ બટન દબાવવામાં આવે ત્યારે સર્વોને 0 થી 180 ડિગ્રી સુધી ખસેડશે અને છોડવામાં આવે ત્યારે 0 પર પાછું લાવશે.
પ્રોજેક્ટ ઘટકો અને વાયરિંગ
તમારે Arduino બોર્ડ, સર્વો મોટર અને પુશબટનની જરૂર પડશે.
વાયરિંગ સૂચનાઓ:
- સર્વો મોટર: સિગ્નલ વાયર (સામાન્ય રીતે પીળો/નારંગી) ને Arduino પિન 3 સાથે, પાવર વાયર (લાલ) ને 5V સાથે, અને ગ્રાઉન્ડ વાયર (કાળો/ભૂરો) ને GND સાથે જોડો.
- પુશબટન: એક પગને ડિજિટલ પિન 2 સાથે અને બીજા પગને GND પિન સાથે જોડો. બસ! Arduino ના આંતરિક પુલ-અપ રેઝિસ્ટરનો ઉપયોગ કરીને, તમારે બાહ્ય રેઝિસ્ટરની જરૂર નથી.
કોડ સમજાવ્યો
પ્રોગ્રામ ત્રણ મુખ્ય ભાગોમાં વિભાજિત છે: પિન વ્યાખ્યાઓ, setup() ફંક્શન અને loop() ફંક્શન.
પિન વ્યાખ્યાઓ
આ વિભાગ જરૂરી લાઇબ્રેરીઓ સેટ કરે છે અને તમે ઉપયોગ કરી રહ્યાં છો તે પિનને અર્થપૂર્ણ નામો સોંપે છે.
#include <Servo.h>

const int servoPin = 3;
const int buttonPin = 2;

Servo myServo;
setup() ફંક્શન
setup() ફંક્શનમાં એવો કોડ હોય છે જે Arduino બોર્ડ ચાલુ અથવા રીસેટ થાય ત્યારે ફક્ત એક વાર ચાલે છે. તે પ્રારંભિક રૂપરેખાંકન માટે વપરાય છે.
void setup() {
  myServo.attach(servoPin);
  pinMode(buttonPin, INPUT_PULLUP);
  myServo.write(0);
}
મુખ્ય ફેરફાર pinMode(buttonPin, INPUT_PULLUP); છે. આ એક આંતરિક રેઝિસ્ટર સક્રિય કરે છે જે પિનના વોલ્ટેજને HIGH પર ખેંચે છે. જ્યારે તમે બટન દબાવો છો, ત્યારે તે પિનને ગ્રાઉન્ડ સાથે જોડે છે, અને વોલ્ટેજ LOW પર આવી જાય છે.
loop() ફંક્શન
loop() ફંક્શનમાં મુખ્ય પ્રોગ્રામ લોજિક હોય છે અને setup() ફંક્શન સમાપ્ત થયા પછી તે વારંવાર કાયમ માટે ચાલે છે.
void loop() {
  int buttonState = digitalRead(buttonPin);

  if (buttonState == LOW) {
    myServo.write(180);
  } else {
    myServo.write(0);
  }
}
અહીં લોજિક હવે ઉલટાવી દેવામાં આવ્યું છે. બટન દબાવવાથી LOW સિગ્નલ મળે છે, તેથી સર્વોને 180 ડિગ્રી પર ખસેડવા માટે if (buttonState == LOW) શરતનો ઉપયોગ થાય છે.
Images

#include <Servo.h>
/*
This is sketch for controlling servo motor. when push button is pressed, the servo moves to 180 degreees and stays there. when the push button is released, the servo motor returns back to 0 degree.
*/
// Define the pin for the servo motor
const int servoPin = 3;
// Define the pin for the push button
const int buttonPin = 2;

// Create a Servo object
Servo myServo;

void setup() {
  // Attach the Servo object to the servo pin
  myServo.attach(servoPin);
  // Set the button pin as an input
  pinMode(buttonPin, INPUT);
  // Start the servo at 0 degrees
  myServo.write(0);
}

void loop() {
  // Read the state of the push button
  int buttonState = digitalRead(buttonPin);

  // If the button is pressed (HIGH)
  if (buttonState == HIGH) {
    // Move the servo to 180 degrees
    myServo.write(180);
  } else {
    // If the button is released (LOW), move the servo back to 0 degrees
    myServo.write(0);
  }
}
Things you might need
-
AmazonServo motor on Amazonamzn.to
-
AliExpressPurchase SG90 Servo motor 180 or 360 from AliExpresss.click.aliexpress.com
Resources & references
No resources yet.
Files📁
No files available.