Review of SZBK07 300W 20A Buck converter 1.2V to 36V with constant Current
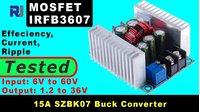
This guide reviews the SZBK07, a compact and powerful buck converter module capable of handling up to 15 amps of current. This module is a versatile tool for any electronics workbench, allowing you to step down a wide range of input voltages (6-40V) to a stable, adjustable output (1.2-36V). Its key feature is the inclusion of both constant voltage (CV) and constant current (CC) regulation, making it perfect for a variety of applications beyond simple voltage step-down.
The real-world value of this module lies in its ability to act as a customizable power supply. Here are a few practical applications:
- Battery Charger: Set the output voltage and current limit to safely charge various battery chemistries like Li-Ion, Lead-Acid, or LiFePO4.
- LED Driver: Use the constant current mode to power high-power LEDs, ensuring a consistent brightness and preventing damage from overcurrent.
- Bench Power Supply: Create a simple, adjustable power supply for your projects by connecting it to a laptop charger or an old power adapter.
- Solar Charge Controller: Regulate the variable output from a solar panel to charge a battery bank efficiently.
- DIY Project Power: Power any project that requires a specific voltage and current limit, such as a motor driver, a heated bed for a 3D printer, or a portable speaker system.
Hardware Overview
The SZBK07 module is designed for easy integration. Let's break down its key components (in video at 00:55).
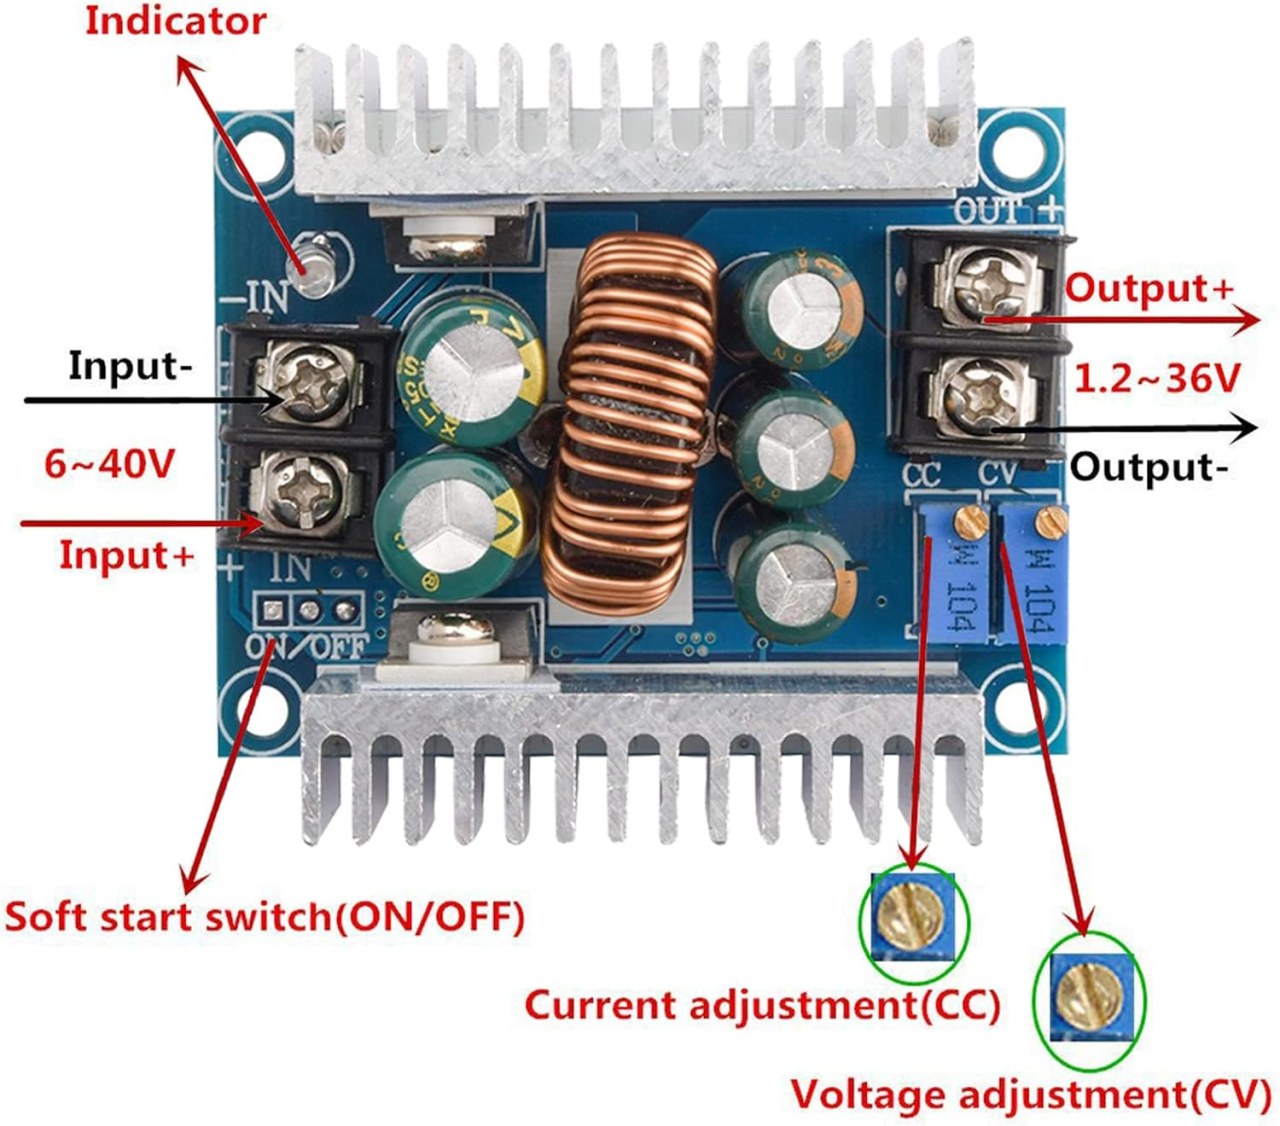
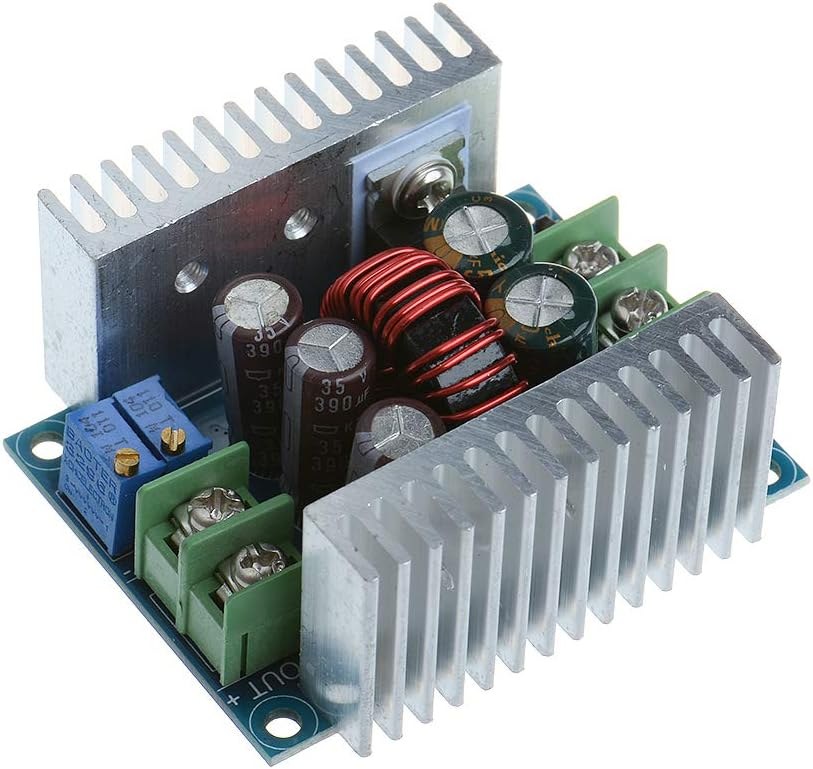
The input side features a power switch, a power LED, and a two-terminal screw connector for your positive and negative input wires. The output side has a similar terminal block for your load. The board includes two potentiometers: one labeled CV for adjusting the constant voltage, and the other labeled CC for setting the constant current limit. It is important to note that there is no built-in meter, so you'll need an external multimeter to set your desired values precisely (in video at 02:19).
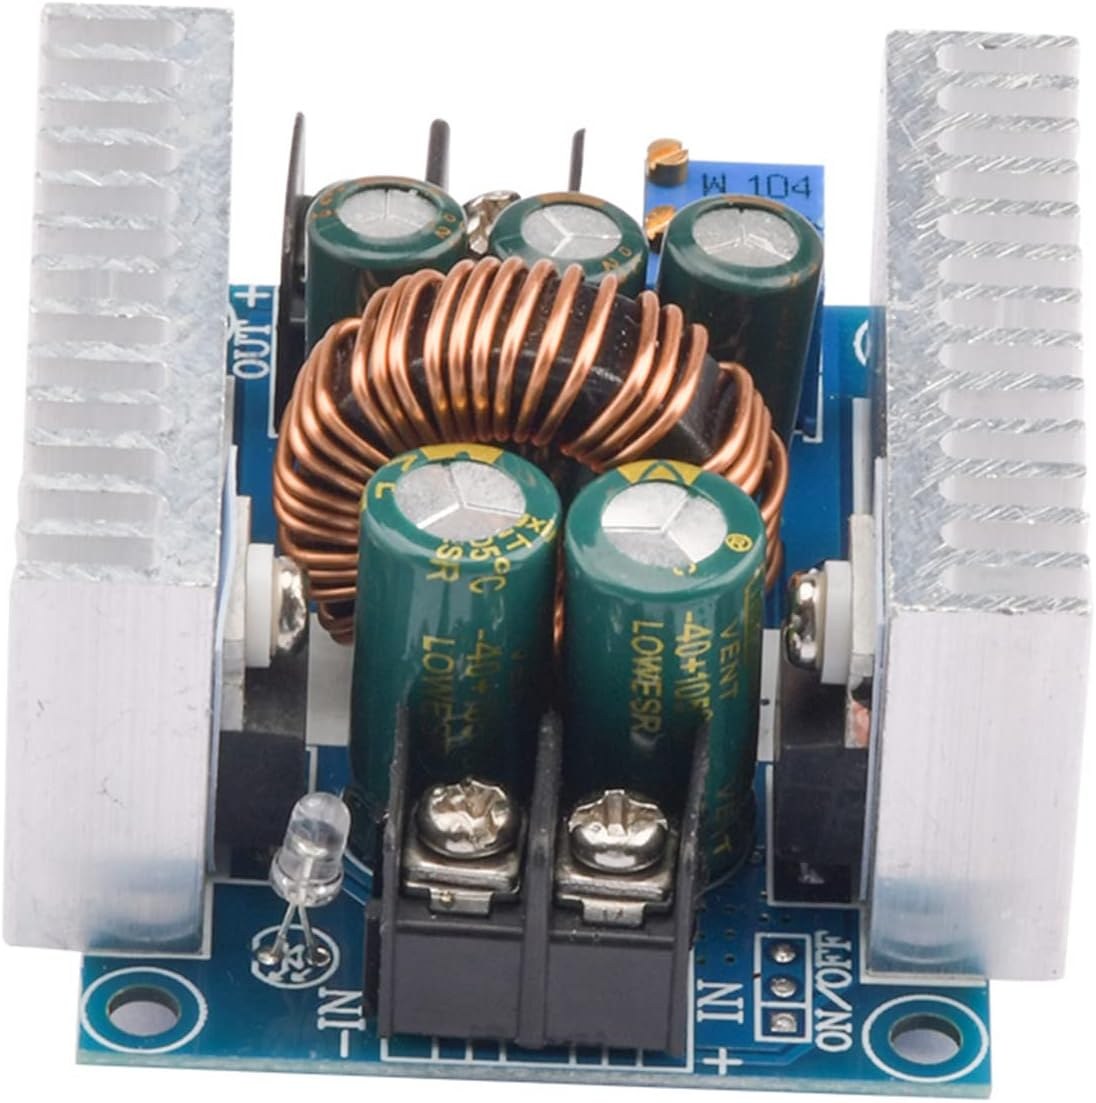
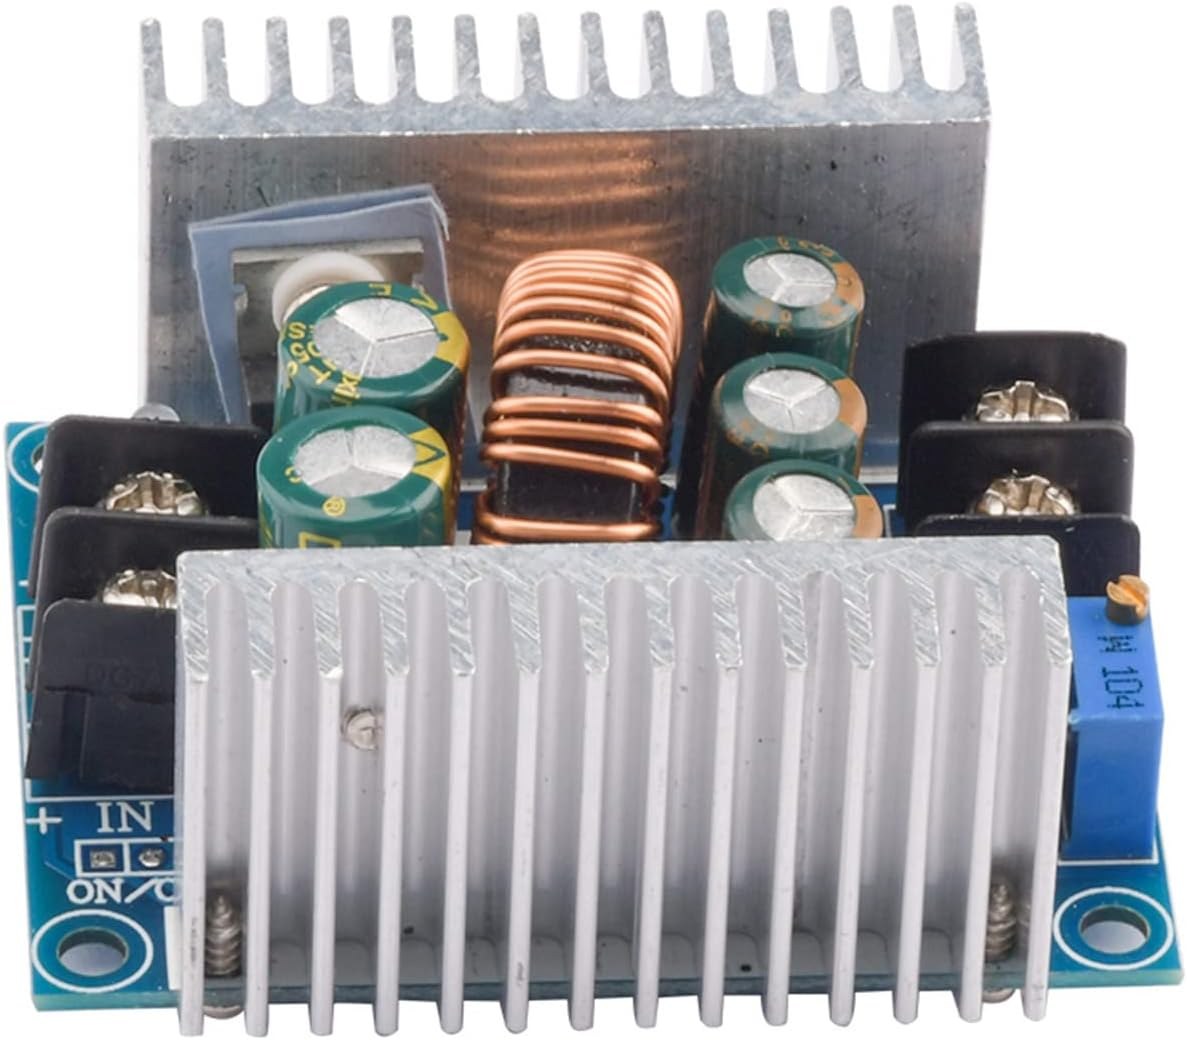
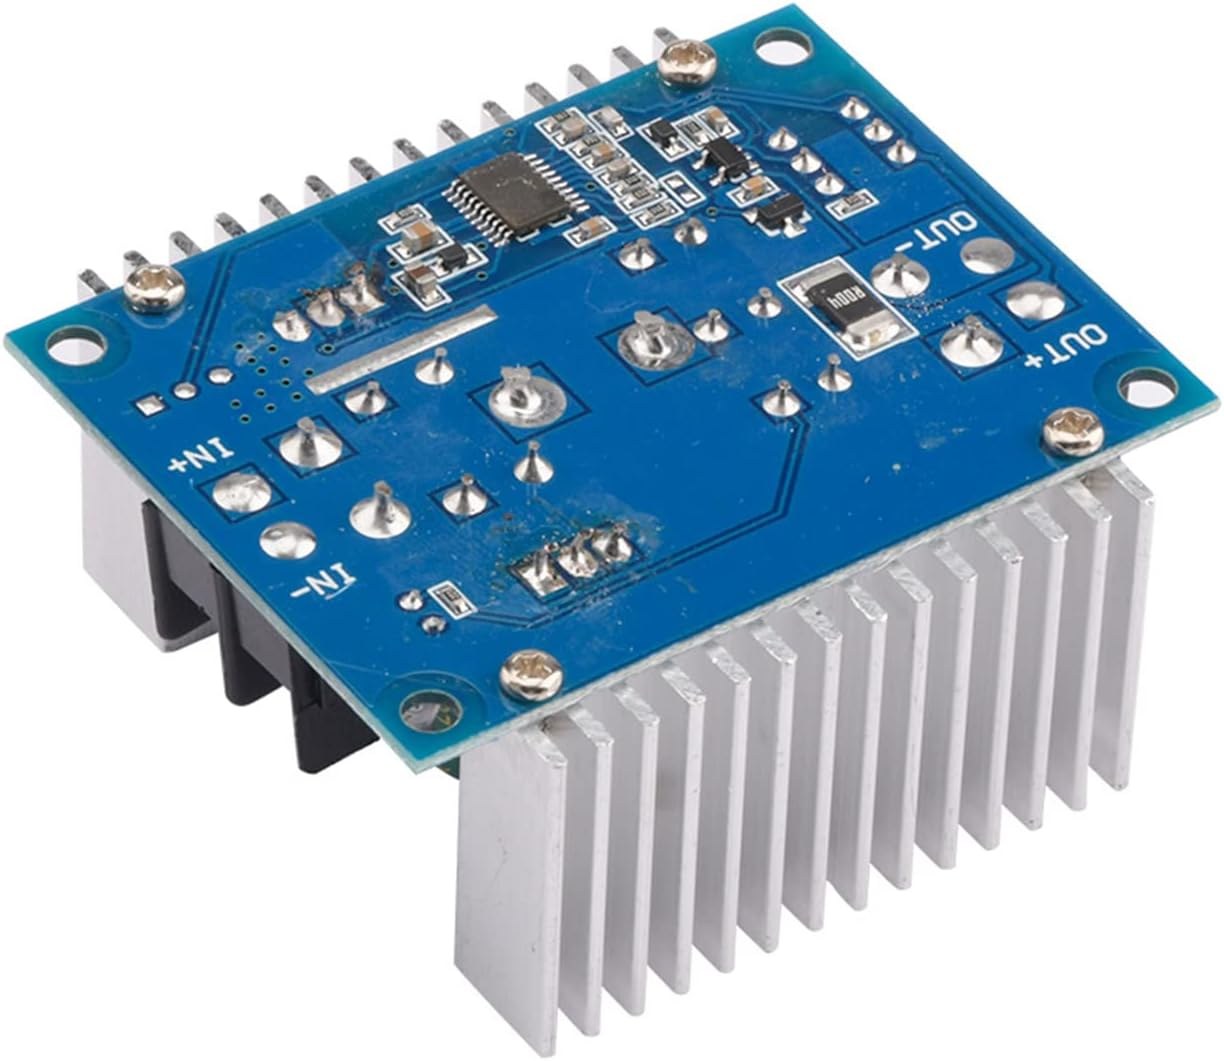
Internally, the module uses two IRFB3607 N-channel MOSFETs mounted on a substantial heatsink for cooling. These are high-current, 75V, 80A MOSFETs, which explains the module's 15A rating. The main control chip is located on the underside of the board, so it's crucial to mount the module with adequate clearance to prevent short circuits against a conductive surface (in video at 02:53). The physical dimensions are 53mm x 60mm x 28.3mm, and it weighs 85.1 grams (in video at 03:28).
Wiring Guide
Connecting the SZBK07 is straightforward. Here is a simple guide for a basic setup.
Note: A detailed wiring diagram is mentioned in the video. Please refer to the visual guide for a clear representation of the connections.
Steps for wiring:
- Connect Input: Connect your DC power source (6-40V) to the input terminals on the left side of the module, ensuring correct polarity (positive to +, negative to -).
- Connect Load: Connect your device or load to the output terminals on the right side, again paying close attention to polarity.
- Set Voltage: Before connecting a load, turn the CV potentiometer to adjust the output voltage to your desired level, as measured by a multimeter.
- Set Current Limit: With the load connected, turn the CC potentiometer to set the maximum current. You can monitor this with a multimeter in series. The module will reduce its output voltage to keep the current from exceeding this limit.
Testing and Performance
The video provides a comprehensive test of the module's performance under various input and output conditions. Here is a summary of the key findings.
Voltage Regulation
The first test involved setting the input to 30V and attempting to adjust the output to standard voltages. While the module could be adjusted down to 1.5V with no load, the minimum stable voltage with a load connected was found to be around 2.5V (in video at 05:10). This is an important consideration for low-voltage applications.
Current Handling and Voltage Drop
The module was then tested at different input voltages (30V, 24V, 15V, 12V, and 9V) to see how much current it could deliver while maintaining a stable output voltage. The key metric here was the voltage drop under load. The presenter considered a drop of up to 500mV as acceptable for most tests, and 300mV for the 3.3V output.
Here are the maximum acceptable currents found during the tests:
- Input 30V: The module handled 9A at 24V output, 10A at 15V, 12A at 12V, 12A at 5V, and 1.3A at 3.3V (in video at 05:33).
- Input 24V: It delivered 11A at 15V output, 9A at 12V, 9A at 9V, 9A at 5V, and 7A at 3.3V (in video at 08:37).
- Input 15V: The module provided 9A at 12V output, 9A at 9V, 9A at 5V, and 5A at 3.3V (in video at 11:27).
- Input 12V: It handled 9A at 9V output, 9A at 5V, and 6A at 3.3V (in video at 13:33).
- Input 9V: The module delivered 7A at 5V output and 5A at 3.3V (in video at 15:09).
These tests show that while the module is rated for 15A, the maximum safe current is highly dependent on the input and output voltage difference. A larger difference (e.g., 30V to 3.3V) generates more heat and leads to a higher voltage drop, limiting the usable current.
Ripple Voltage
The output ripple was also measured under load. At a 30V input and 12V output with 9A, the ripple was measured at 212mV (in video at 16:04). At a 15V output, it was 264mV, and around 250mV for 24V and 12V outputs. The ripple at 3.3V was 216mV. With no load, the ripple dropped significantly to around 86mV (in video at 18:27). This level of ripple is typical for a non-synchronous buck converter and should be acceptable for most applications, though you may want to add additional filtering capacitors for sensitive circuits.
Conclusion
The SZBK07 is a powerful and affordable buck converter module that delivers on its promise of high current and adjustable voltage/current. The main takeaway is that while it is rated for 15A, you should expect to derate this value based on your specific input-to-output voltage ratio to avoid excessive voltage drop and heat. It is a fantastic choice for DIY power supplies, battery chargers, and LED drivers, provided you respect its thermal limits and ensure proper cooling.
Chapters
- [00:00] Introduction and video overview
- [00:55] Hardware Explained
- [04:34] Demonstration and maximum/minimum voltage
- [05:33] Test with Input: 30V
- [08:37] Test with Input: 24V
- [11:27] Test with Input: 15V
- [13:33] Test with Input: 12V
- [15:09] Test with Input: 9V
- [16:04] Ripple Voltage
Imagens
Coisas que você pode precisar
-
Amazonas
-
eBay300W 20A Buck converter on eBayebay.us
-
AliExpress300W 20A Buck converter on AliExpresss.click.aliexpress.com
-
AliExpress300W 20A Buck converter on AliExpress-2s.click.aliexpress.com
Recursos e referências
Ainda não há recursos.
Arquivos📁
Nenhum arquivo disponível.