Koodka Arduino ee shaashka Nokia 5110 LCD
Casharkaani waxaan ku baran doonaa sida loo isticmaalo shaashadda Nokia 5110 LCD ee Arduino si loo muujiyo sawiro iyo qoraal kala duwan. Mashruucani wuxuu muujin doonaa sida loo sawiro xariiqo, goobo, leydi, iyo xitaa qoraal lagu muujiyo gudaha qaababkaas. Dhammaadka, waxaad fahmi doontaa sida loo la xiriiro LCD-gan iyadoo la isticmaalayo koodhka Arduino.

Si aan u bixiyo hagitaan cad, waxaan kugu dhiirigelinayaa inaad daawato fiidiyowga la xidhiidha si aad u aragto sawirka xidhiidhka iyo hirgelinta koodhka (fiidiyowga 00:00).
Qalabka La Sharaxay
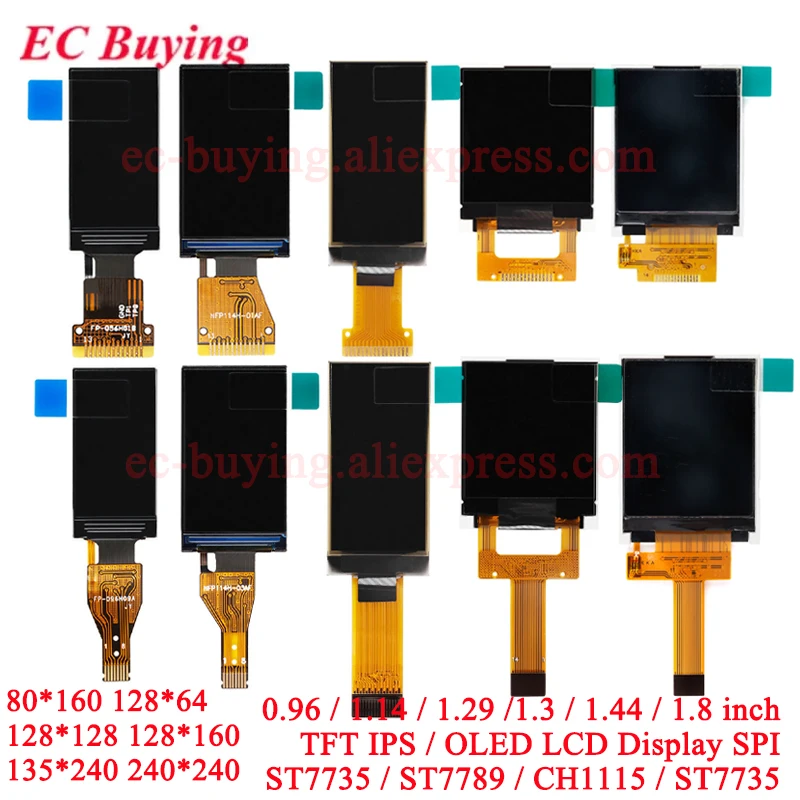
Nokia 5110 LCD waa shaashad garaafeed isku dhaysan oo ku shaqeysa borotokoolka SPI, taasoo u oggolaanaysa isgaarsiin hufan oo lala yeesho Arduino. Waxay leedahay xallin 84x48 pixels, taasoo ku filan in lagu muujiyo sawiro iyo qoraal aasaasi ah. Shaashaddu waxay u baahan tahay dhawr biin oo keliya si ay u shaqeyso, taasoo ka dhigaysa doorasho fiican mashaariicda leh ikhtiyaar I/O xaddidan.
Marka lagu daro LCD-ga, waxaad u baahan doontaa guddi Arduino, sida caadiga ah Arduino Uno ama mid la mid ah, breadboard, iyo xadhko jumper ah. Xidhiidhku waa toos, LCD-gana waxaa lagu shideeyaa isku xirka biinka VCC ee Arduino-ga 5V.
Faahfaahinta Xogta
| Soo saaraha | Philips |
|---|---|
| Nambarka qaybta | PCD8544 |
| Danabka Logic/IO | 3.3 V |
| Danabka sahayda | 3.3 – 5.0 V |
| Ugu badnaan hadda | 200 µA |
| Xallinta shaashadda | 84 x 48 pixels |
| Interface | Serial (SPI) |
| Baakad | Module |
- Isticmaal resistor xaddidaya hadda ee biinka LED si looga hortago waxyeello.
- Hubi in xidhiidhada VCC iyo GND ay adag yihiin si looga fogaado dhibaatooyinka shaashadda.
- Labo jeer hubi xidhiidhada SPI: SCE, RST, D/C, DN, iyo SCLK.
- Ku hay goobta contrast ee inta lagu taliyay (40-60).
- Cusbooneysii shaashadda ka dib markaad sawirto si aad u aragto isbeddelada.
Hagaha Xidhiidhka

Si aad ugu xidhid Nokia 5110 LCD Arduino-gaaga, raac xidhiidhadaan:
- Ku xidh biinka
VCCee LCD-ga biinka5Vee Arduino-ga. - Ku xidh biinka
GNDee LCD-ga mid ka mid ah biinadaGNDee Arduino-ga. - Ku xidh biinka
SCEee LCD-ga biinka7ee Arduino-ga. - Ku xidh biinka
RSTbiinka6. - Ku xidh biinka
D/Cbiinka5. - Ku xidh biinka
DN (MOSI)biinka11. - Ku xidh biinka
SCLKbiinka13. - Ugu dambeyntii, ku xidh biinka
LEDbiinka9iyadoo la marayo resistor 330-ohm ah.
Xidhiidhadani waxay u oggolaan doonaan Arduino inuu si hufan ula xiriiro LCD-ga. Haddii aad u baahan tahay inaad hagaajiso xidhiidhada qaabkaaga gaarka ah, hubi in biinada SPI ay si joogto ah u ahaadaan.
Tusaalooyinka Koodhka & Sharaxaad
Qaybta koodhka ee soo socota waxay bilaabaysaa LCD-ga oo dejisaa contrast:
void setup() {
  Serial.begin(9600);
  lcdBegin(); // Bilaab LCD-ga
  setContrast(40); // Deji heerka contrast
  delay(2000);
  clearDisplay(BLACK); // Nadiifi shaashadda
  updateDisplay(); // Cusbooneysii shaashadda
}
Qaybtan, shaqada lcdBegin() waxay dejisaa biinada lagama maarmaanka u ah LCD-ga, halka setContrast(40) ay hagaajiso contrast-ka shaashadda. Ka dib dib u dhigma, shaashadda waa la nadiifiyaa si loogu diyaariyo waxyaabo cusub.

Marka xigta, waxaan ku sawiri karnaa xariiq shaashadda:
setLine(1, 4, 70, 4, BLACK); // Sawir xariiq toosan
updateDisplay(); // Ka dhig xariiqda mid la arki karo
Xariiqdan koodhku waxay isticmaashaa shaqada setLine(), taasoo qaadata isku-duwayaasha bilowga iyo dhamaadka oo ay weheliso halbeeg midab ah. Ka dib sawirka, waxaa lagama maarmaan ah in loo yeero updateDisplay() si isbeddelada shaashadda loo muujiyo.
Ugu dambeyntii, waxaan ku muujin karnaa qoraal gudaha leydi:
setRect(10, 10, 70, 40, 1, BLACK); // Sawir leydi buuxa
setStr("Robojax ", 15, 20, WHITE); // Muuji qoraal gudaha
updateDisplay(); // Cusbooneysii si loo muujiyo isbeddelada
Halkan, setRect() waxay abuurtaa leydi, halka setStr() ay dhigto qoraal gudihiisa. Halbeegyada midabku waxay qeexaan sida leydiga iyo qoraalku uga soo baxaan shaashadda.
Muuqaal / Waxa Laga Filan Karo
Markaad wado koodhka, waxaad arki doontaa taxane sawiro ah oo lagu muujiyo Nokia 5110 LCD, oo ay ku jiraan xariiqo, goobo, leydi, iyo qoraal. Hubi in xidhiidhkaagu sax yahay si aad uga fogaato dhibaatooyinka sida rogaanshaha danab ama gelinta sabeynaysa, taasoo ka hor istaagi karta shaqeynta shaashadda (fiidiyowga 02:30).
Waqtiyada Fiidiyowga
- 00:00 - Hordhaca mashruuca
- 01:30 - Hagaha xidhiidhka
- 03:00 - Dejinta koodhka iyo sharaxaad
- 05:00 - Muujinta sawirada iyo qoraalka
- 07:30 - Gunaanad iyo wax ka beddel dheeri ah
Sawirro
/*
 * This is Arduino code to use a dual-axis XY joystick with a Nokia 5110 LCD.
 * It also reads a switch.
 * Other Arduino libraries and videos: https://robojax.com

 * Watch the video for this code to learn it fully.
  * Watch the video here: https://youtu.be/Pk5Wig5EO0s

 *
 * Get this code and other Arduino codes from Robojax.com.
 Learn Arduino step by step in a structured course with all material, wiring diagrams, and libraries
 all in one place. Purchase my course on Udemy.com: http://robojax.com/L/?id=62

If you found this tutorial helpful, please support me so I can continue creating
content like this. You can support me on Patreon: http://robojax.com/L/?id=63

or make a donation using PayPal: http://robojax.com/L/?id=64

 *  * This code is "AS IS" without warranty or liability. Free to be used as long as you keep this note intact. *
 * This code has been downloaded from Robojax.com
    This program is free software: you can redistribute it and/or modify
    it under the terms of the GNU General Public License as published by
    the Free Software Foundation, either version 3 of the License, or
    (at your option) any later version.

    This program is distributed in the hope that it will be useful,
    but WITHOUT ANY WARRANTY; without even the implied warranty of
    MERCHANTABILITY or FITNESS FOR A PARTICULAR PURPOSE.  See the
    GNU General Public License for more details.

    You should have received a copy of the GNU General Public License
    along with this program.  If not, see <https://www.gnu.org/licenses/>.


Nokia 5110 LCD Example Code
   Graphics driver and PCD8544 interface code for SparkFun's
   84x48 Graphic LCD.
   https://www.sparkfun.com/products/10168
   Original source code:
https://github.com/sparkfun/GraphicLCD_Nokia_5110

  This stuff could all be put into a library, but we wanted to
  leave it all in one sketch to keep it as transparent as possible.

  Hardware: (Note: most of these pins can be swapped)
    Graphic LCD Pin ---------- Arduino Pin
       1-VCC       ----------------  5V
       2-GND       ----------------  GND
       3-SCE       ----------------  7
       4-RST       ----------------  6
       5-D/C       ----------------  5
       6-DN(MOSI)  ----------------  11
       7-SCLK      ----------------  13
       8-LED       - 330 Ohm res --  9
   The SCLK, DN(MOSI), must remain where they are, but the other
   pins can be swapped. The LED pin should remain a PWM-capable
   pin. Don't forget to stick a current-limiting resistor in line
   between the LCD's LED pin and Arduino pin 9!
   Modified by Ahmad S. for Robojax.com
   on Mar 11, 2018 at 20:49 in Ajax, Ontario, Canada
*/
#include <SPI.h>
#include "robojax-nokia5110.h"

void setup()
{
  Serial.begin(9600);

  lcdBegin(); // This will setup our pins, and initialize the LCD
  //updateDisplay(); // with displayMap untouched, SFE logo
  setContrast(40); // Good values range from 40-60
  delay(2000);

  clearDisplay(BLACK);
  updateDisplay();
}


void loop()
{

    // setPixel takes 2 to 3 parameters. The first two parameters
    // are x and y variables. The third optional parameter is
    // a "color" boolean. 1 for black, 0 for white.
    // setPixel() with two variables will set the pixel with
    // the color set to black.
    // clearPixel() will call setPixel with the color set to
    // white.
   // setPixel(random(0, LCD_WIDTH), random(0, LCD_HEIGHT));
    // After drawing something, we must call updateDisplay()
    // to actually make the display draw something new.

    //invertDisplay(); // This will swap all bits in our display

    // setLine(x0, y0, x1, y1, bw) takes five parameters. The
    // first four are coordinates for the start and end of the
    // line. The last parameter is the color (1=black, 0=white).
    setLine(1, 4, 70, 4, BLACK);
    updateDisplay();
delay(2000);
    //analogWrite(blPin, i); // blPin is connected to BL LED

  /* setRect Example */
  clearDisplay(WHITE); // Start fresh

  // setCircle takes 5 parameters -- x0, y0, radius, bw, and
  // lineThickness. x0 and y0 are the center coordinates of the circle.
  // radius is the...radius. bw is the color (0=white, 1=black)
  // lineThickness is the line width of the circle, 1 = smallest
  // thickness moves in towards the center.
   setCircle(20, 30, 20, BLACK, 2);
  updateDisplay();
  delay(2000);
clearDisplay(WHITE);

  setStr("Welcome to ", 0, 0, BLACK);
      updateDisplay();
    delay(100);
  setLine(0, 9, 70, 9, BLACK);
    updateDisplay();
    delay(100);
   setStr("Robojax ", 20, 20, BLACK);
  updateDisplay();
  delay(2000);
  clearDisplay(WHITE);


  // setRect takes six parameters (x0, y0, x1, y0, fill, bw)
  // x0, y0, x1, and y0 are the two diagonal corner coordinates
  // fill is a boolean, which determines if the rectangle is
  // filled in. bw determines the color 0=white, 1=black.
    setRect(10, 10, 70, 40, 1, BLACK);
    setStr("Robojax ", 15, 20, WHITE);
    updateDisplay();
  delay(2000);

  /* setCircle Example */
  clearDisplay(WHITE);

}
Waad u baahan tahay
-
Amaazon
-
AmaazonPurchase XY Joystick from Amazonamzn.to
Kheyraadka & Tixraacyada
Wali wax kaydsan ah oo weli ma jiro.
Faylasha📁
Faylka Loo Baahan Yahay (.h)
-
robojax-nokia5110.h header file for Arduino
robojax-nokia5110.zip0.01 MB
Faylka Fritzing
-
Nokia 5110 LCD
Nokia_5110_LCD.fzpz0.03 MB -
Black Joystick KY-023
Black Joystick KY-023.fzpz0.02 MB