Arduino 代碼同影片:L293D 直流摩打控制器(冇速度控制)
呢個教學會講解點樣用L293D摩打控制器配合Arduino嚟控制一個直流摩打。L293D可以令你順時針同逆時針兩個方向轉動摩打。跟住呢個指南,你就會學識點樣接線同編寫Arduino程式嚟達到想要嘅摩打控制效果。
喺呢個項目入面,我哋會用L293D摩打驅動器嚟控制一個直流摩打。個摩打會根據Arduino程式入面嘅指令嚟切換方向。為咗更清楚了解個設置同程式,睇吓相關嘅影片(影片00:00位置)會有好大幫助。
硬件解說
L293D係一個專為驅動摩打而設計嘅集成電路。佢可以同時控制兩個直流摩打,或者一個步進摩打。呢粒晶片用H橋配置,透過切換施加喺摩打上嘅電壓極性嚟實現方向控制。呢種靈活性令佢成為機械人同自動化項目嘅絕佳選擇。
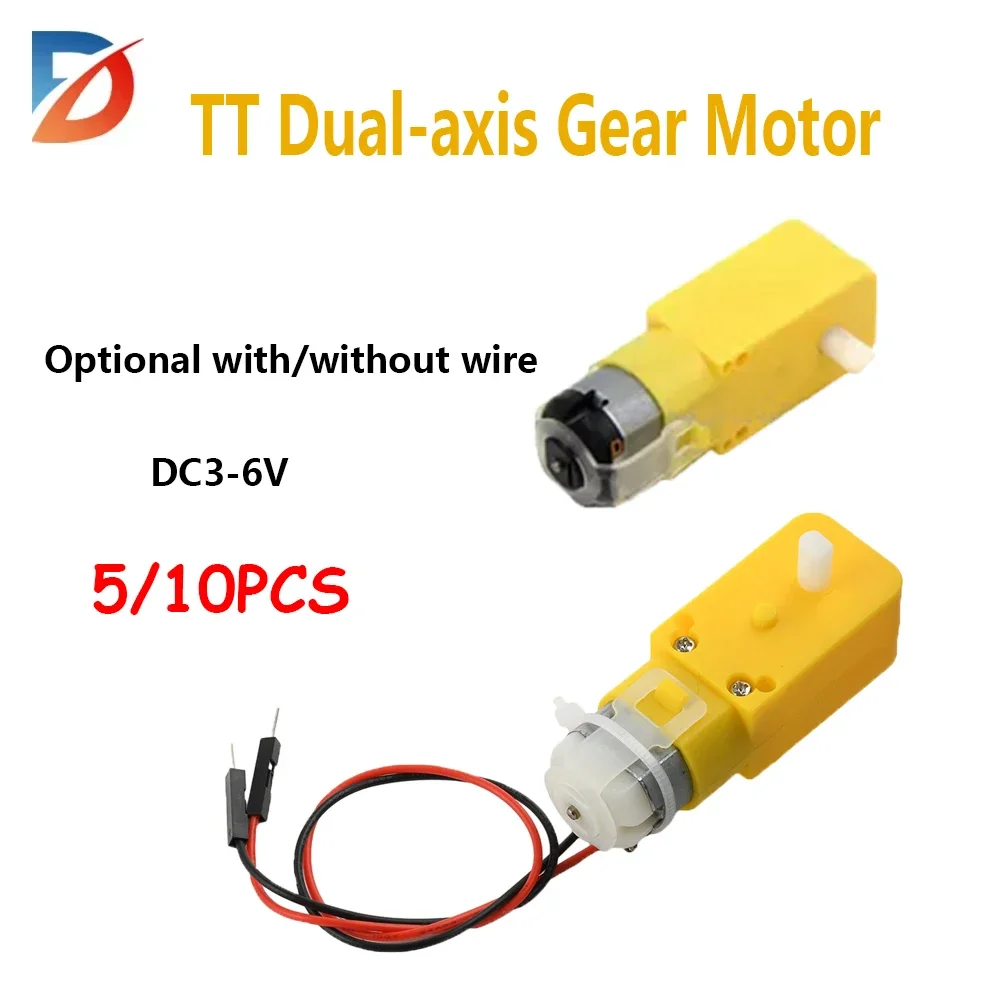
除咗L293D之外,我哋仲會用一塊Arduino板嚟向摩打驅動器發送控制信號。Arduino會產生所需嘅邏輯電平嚟啟動摩打同決定佢嘅旋轉方向。個設置仲需要一個直流摩打同一個符合摩打電壓要求嘅電源。
數據手冊詳情
| 製造商 | 德州儀器 |
|---|---|
| 零件編號 | L293D |
| 邏輯/IO電壓 | 5 V |
| 供電電壓 | 4.5 - 36 V |
| 輸出電流(每通道) | 600 mA |
| 峰值電流(每通道) | 1.2 A |
| PWM頻率建議 | 20 kHz |
| 輸入邏輯閾值 | 2.5 V(典型值) |
| 壓降 / RDS(on) / 飽和 | 1.5 V(最大值) |
| 熱限制 | 150 °C(最大值) |
| 封裝 | 16-DIP |
| 備註 / 變體 | 可以控制兩個摩打 |
- 確保供電電壓唔好超過36 V。
- 喺接近最大電流操作時,要用適當嘅散熱措施。
- 一定要將Arduino同摩打驅動器嘅接地連接埋一齊。
- 檢查接線,避免接錯極性。
- 如果將來項目需要,可以用PWM信號嚟控制速度。
接線說明


要將L293D摩打控制器接到Arduino,首先連接電源同接地。將L293D嘅第4腳同第5腳連接到接地。然後,將第1腳(Vcc1)連接到Arduino嘅5 V輸出。至於Vcc2(第8腳),就將佢連接到外部電源,確保佢符合摩打嘅電壓規格。
跟住,將使能腳(第1腳)連接到Arduino嘅第8腳嚟控制摩打嘅電源。對於摩打控制輸入,將L293D嘅第2腳(1A)連接到Arduino嘅第2腳,第7腳(2A)連接到Arduino嘅第7腳。最後,將摩打端子連接到L293D嘅第3腳(1Y)同第6腳(2Y)。


程式範例同講解
以下程式初始化引腳並設置摩打控制。所用嘅識別碼包括P1A代表第一個摩打控制引腳,同EN12代表使能引腳。setup函數將引腳配置為輸出。
void setup() {
  Serial.begin(9600); // 設置序列監視器嚟顯示資訊
  pinMode(P1A, OUTPUT); // 將P1A定義為輸出引腳
  pinMode(P2A, OUTPUT); // 將P2A定義為輸出引腳
  pinMode(EN12, OUTPUT); // 將1,2EN使能定義為輸出引腳
}喺loop入面,摩打被命令向兩個方向旋轉,中間有延遲。摩打嘅狀態會用Serial.println打印到序列監視器。
void loop() {
  Serial.println("順時針旋轉");
  digitalWrite(EN12, HIGH); // 使能1A同2A
  digitalWrite(P1A, HIGH); // 向P1A發送高電平信號
  digitalWrite(P2A, LOW); // 向P2A發送低電平信號
  delay(3000); // 摩打運行3秒
  digitalWrite(EN12, LOW); // 停用1A同2A
}呢段摘錄展示咗點樣透過改變發送到P1A同P2A嘅邏輯電平嚟控制摩打嘅旋轉方向。摩打運行3秒之後停止並切換方向。
以下係L293D半橋驅動器嘅用法:


示範 / 預期效果
當設定完成並且代碼上傳之後,你應該會觀察到摩打向一個方向轉動3秒,停頓2秒,然後再向相反方向轉動多3秒。摩打的狀態會打印喺序列監視器上面,確認相關動作(影片喺12:00位置)。
常見嘅問題包括要確保供應畀摩打嘅電壓正確,同埋檢查摩打嘅接線係咪正確。如果摩打冇反應,就要再檢查吓接線同電源連接。
影片時間標記
- 00:00 - 簡介
- 02:30 - 接線講解
- 05:00 - 代碼逐步講解
- 10:00 - 摩打控制示範
圖片
++
/*
 * This is the Arduino code L293 DC motor driver (Advanced).
 Using this code you can control a motor to rotate in both directions: clockwise (CW)
 and counter-clockwise (CCW).

 *  *
 // Written by Ahmad S. for Robojax.com on
// February 25, 2018 at 18:30 in Ajax, Ontario, Canada
 * Permission granted to share this code given that this
 * note is kept with the code.
 * Disclaimer: this code is "AS IS" and for educational purposes only.
 *

 * watch L293 video for details https://youtu.be/jAmDliHcTJ0
 * Code is available at http://robojax.com/learn/arduino

 *

*/
// DC motor 1 control
#define P1A 2 // define pin 2 as for P1A
#define P2A 7 // define pin 7 as for P2A
#define EN12 8 // define pin 8 as for 1,2EN enable


// DC motor 2 control
#define P3A 10 // define pin 10 as for P3A
#define P4A 13 // define pin 13 as for P4A
#define EN34 9 // define pin 9 as for EN3 and EN4 enable

/*
 * Permission granted to share this code given that this
 * note is kept with the code.
 * Disclaimer: this code is "AS IS" and for educational purposes only.
 *
 */

void setup() {
  // L293 Motor Control Code by Robojax.com 2018025
  Serial.begin(9600);// setup Serial Monitor to display information
  pinMode(P1A, OUTPUT);// define pin as OUTPUT for P1A
  pinMode(P2A, OUTPUT);// define pin as OUTPUT for P2A
  pinMode(EN12, OUTPUT);// define pin as OUTPUT for 1,2EN

  pinMode(P3A, OUTPUT);// define pin as OUTPUT for P3A
  pinMode(P4A, OUTPUT);// define pin as OUTPUT for P4A
  pinMode(EN34, OUTPUT);// define pin as OUTPUT for 3,4EN
  // L293 Motor Control Code by Robojax.com 2018025
}

void loop() {
  // L293 Motor Control Code by Robojax.com 2018025


    Serial.println("Rotating CW");
    digitalWrite(EN12 ,HIGH);// Enable 1A and 2A
    digitalWrite(P1A,HIGH);// send + or HIGH signal to P1A
    digitalWrite(P2A,LOW);// send - or LOW signal to P2A
    delay(3000);// motor runs for 3 seconds
    digitalWrite(EN12 ,LOW);// Disable 1A and 2A
    delay(2000);// motor stop for 3 seconds
    Serial.println("Motor Stopped");

  // L293 Motor Control Code by Robojax.com 2018025
    // now changing the direction of rotation of motor
    Serial.println("Rotating CCW");
    digitalWrite(EN12 ,HIGH);// Enable 1A and 2A
    digitalWrite(P1A,LOW);// send + or HIGH signal to P1A
    digitalWrite(P2A,HIGH);// send - or LOW signal to P2A
    delay(3000);// motor runs for 3 seconds
    digitalWrite(EN12 ,LOW);// Disable 1A and 2A
    delay(2000);// motor stop for 3 seconds
    Serial.println("Motor Stopped");


  Serial.println("=========== Loop done");
  delay(500);
  // L293 Motor Control Code by Robojax.com 2018025
}/*
* This is the Arduino code L293 DC motor driver (Advanced).
Using this code you can control a motor to rotate in both directions: clockwise (CW)
and counter-clockwise (CCW).
* *
// Written by Ahmad S. for Robojax.com on
// February 25, 2018 at 18:30 in Ajax, Ontario, Canada
* Permission granted to share this code given that this
* note is kept with the code.
* Disclaimer: this code is "AS IS" and for educational purposes only.
*
* Watch L293 video for details: https://youtu.be/jAmDliHcTJ0
* Code is available at: http://robojax.com/learn/arduino
*
*/
// DC motor 1 control
#define P1A 2 // define pin 2 as for P1A
#define P2A 7 // define pin 7 as for P2A
#define EN12 8 // define pin 8 as for 1,2EN enable
// DC motor 2 control
#define P3A 10 // define pin 10 as for P3A
#define P4A 13 // define pin 13 as for P4A
#define EN34 9 // define pin 9 as for EN3 and EN4 enable
/*
* Permission granted to share this code given that this
* note is kept with the code.
* Disclaimer: this code is "AS IS" and for educational purposes only.
*
*/
void setup() {
// L293 Motor Contro Code by Robojax.com 2018025
Serial.begin(9600);// setup Serial Monitor to display information
pinMode(P1A, OUTPUT);// define pin as OUTPUT for P1A
pinMode(P2A, OUTPUT);// define pin as OUTPUT for P2A
pinMode(EN12, OUTPUT);// define pin as OUTPUT for 1,2EN
pinMode(P3A, OUTPUT);// define pin as OUTPUT for P3A
pinMode(P4A, OUTPUT);// define pin as OUTPUT for P4A
pinMode(EN34, OUTPUT);// define pin as OUTPUT for 3,4EN
// L293 Motor Contro Code by Robojax.com 2018025
}
void loop() {
if(value == 45){
rotateMA("CW",HIGH); // start motor in CW
}
delay(3000);
rotateMA("CW",LOW); // stop motor
delay(2000);
rotateMA("CCW",HIGH); // start motor in CCW
delay(3000);
rotateMA("CW",LOW); /// stop motor
delay(2000);
// L293 Motor Contro Code by Robojax.com 2018025
}// loop ends
/**
* function: rotateMA(String di,int action)
* Sends power to motor A
* di is a string and can be "CW" or "CCW"
* to use:
* rotateMA("CW",HIGH);// to rotate motor CW
* rotateMA("CCW",HIGH);// to rotate motor CCW
* to stop the motor:
* rotateMA("CW",LOW);// to stop motor
*/
void rotateMA(String di,int endis)
{
// L293 Motor Contro Code by Robojax.com 2018025
if(di =="CW"){
Serial.println(" Rotating CW");
digitalWrite(EN12 ,endis);// Enable 1A and 2A
digitalWrite(P1A,HIGH);// send + or HIGH signal to P1A
digitalWrite(P2A,LOW);// send - or LOW signal to P2A
}else{
// L293 Motor Contro Code by Robojax.com 2018025
// now changing the direction of rotation of motor
Serial.println(" Rotating CCW");
digitalWrite(EN12 ,endis);// Enable 1A and 2A
digitalWrite(P1A,LOW);// send + or HIGH signal to P1A
digitalWrite(P2A,HIGH);// send - or LOW signal to P2A
}
// L293 Motor Contro Code by Robojax.com 2018025
}//rotateMA ends here你可能需要嘅嘢
-
亞馬遜Purchase L293D motor driver ICamzn.to
-
阿里巴巴速卖通Purchase L293D motor driver IC from AliExpresss.click.aliexpress.com
資源與參考資料
暫時冇資源。
文件📁
数据表 (pdf)
-
robojax_L293D_motor_shield_manual.pdf
robojax_L293D_motor_shield_manual.pdf0.16 MB -
L293d datasheet
L293d_datasheet.pdf0.34 MB