Lesson 24/31: Smart Car Part 2: Moving Forward, Reverse, left and right and Controlling Speed of Car
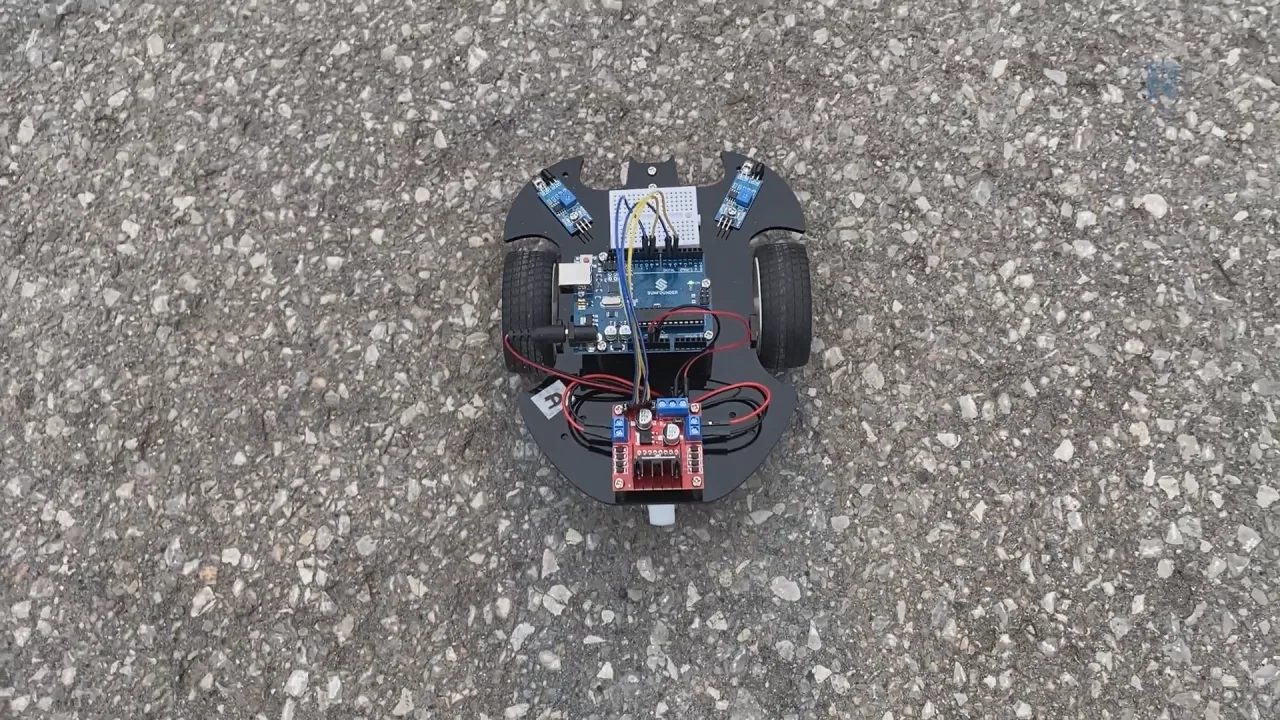
This lesson focuses on the second phase of building your smart car: taking control of its movement using Arduino code. While the first project may have made the car move in a basic way, this guide teaches you how to command the car to move forward, backward, turn left, turn right, and stop with precision. You'll also learn how to control its speed, allowing for smooth acceleration and deceleration. This is a fundamental step for any robotics project, as it gives you the foundational logic to create more complex autonomous behaviors.
Mastering these movement controls opens up a world of possibilities. Here are a few practical applications for this knowledge:
- Line-following robots: Use the left and right turn functions to keep a robot on a track.
- Obstacle-avoidance vehicles: Program the car to move forward, stop, and turn when it detects an object in its path.
- Remote-controlled exploration: Combine these commands with a wireless module to drive the car around your house or yard.
- Automated delivery systems: Create a small-scale robot that can move between set points, stopping and starting as needed.
Hardware and Components
This project builds upon the SunFounder 3-in-1 Arduino kit. No additional components are required beyond the basic kit, but you will need to connect four extra wires to the Arduino to control the motor driver. The essential components are:
- Arduino Uno (or compatible board)
- SunFounder Smart Car chassis with motors
- Motor driver board (included in the kit)
- Jumper wires
- Battery pack for the car
- USB cable for programming
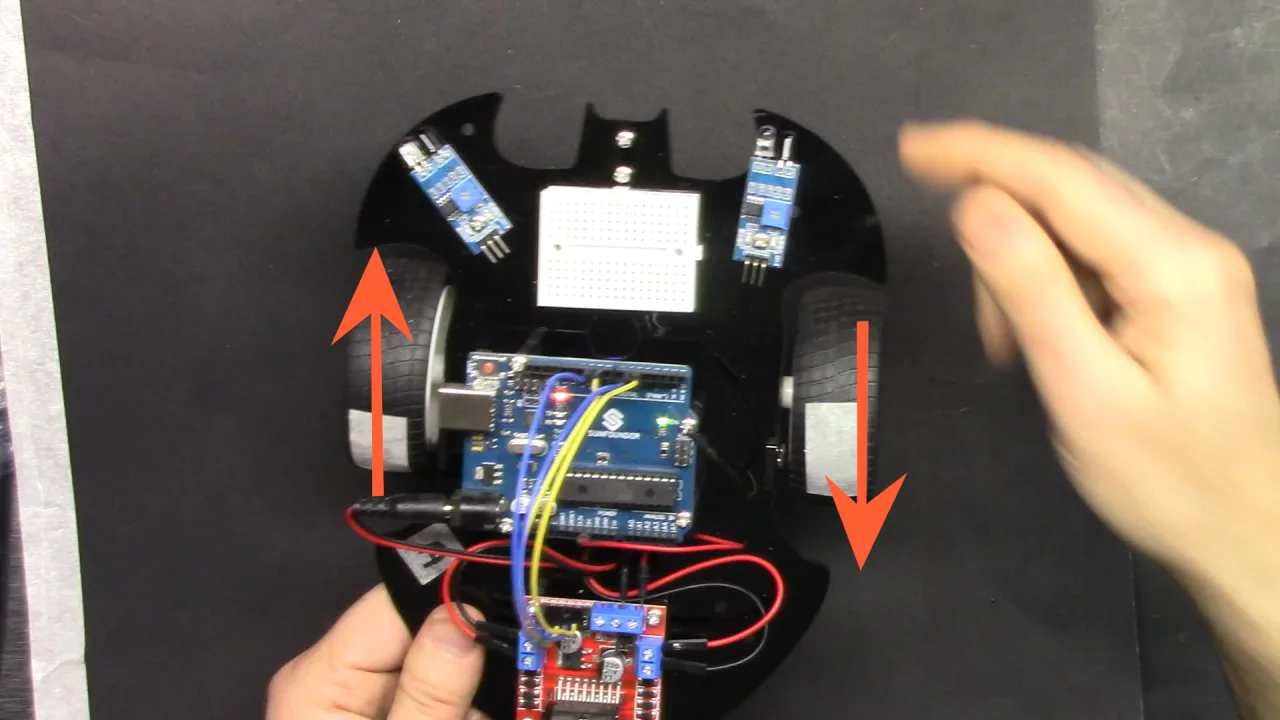
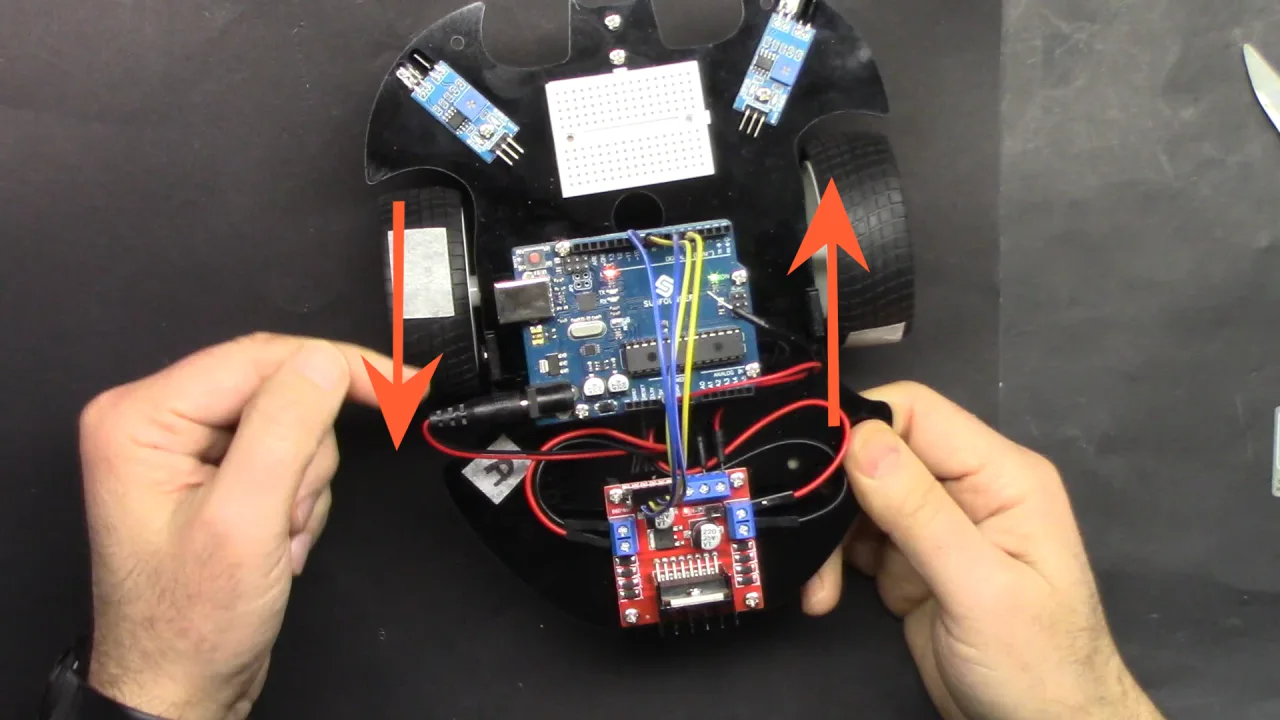
Wiring Guide
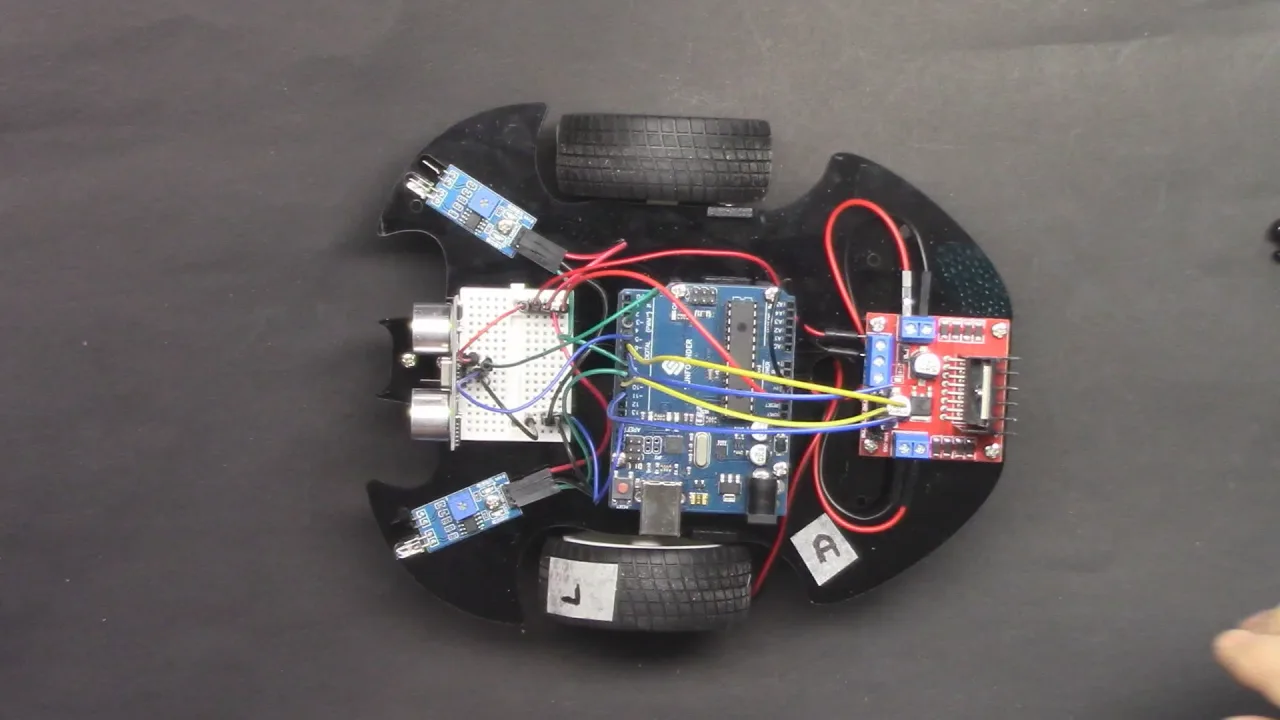
The wiring for this project is crucial for controlling the direction of each motor. The video explains that the four motor control wires from the driver board are connected to Arduino pins 5, 6, 9, and 10. These pins are special because they support Pulse Width Modulation (PWM), which is essential for speed control.
In the video, the instructor connects them in a specific order using yellow and blue wires, as shown in the diagram below.
A critical safety note mentioned in the video is to disconnect the car's battery power (the red wire to 5V and black wire to GND) while programming the Arduino via USB. This prevents the USB port from being overloaded and potentially shutting down.
Code Explanation
The code for this lesson is structured to be easy to modify and understand. The key to controlling the car lies in the pin definitions at the top of the sketch. You can change these if you decide to use different pins on your Arduino.
const int in1 = 5;
const int in2 = 6;
const int in3 = 9;
const int in4 = 10;
These lines define the Arduino pins connected to the motor driver's inputs. in1 and in2 control one motor, while in3 and in4 control the other. By setting these pins HIGH or LOW, you control the direction of each motor's rotation.
To control the car's speed, the code uses two custom functions: moveForward(int speed) and moveBackwards(int speed). These functions take an integer value between 0 and 255 as an argument. A value of 0 stops the motor, while 255 is the maximum speed. For example, to move the car forward at full speed, you would call moveForward(255). To move it backward slowly, you would use moveBackwards(100).
The video also demonstrates a "speeding up" and "slowing down" sequence using for loops. This is a powerful technique for smooth acceleration.
for(int i=0;i<=255;i+=5){
  moveForward(i);
  delay(100);
}
This loop starts with i at 0 and increments it by 5 on each pass until it reaches 255. Each time, it calls moveForward(i), gradually increasing the car's speed. The delay(100) provides a 100-millisecond pause at each speed step, making the acceleration visible. A similar loop with a decrementing value of i is used to slow the car down.
Live Project Demonstration
In the video, the instructor demonstrates the project in two main stages. First, he shows the car's basic movements. By loading the "move" code, the car executes a pre-programmed sequence: moving forward for two seconds, stopping, reversing for two seconds, stopping, turning left, and then turning right. This visually confirms that the wiring and logic are correct.
The second demonstration focuses on speed control. The instructor loads the "speed up" code, which gradually accelerates the car forward until it reaches maximum speed and then smoothly decelerates to a stop. He then shows a version with a fixed speed, where the car moves forward at 255, stops, and then reverses at a slower speed of 100, with the values being printed to the Serial Monitor for verification.
Chapters
- [00:00] Introduction to Car Movement Control
- [01:44] Setting Up the Wiring for Code Control
- [02:07] Demonstrating Forward and Backward Movement
- [03:18] Demonstrating Left and Right Turns
- [05:05] Connecting Wires to Arduino Pins
- [07:00] Code Explanation for Direction Control
- [11:44] Introduction to Speed Control
- [12:16] Code Explanation for Speed Ramping
- [14:45] Using the Serial Monitor for Debugging
- [17:10] Live Demonstration of Speed Control
- [19:45] Final Outdoor Test and Conclusion
Hotuna
This code has not been parsed yet. Please return to the admin panel to parse it.This code has not been parsed yet. Please return to the admin panel to parse it.Common Course Links
Common Course Files
Abin da zaka iya bukata
-
Amazon5V DC motor on Amazonamzn.to
-
Amazon5V DC motor on eBayebay.us
-
AmazonSunFounder Arduino Learning kit on AliExpresss.click.aliexpress.com
-
Amazon
-
Amazon
-
Amazon
-
Amazon
-
AliExpress5V DC motor on AliExpresss.click.aliexpress.com
Albarkatun da kuma shafukan da za a duba
-
TakarduDocumentation for SunFounder 3 in 1 IoT/Smart Car/Learning Kit¶docs.sunfounder.com
-
WajePurchase SunFounder's 3-in-1 Smart car learning kitsunfounder.com
Fayiloli📁
Littattafan Arduino (zip)
-
SunFounder's 3-in-1 Smart Car learning kit source code
3in1-kit-main-v2.zip12.80 MB