このチュートリアルはの一部です: デジタル相対湿度・温度センサー HTU21D
デジタル相対湿度・温度センサー HTU21D に関する動画。他の動画へのリンクはこの記事の下にあります。

レッスン 35-2: HTU21D 温度センサーの使用 - カスタムコード
このチュートリアルでは、HTU21D温度センサーを使用してArduinoで温度と湿度を測定する方法を探ります。HTU21Dは信頼性が高く、低消費電力のセンサーで、I2Cを介して通信するため、プロジェクトに簡単に統合できます。このレッスンの終わりまでに、摂氏、華氏、ケルビンで温度を読み取るとともに、相対湿度を測定する動作コードを持つことができます。

配線とコードに入る前に、関与するコンポーネントを理解することが重要です。HTU21Dセンサーは、電源、接地、およびデータ転送のための2本のI2Cワイヤーという最小限の接続を必要とします。このシンプルさは、気象ステーションからスマートホームデバイスまで、さまざまな用途に適しています。ビジュアルガイドについては、タイムスタンプ03:45のビデオを参照してください。
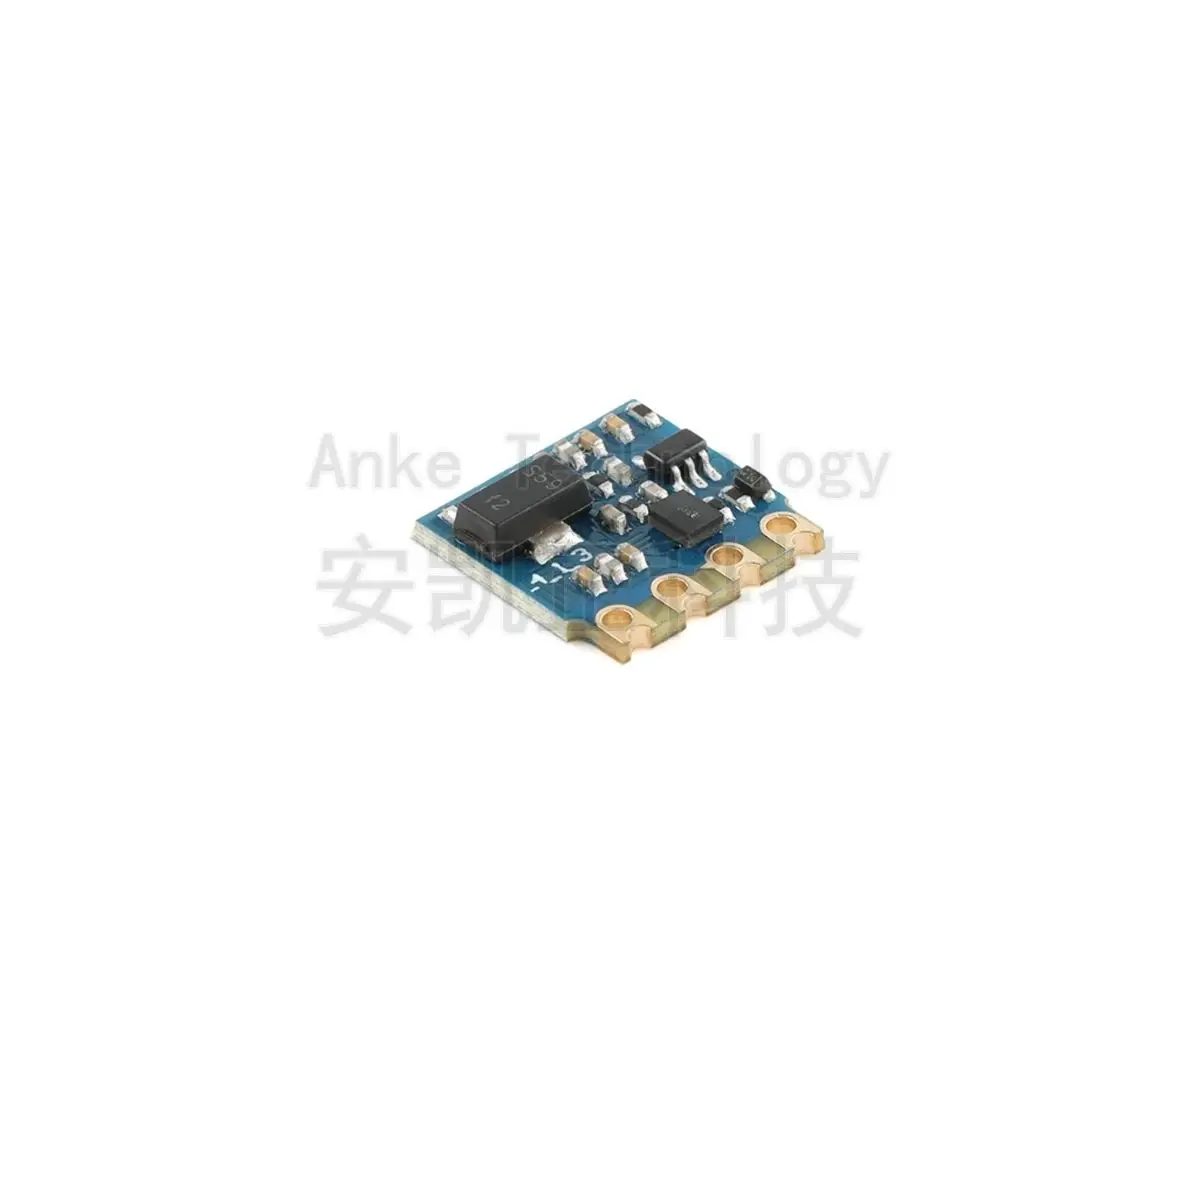
ハードウェアの解説
このプロジェクトの主要コンポーネントはHTU21Dセンサーで、温度と湿度を測定します。このセンサーは1.5Vから3.6Vまでの電圧で動作できるため、さまざまなアプリケーションに対応します。高解像度の測定値を提供し、温度測定範囲は-40°Cから+125°Cで、湿度測定の解像度は0.04%です。
さらに、センサーはI2C通信を使用しており、2つのピン、SDA(データライン)とSCL(クロックライン)が必要です。これにより、複雑な配線を必要とせず、Arduinoや他のマイクロコントローラとの簡単な統合が可能になります。Adafruitライブラリはセンサーとのインタラクションを簡素化し、データ取得や通信プロトコルをシームレスに処理します。
データシートの詳細
| メーカー | TEコネクティビティ |
|---|---|
| 部品番号 | HTU21D-F |
| 論理/入出力電圧 | 1.5 - 3.6 V |
| 電源電圧 | 3.3 V |
| 現在の消費量(アイドル) | 0.02 µA(典型値) |
| 現在の消費量(アクティブ) | 450 µA(典型) |
| 温度範囲 | -40から+125 °C |
| 湿度範囲 | 0から100 %RH |
| 解像度 | 0.04 %RH; 0.01 °C |
| パッケージ | 6ピンDFN |
- センサーの損傷を避けるために、正しい電源供給を確保してください。
- SDAおよびSCLラインにプルアップ抵抗を使用してください(統合されていない場合)。
- センサー接続を短く保ち、ノイズを最小限に抑えてください。
- 作動中に電圧を監視して安定性を維持してください。
- 電源ピンの近くでデカップリング用にコンデンサを使用することを検討してください。
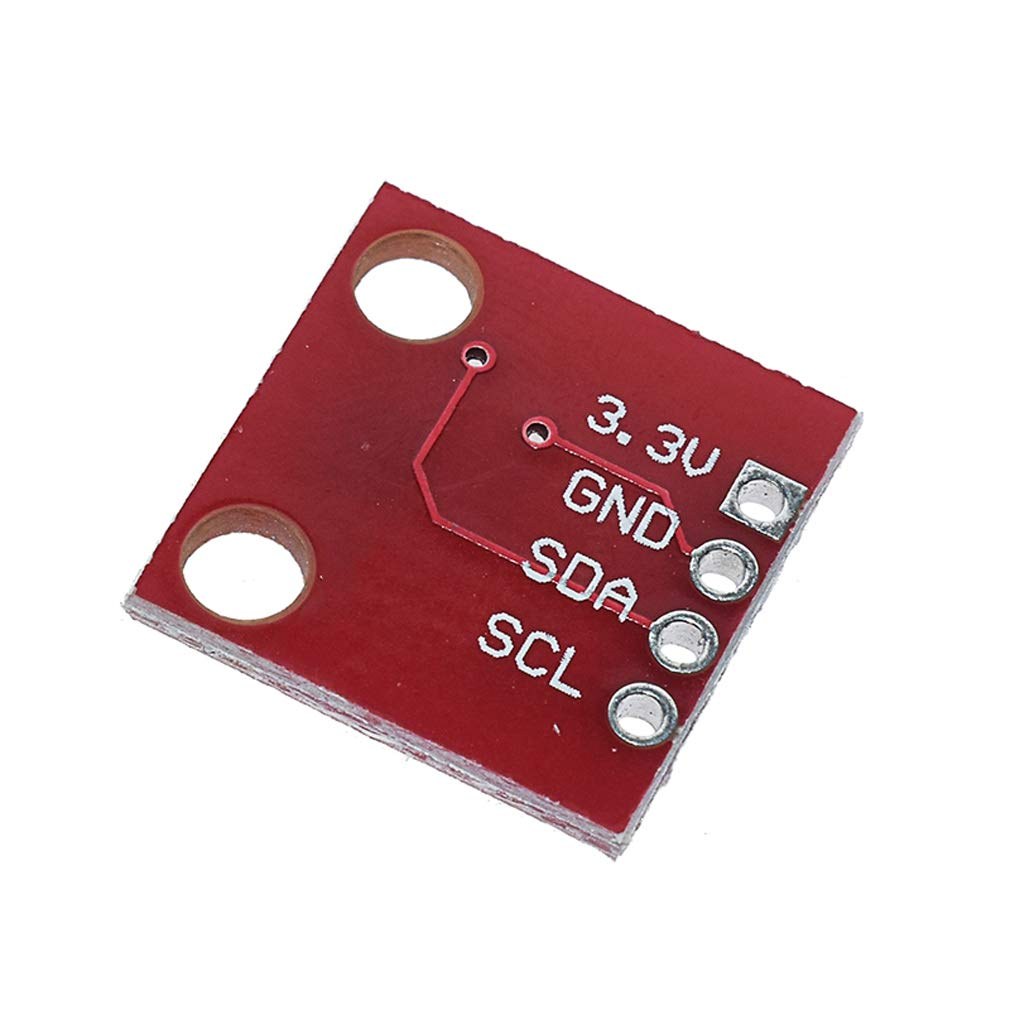
配線指示書

HTU21D温度センサーを配線するには、まず電源とグラウンドを接続します。センサーの左側のピンを3.3Vのソースに接続し、必要な電圧を処理できることを確認します。通常赤でマークされている2番目のピンはグラウンドに接続する必要があります。
次に、センサーのSDAピンをピンに接続しますA4Arduino上で、I2C通信のデータラインとして機能します。それから、SCLピンをピンに接続します。A5時計線として機能します。これらの接続が確実であることを確認してください。緩んだ配線は、断続的な読み取りやセンサーとの通信の失敗につながる可能性があります。
コード例とウォークスルー
コードでは、必要なライブラリを含めてセンサーを初期化することから始めます。行Adafruit_HTU21DF htu = Adafruit_HTU21DF();センサークラスのインスタンスを作成します。setup()関数では、シリアル通信を開始し、センサーが適切に接続されているかを確認します。
void setup() {
  Serial.begin(9600);
  if (!htu.begin()) {
    Serial.println("Couldn't find sensor!");
    while (1);
  }
}このスニペットはセンサーが正しく機能しているかを確認します。もしそうでなければ、エラーメッセージを表示し、プログラムを停止します。loop()機能として、温度と湿度の値を継続的に読み取ります。
void loop() {
    Serial.print(getHTU('C'));
    Serial.print("C");
    Serial.print(getHTU('H'));
    Serial.println("%");
    delay(1000);
}ここでは、関数getHTU()異なるパラメーターで呼び出され、摂氏温度と湿度を取得します。遅延は、読み取りが毎秒行われてスムーズな出力がシリアルモニターに表示されることを保証します。完全なコードは、記事の下に参考として掲載されています。
デモンストレーション / 期待すること
すべてが正しく配線され、コードがアップロードされると、シリアルモニターに温度と湿度の読み取り値が表示されるはずです。温度はセルシウスで表示され、その後に対応する湿度のパーセンテージが続きます。センサーに熱を加えると、温度がそれに応じて上昇するのを観察できるはずです(ビデオの:15)。
センサーの制限に注意してください。温度が125°Cを超えると、誤った読み取りを返すか、ゼロを表示する可能性があります。運転中に問題が発生しないように、接続が確実であり、センサーに正しく電源が供給されていることを常に確認してください。
ビデオのタイムスタンプ
- 00:00はじめに
- 03:45センサーの配線
- 05:30コードウォークスルー
- 10:15デモンストレーション
- 12:00結論
画像
このチュートリアルはの一部です: デジタル相対湿度・温度センサー HTU21D
/*
 * Robojax Arduino Step-by-Step Course
 * Part 4: Temperature Sensors
 * Lesson 35: HTU21D Temperature Sensor Custom code

 * Written/Updated by Ahmad Shamshiri on July 13, 2019
 * in Ajax, Ontario, Canada


  Please watch video instructions here https://youtu.be/LyA0yAKlf9E
 This code is available at http://robojax.com/course1/?vid=lecture35

with over 100 lectures free on YouTube. Watch it here http://robojax.com/L/?id=338
Get the code for the course: http://robojax.com/L/?id=339
If you found this tutorial helpful, please support me so I can continue creating.
Make a donation using PayPal http://robojax.com/L/?id=64

 * Code is available at http://robojax.com/learn/arduino

 * This code is "AS IS" without warranty or liability. Free to be used as long as you keep this note intact.
 * This code has been downloaded from Robojax.com
    This program is free software: you can redistribute it and/or modify
    it under the terms of the GNU General Public License as published by
    the Free Software Foundation, either version 3 of the License, or
    (at your option) any later version.

    This program is distributed in the hope that it will be useful,
    but WITHOUT ANY WARRANTY; without even the implied warranty of
    MERCHANTABILITY or FITNESS FOR A PARTICULAR PURPOSE.  See the
    GNU General Public License for more details.

    You should have received a copy of the GNU General Public License
    along with this program.  If not, see <https://www.gnu.org/licenses/>.


 */
 /*


**************************************************
*
  This is an example for the HTU21D-F Humidity & Temperature Sensor

  Designed specifically to work with the HTU21D-F sensor from Adafruit
  ----> https://www.adafruit.com/products/1899

  These displays use I2C to communicate; 2 pins are required to
  interface
 ***************************************************
*/

#include <Wire.h>
#include "Adafruit_HTU21DF.h"

// Connect Vin to 3-5VDC
// Connect GND to ground
// Connect SCL to I2C clock pin (A5 on UNO)
// Connect SDA to I2C data pin (A4 on UNO)

Adafruit_HTU21DF htu = Adafruit_HTU21DF();

void setup() {
//Get the code for the course: http://robojax.com/L/?id=339
  Serial.begin(9600);
  Serial.println("Robojax.com");
  Serial.println("HTU21D-F test");

  if (!htu.begin()) {
    Serial.println("Couldn't find sensor!");
    while (1);
  }
}

void loop() {
//Get the code for the course: http://robojax.com/L/?id=339
    Serial.print(getHTU('C'));
    printDegree();
    Serial.println("C");

    Serial.print(getHTU('F'));
    printDegree();
    Serial.println("F");

    Serial.print(getHTU('K'));
    Serial.println("K");
    Serial.println(" ");

    Serial.print("Humidity:");
    Serial.print(getHTU('H'));
    Serial.println("%");

    if(getHTU('C') <81)
    {
      //digitalWrite(5, LOW);

    }
    delay(1000);
}


/*
 * @brief returns temperature or relative humidity
 * @param "type" is character
 *     C = Celsius
 *     K = Kelvin
 *     F = Fahrenheit
 *     H = Humidity
 * @return returns one of the values above
 * Usage: to get Fahrenheit type: getHTU('F')
 * to print it on serial monitor Serial.println(getHTU('F'));
 * Written by Ahmad Shamshiri on July 13, 2019
 * in Ajax, Ontario, Canada
 * www.Robojax.com
 */
float getHTU(char type)
{
	//Get the code for the course: http://robojax.com/L/?id=339
  float value;
    float temp = htu.readTemperature();
    float rel_hum = htu.readHumidity();
   if(type =='F')
   {
    value = temp *9/5 + 32;//convert to Fahrenheit
   }else if(type =='K')
   {
    value = temp + 273.15;//convert to Kelvin
   }else if(type =='H')
   {
    value = rel_hum;//return relative humidity
   }else{
    value = temp;// return Celsius
   }
   return value;
}//


/*
 * @brief prints degree symbol on serial monitor
 * @param none
 * @return returns nothing
 * Written by Ahmad Shamshiri on July 13, 2019
 * for Robojax Tutorial Robojax.com
 */
 void printDegree()
{
    Serial.print("\xC2");
    Serial.print("\xB0");
}
必要かもしれないもの
-
アマゾンAmazonでHTU21Dモジュールを購入するamzn.to
-
イーベイeBayからHTU21Dを購入してください。ebay.us
-
アリエクスプレスAliExpressでHTU21DまたはSHT21を購入してください。s.click.aliexpress.com
リソースと参考文献
-
外部Adafruit HTU21Dライブラリ(GitHub)github.com
-
外部Arduinoを使用してHTU21DからLCDに温度をバーグラフとして表示するrobojax.com
-
外部HTU21D データシート (PDF)cdn-shop.adafruit.com
-
外部HTU21DFとHTU21Dの違い(画像)robojax.com
ファイル📁
データシート(pdf)
-
HTU21D温度・湿度データシート
HTU21D_temerature_humidity_datasheet.pdf0.96 MB