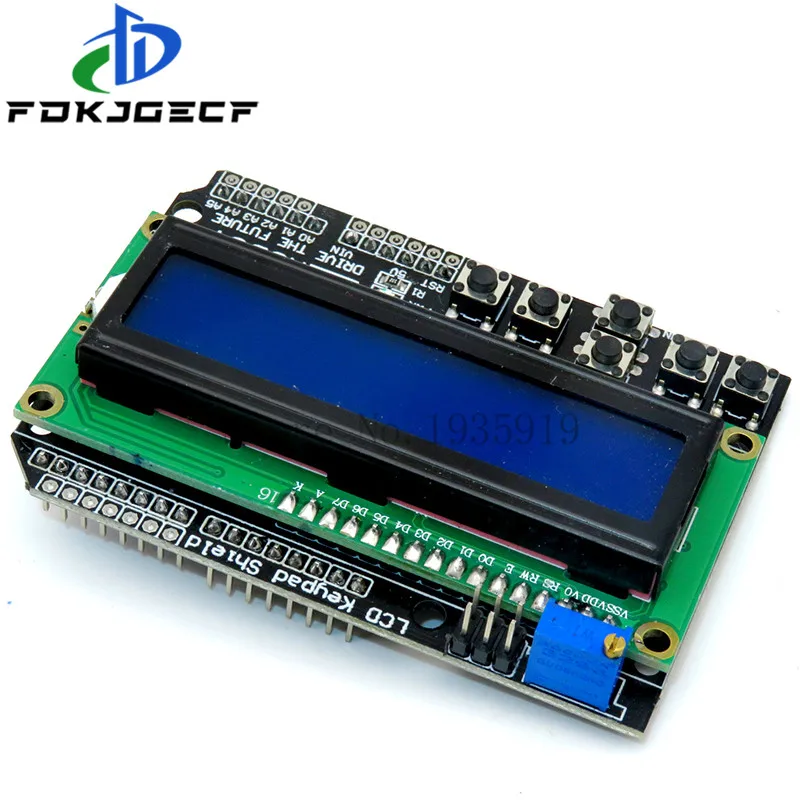
使用LCD屏幕LCD 1602(12根线)不带I2C模块与Arduino一起使用
本项目指南演示了如何将一个16x2 LCD屏幕(LCD1602)与Arduino板进行接口,而无需使用I2C模块。LCD1602是一个多用途组件,被广泛应用于显示文本和数值数据。这个项目为创建各种项目的定制显示开辟了可能性。
以下是一些你可以使用这个LCD1602和Arduino设置构建的项目想法:
- 一个简单的数字时钟
- 温度和湿度显示器
- 一个实时数据记录器,显示传感器读数
- 自定义留言板
- 游戏机显示器
硬件/组件
要完成这个项目,您需要以下组件(视频中的时间为00:10):
- Arduino 板(Uno 或类似)
- LCD 1602 显示模块(16 个字符 x 2 行)- 有多种颜色可供选择(视频中时间为 00:47)
- 跳线
- 10kΩ 电位器(用于背光控制)(视频中在 04:48)
- (可选)面包板以便于原型制作(视频中在02:40)
- (可选) 烙铁和焊锡(如果你要为 LCD 添加插头)(视频中在 02:04)
接线指南

电线接法在视频中详细解释。请参考视频中的[03:33]以获取视觉指导和以下总结:
LCD与Arduino之间的连接至关重要。根据您的具体LCD型号,某些引脚可能需要一个电压分压器。视频展示了一个详细的接线图(在视频中 04:02),使用一个电位器来控制背光亮度。请仔细注意引脚分配(在视频中 07:39)。接线错误可能会损坏您的组件。
空字符串该原理图(使用Fritzing制作)。
代码解释
该代码使用了Arduino的LiquidCrystal库(视频中的时间是07:33)。关键的用户可配置部分是引脚定义和要显示的文本。示例代码展示了如何初始化LCD、设置光标位置以及在屏幕上打印文本。

// Pin definitions for LCD connection
const int rs = 12, en = 11, d4 = 5, d5 = 4, d6 = 3, d7 = 2;
LiquidCrystal lcd(rs, en, d4, d5, d6, d7);
提供的代码包括用于显示静态文本(视频中 08:34)、滚动文本(视频中 10:14)和自定义字符(视频中 12:11)的示例。您可以修改文本内容。lcd.print()显示您所需消息的功能。滚动速度由循环中的延迟值控制。(视频中的 10:49)
现场项目/演示
该视频演示了完整的项目设置(在视频中的09:28),展示了如何使用电位器控制背光亮度。(在视频中的09:32)该视频还包括各种功能的示例,例如滚动文本和自定义字符(在视频中的10:14和12:11)。串口监视器示例(在视频中的12:23)允许您通过串口输入文本并在LCD屏幕上显示。
章节
- LCD 1602 显示屏简介
- [00:44] LCD 1602 显示器概述
- [02:03] 正在准备LCD以建立连接
- [03:33] 接线图和说明
- [04:02] 详细布线说明
- [07:23] 代码说明:基本设置
- [09:28] 现场演示:基本文本显示
- [10:14] 代码说明:滚动文本
- 代码解释:附加示例
-->
图像
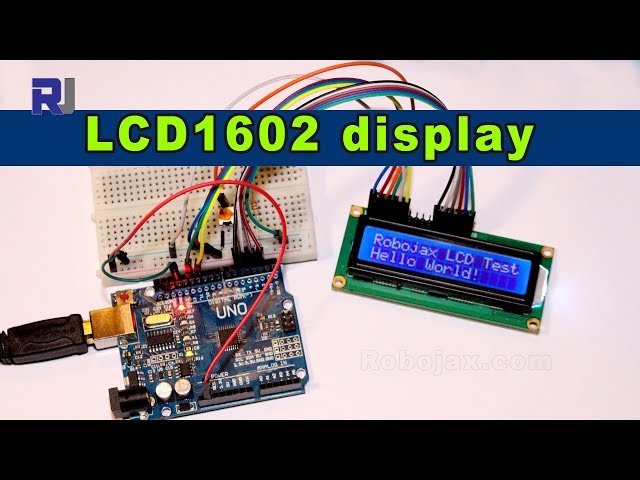
Arduino wiring schematic for LCD1602 with 12 wires
Arduino wiring for LCD1602 with 12 wires
64-LCD1602 display for Arduino: basic code
语言: C++
This code has not been parsed yet. Please return to the admin panel to parse it.资源与参考
-
外部LCD1602 数据表 (PDF)cdn-shop.adafruit.com
文件📁
没有可用的文件。