第100課:用手勢控制舵機馬達
想像一下,淨係揮一揮手就可以控制一個伺服摩打。呢個項目用APDS-9960手勢感測器嚟偵測手部動作(左、右、上、下、近同遠),然後將佢哋轉換成伺服摩打嘅位置。呢個係一個好玩又直觀嘅方法,可以將手勢控制加入你嘅Arduino項目。你可以用佢嚟整一個免提相機雲台、一個手勢控制嘅機械臂、一個音樂播放器嘅非接觸式音量旋鈕,或者一個會對動作有反應嘅互動藝術裝置。感測器會偵測你隻手嘅方向,然後伺服摩打就會跟住郁,同時序列監視器會即時顯示偵測到嘅手勢。

硬件組件
- Arduino Uno(或者任何兼容嘅板)
- APDS-9960 RGB同手勢感測器
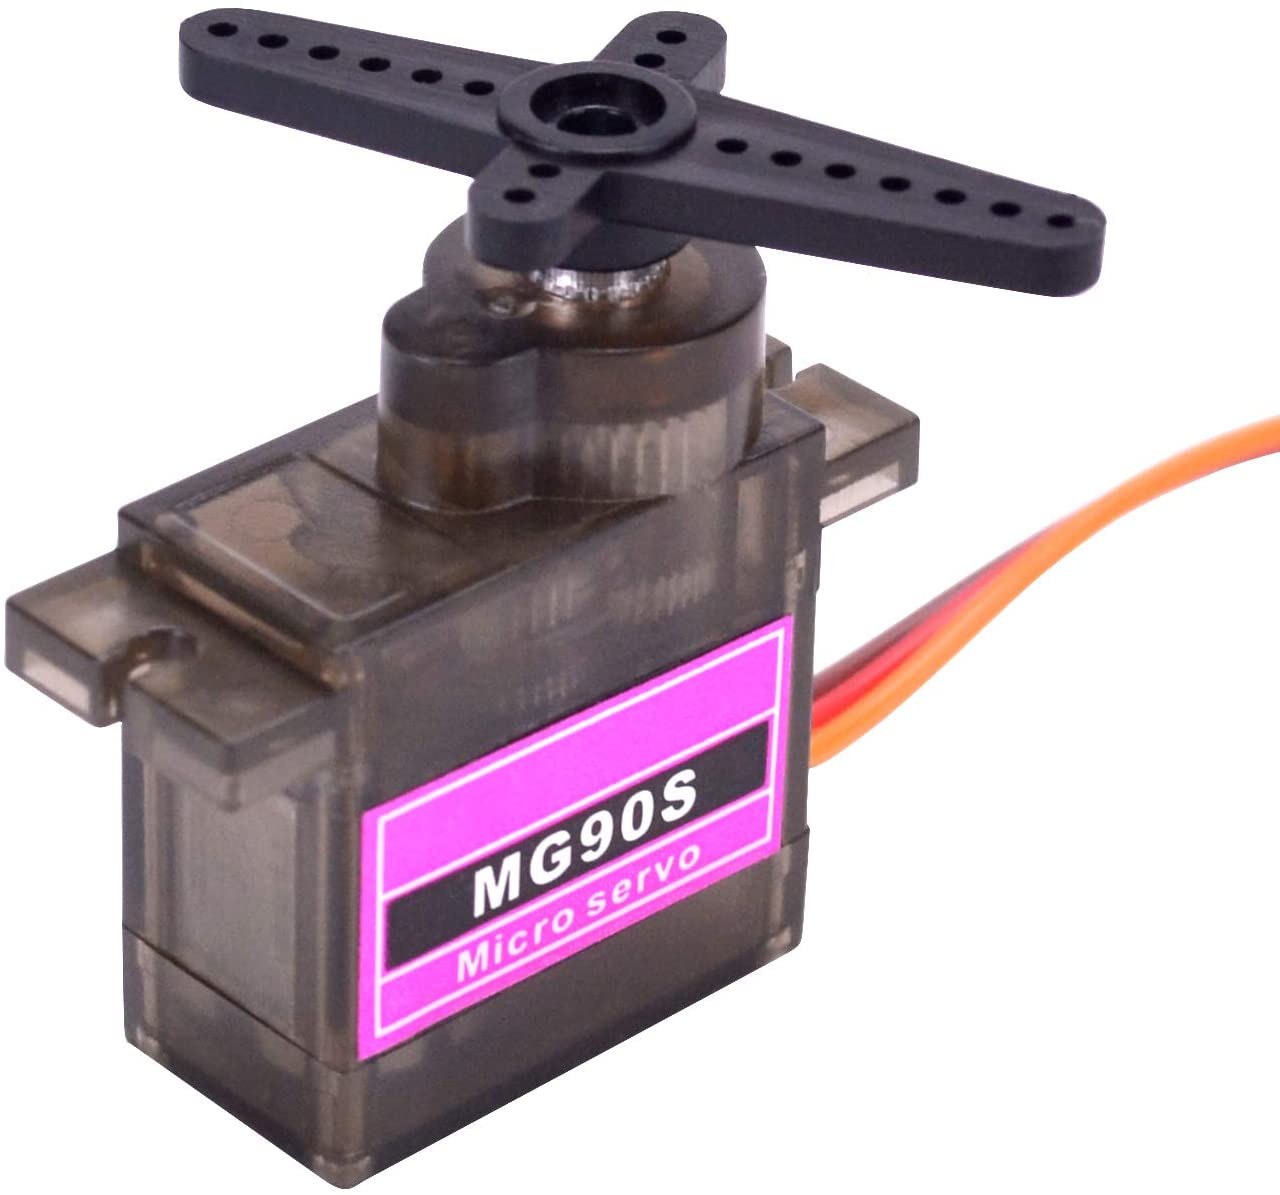
- 伺服摩打(例如SG90或者類似型號)
- 杜邦線
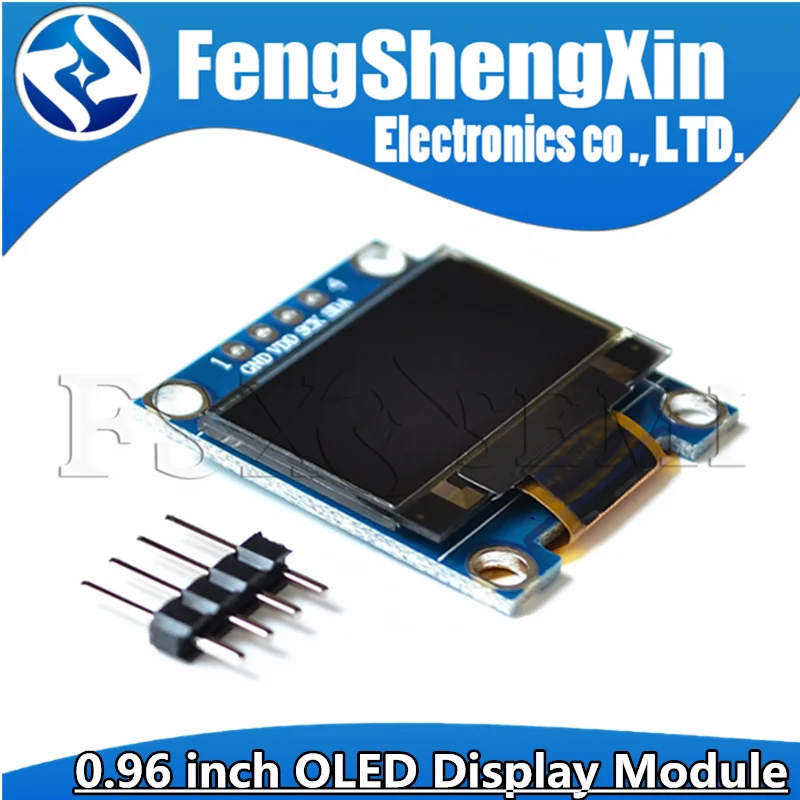
APDS-9960感測器係一個多功能組件,可以偵測手勢、距離同環境光。你手上嘅具體板形狀或者顏色可能唔同,但底層嘅感測器同引腳功能係一樣嘅。喺呢個項目入面,我哋會集中用手勢感測功能,用I2C引腳(SDA同SCL)加中斷引腳同Arduino通訊。感測器一定要用3.3V供電,因為佢唔可以承受5V。伺服摩打係一個標準模擬伺服摩打,我哋會用一個支援PWM嘅引腳嚟控制佢。
接線指南

呢度係將APDS-9960感測器同伺服摩打連接到Arduino Uno嘅接線圖。(影片01:45位置)
APDS-9960手勢感測器接線
- VCC → Arduino 3.3V(感測器唔可以承受5V)
- GND → Arduino GND
- SDA → Arduino A4(I2C數據線)
- SCL → Arduino A5(I2C時鐘線)
- INT → Arduino Pin 2(一定要用支援中斷嘅引腳)
伺服摩打接線
- 訊號線(橙色或者白色線) → Arduino Pin 9(支援PWM嘅引腳)
- 電源線(中間嗰條,通常係紅色) → Arduino 5V
- 地線(啡色或者黑色線) → Arduino GND
好重要嘅一點係,要將感測器嘅中斷引腳連接到Arduino其中一個中斷引腳(Uno上面嘅pin 2或者pin 3)。咁樣感測器就可以喺偵測到手勢嘅時候即刻通知微控制器,而唔使成日輪詢感測器。至於伺服摩打,你要確保用一個支援PWM嘅引腳(板上會有波浪號「~」標記)。如果將伺服摩打連接到非PWM引腳,例如pin 4,佢就唔會正常運作。(影片02:14位置)
程式碼解釋
喺上載程式碼之前,你需要安裝SparkFun APDS-9960函式庫。喺Arduino IDE入面,去Sketch → Include Library → Manage Libraries,搜尋「APDS9960」,然後安裝SparkFun嘅函式庫。(影片02:38位置)
呢個項目嘅程式碼好直接。主要可以俾用家設定嘅部分係程式碼最上面嘅變數。你可以調整呢啲變數嚟改變伺服摩打嘅行為,而唔使郁其他程式碼。
int servoPin  = 9;          // 伺服摩打訊號線嘅引腳
int downAngle = 135;        // DOWN手勢嘅伺服摩打角度
int upAngle = 45;           // UP手勢嘅伺服摩打角度
int rightAngle = 0;         // RIGHT手勢嘅伺服摩打角度
int leftAngle = 180;        // LEFT手勢嘅伺服摩打角度
int angleStep = 2;          // 掃描伺服摩打時嘅步進大小
int angle = 90; // 伺服摩打嘅初始角度呢啲變數定義咗每個手勢對應嘅伺服摩打目標位置。例如,leftAngle設定為180度,所以當你向左揮手嗰陣,伺服摩打就會轉到180度。你可以根據自己嘅機械結構嚟改呢啲數值。angleStep變數控制當偵測到NEAR手勢時伺服摩打掃描嘅速度同平滑度;數值越細,動作就越慢越順。
nearAction()函式係一個自訂常式,會將伺服摩打由最小角度掃到最大角度,然後再掃返轉頭。當你將隻手移近感測器嗰陣就會觸發呢個函式。farAction()函式係一個預留位置,你可以喺度加入自己嘅程式碼,定義當偵測到FAR手勢嗰陣要做啲乜。
現場項目示範
一旦代碼上傳,感應器就準備好。喺示範入面,當隻手向左掃,伺服馬達會向左轉(180度);向右掃就向右轉(0度)。序列監視器會顯示偵測到嘅手勢。對於向上同向下嘅手勢,伺服馬達會移動到你定義嘅角度。NEAR手勢會觸發由0到180度再返嚟嘅掃動動作,而FAR手勢就係當你隻手移開時偵測到。系統對所有手勢都有可靠嘅反應,係開發更複雜手勢控制項目嘅好起點。(影片03:26位置)
影片章節
- [00:00] 介紹同項目示範
- [00:47] 硬件概覽:APDS-9960感應器同伺服馬達
- [01:45] 感應器同伺服馬達嘅接線指南
- [02:38] 安裝SparkFun APDS-9960函式庫
- [03:26] 現場示範同序列監視器輸出
- [04:27] 結語同支援
圖片

/*
 * Arduino Step by Step Course by Robojax
 * Lesson 100: Control Servo Motor with your hand gesture
 * Using hand gesture RIGHT, LEFT, UP, DOWN, FAR, NEAR we control the motor in any way we want
 * video details: https://youtu.be/BUSqppjNw-Y
 * Code written based on sample from this code https://github.com/sparkfun/APDS-9960_RGB_and_Gesture_Sensor
 * on February 13, 2022 by Ahmad Shamshiri.
 *
 * This code is part of Arduino Step by Step Course which starts here:  https://youtu.be/-6qSrDUA5a8
 *
 * for library of this code visit http://robojax.com/
 *
If you found this tutorial helpful, please support me so I can continue creating
content like this. Make a donation using PayPal by credit card https://bit.ly/donate-robojax

 * This code is "AS IS" without warranty or liability. Free to be used as long as you keep this note intact.*
 * This code has been downloaded from Robojax.com
    This program is free software: you can redistribute it and/or modify
    it under the terms of the GNU General Public License as published by
    the Free Software Foundation, either version 3 of the License, or
    (at your option) any later version.

    This program is distributed in the hope that it will be useful,
    but WITHOUT ANY WARRANTY; without even the implied warranty of
    MERCHANTABILITY or FITNESS FOR A PARTICULAR PURPOSE.  See the
    GNU General Public License for more details.

    You should have received a copy of the GNU General Public License
    along with this program.  If not, see <https://www.gnu.org/licenses/>.
APDS-9960 RGB and Gesture Sensor
Shawn Hymel @ SparkFun Electronics
May 30, 2014
https://github.com/sparkfun/APDS-9960_RGB_and_Gesture_Sensor

Tests the gesture sensing abilities of the APDS-9960. Configures
APDS-9960 over I2C and waits for gesture events. Calculates the
direction of the swipe (up, down, left, right) and displays it
on a serial console.

To perform a NEAR gesture, hold your hand
far above the sensor and move it close to the sensor (within 2
inches). Hold your hand there for at least 1 second and move it
away.

To perform a FAR gesture, hold your hand within 2 inches of the
sensor for at least 1 second and then move it above (out of
range) of the sensor.

Hardware Connections:

IMPORTANT: The APDS-9960 can only accept 3.3V!

 Arduino Pin  APDS-9960 Board  Function

 3.3V         VCC              Power
 GND          GND              Ground
 A4           SDA              I2C Data
 A5           SCL              I2C Clock
 2            INT              Interrupt

Resources:
Include Wire.h and SparkFun_APDS-9960.h

This code is beerware; if you see me (or any other SparkFun
employee) at the local, and you've found our code helpful, please
buy us a round!

Distributed as-is; no warranty is given.
****************************************************************/

#include <Wire.h>
#include <Servo.h>
#include <SparkFun_APDS9960.h>
//see details in this video: https://youtu.be/BUSqppjNw-Y
int servoPin  =9;
int downAngle =135;
int upAngle = 45;
int rightAngle = 0;
int leftAngle = 180;

int angleStep =2;
int angle =90; //initial Angle

const int minAngle = 0;
const int maxAngle = 180;
Servo myservo;  // create servo object to control a servo

// Pins
#define APDS9960_INT    2 // Needs to be an interrupt pin

// Constants

// Global Variables
SparkFun_APDS9960 apds = SparkFun_APDS9960();
int isr_flag = 0;

void setup() {
 myservo.attach(servoPin);  // attaches the servo on pin 9 to the servo object
  // Set interrupt pin as input
  pinMode(APDS9960_INT, INPUT);

  // Initialize Serial port
  Serial.begin(9600);
  Serial.println();
  Serial.println(F("--------------------------------"));
  Serial.println(F("SparkFun APDS-9960 - GestureTest"));
  Serial.println(F("--------------------------------"));

  // Initialize interrupt service routine
  attachInterrupt(0, interruptRoutine, FALLING);

  // Initialize APDS-9960 (configure I2C and initial values)
  if ( apds.init() ) {
    Serial.println(F("APDS-9960 initialization complete"));
  } else {
    Serial.println(F("Something went wrong during APDS-9960 init!"));
  }

  // Start running the APDS-9960 gesture sensor engine
  if ( apds.enableGestureSensor(true) ) {
    Serial.println(F("Gesture sensor is now running"));
  } else {
    Serial.println(F("Something went wrong during gesture sensor init!"));
  }
}

void loop() {
  if( isr_flag == 1 ) {
    detachInterrupt(0);
    handleGesture();
    isr_flag = 0;
    attachInterrupt(0, interruptRoutine, FALLING);
  }
}

void interruptRoutine() {
  isr_flag = 1;
}

void handleGesture() {
    if ( apds.isGestureAvailable() ) {
    switch ( apds.readGesture() ) {
      case DIR_UP:
        Serial.println("UP");
        myservo.write(upAngle);
        break;
      case DIR_DOWN:
        Serial.println("DOWN");
        myservo.write(downAngle);
        break;
      case DIR_LEFT:
        Serial.println("LEFT");
        myservo.write(leftAngle);
        break;
      case DIR_RIGHT:
        Serial.println("RIGHT");
        myservo.write(rightAngle);
        break;
      case DIR_NEAR:
        Serial.println("NEAR");
        nearAction();
        break;
      case DIR_FAR:
        Serial.println("FAR");
        farAction();
        break;
      default:
        Serial.println("NONE");
    }
  }
}

void nearAction()
{

  for (angle = minAngle; angle <= maxAngle; angle += angleStep) {
    // in steps of angleStep degree
    myservo.write(angle);
    delay(15);
  }
  for (angle = maxAngle; angle >= minAngle; angle -= angleStep) {
    myservo.write(angle);
    delay(15);
  }
}//nearAction() ends


 void farAction()
{

 //do something here
}//farAction() ends
你可能需要嘅嘢
-
亞馬遜
-
亞馬遜
-
亞馬遜Servo motor on Amazonamzn.to
-
易贝360 Degree Servo motor on eBayebay.us
-
易贝
資源與參考資料
暫時冇資源。
文件📁
其他文件
-
SG90 Seroo 馬達數據表
robojax-servo-SG90_datasheet.pdf0.12 MB -