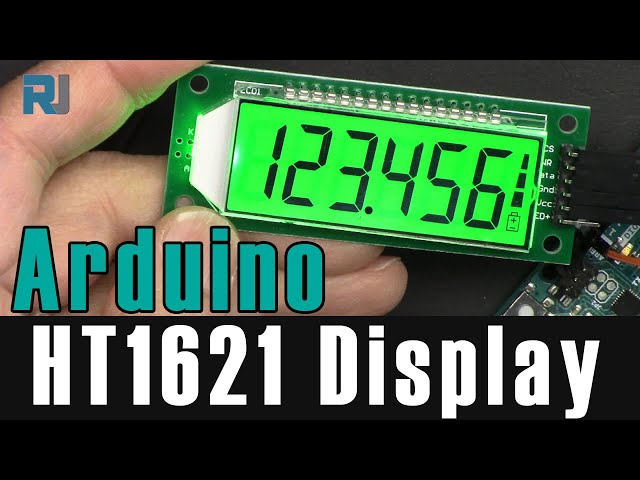
Lesson 103: Using the HT1621 Six-Digit Seven-Segment LCD Display
In this lesson, we learn how to use an HT1621 six-digit seven-segment display with five wires. We learn how to display integers like 2345 or floating-point values like 234.987, or temperature. Wiring diagrams and how to wire it to an Arduino are shown, and the Arduino library and code are explained.
407-Lesson 103: Using HT1621 6-Digit Seven-Segment LCD Display
语言: C++
This code has not been parsed yet. Please return to the admin panel to parse it.|||您可能需要的东西
-
全球速卖通Purchase an HT1621 display from AliExpresss.click.aliexpress.com
-
BanggoodPurchase an HT1621 display from Amazon UKbanggood.com
资源与参考
-
外部Purchase an HT1621 display from AliExpresss.click.aliexpress.com
-
外部Purchase an HT1621 display from Amazon UKbanggood.com
-
外部
文件📁
没有可用的文件。