Code Arduino et vidéo pour l'écran OLED SSD1306 128 x 64
Dans ce tutoriel, nous allons explorer comment utiliser l'écran OLED SSD1306 128 x 64 avec un Arduino. Le SSD1306 est un écran polyvalent qui permet d'afficher facilement du texte, des graphiques et diverses formes. À la fin de cet article, vous serez capable de configurer l'écran et d'exécuter du code démontrant ses capacités.

Nous vous guiderons à travers les connexions matérielles nécessaires et fournirons des extraits de code pour vous aider à comprendre les identifiants clés utilisés dans le programme. Pour une explication plus visuelle, veillez à regarder la vidéo associée (dans la vidéo à 00:00).
Le matériel expliqué
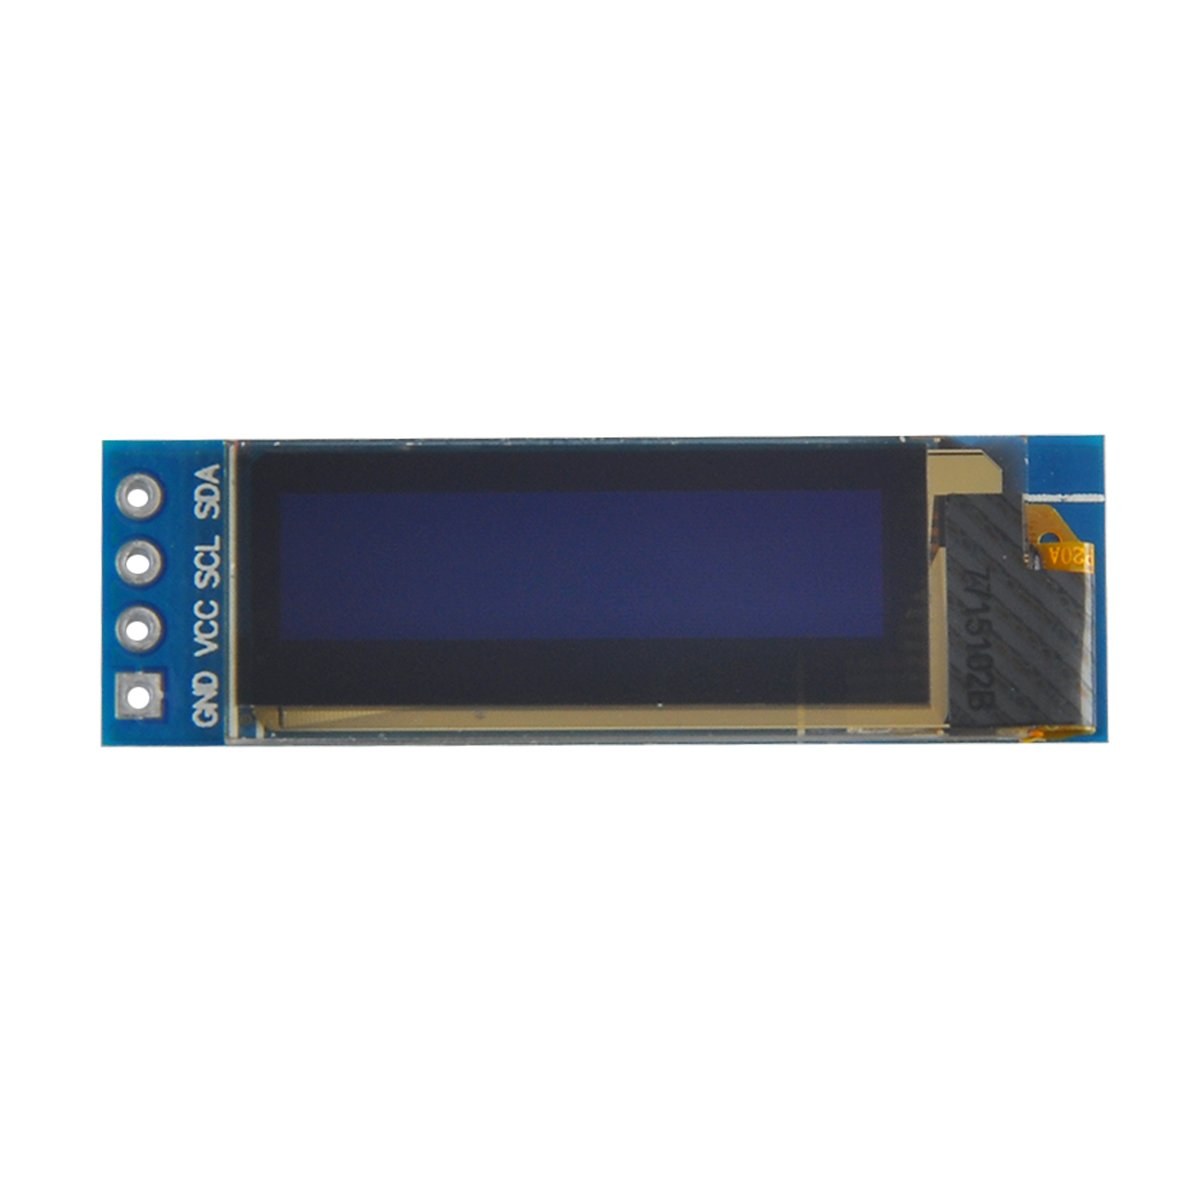
Les principaux composants de ce projet incluent la carte Arduino et le module d'affichage OLED SSD1306. L'écran SSD1306 utilise le protocole de communication I2C, ce qui simplifie le câblage en ne nécessitant que deux lignes de données : SDA pour les données et SCL pour le signal d'horloge. L'écran fonctionne à des tensions comprises entre 3.3V et 5V, ce qui le rend compatible avec la plupart des cartes Arduino.
En plus de l'écran, vous aurez besoin de fils de connexion pour relier le module à votre Arduino. Les connexions comprennent VCC pour l'alimentation, GND pour la masse, SDA à la broche de données de l'Arduino et SCL à la broche d'horloge. Cette configuration permet une communication facile entre l'Arduino et l'écran OLED.
Détails de la fiche technique
| Fabricant | Adafruit |
|---|---|
| Numéro de pièce | SSD1306 |
| Tension logique / E/S | 3.3 V - 5 V |
| Tension d'alimentation | 3.3 V - 5 V |
| Résolution d'écran | 128 x 64 pixels |
| adresse I2C | 0x3C |
| Interface | I2C |
| Paquet | Module |
- Assurez-vous d'un câblage correct : VCC à 3,3 V ou 5 V, GND à la masse, SDA à A4, SCL à A5 (pour Arduino Uno).
- L'écran nécessite des résistances de pull-up sur les lignes SDA et SCL si elles ne sont pas déjà intégrées.
- Vérifiez que l'adresse I2C est correctement définie dans le code, généralement 0x3C pour cet écran.
- Utilisez une bibliothèque adaptée, comme Adafruit_SSD1306, pour une intégration facile.
- Effacez l'affichage avant de dessiner de nouveaux éléments graphiques pour éviter des artéfacts de chevauchement.
Instructions de câblage

Pour câbler l'écran OLED SSD1306 à votre Arduino, suivez ces étapes :
Connectez la broche VCC de l'écran OLED à la broche 5V (ou 3,3V) de l'Arduino. Ensuite, connectez la broche GND de l'écran à la broche de masse de l'Arduino. Pour la communication I2C, connectez la broche SDA de l'écran à la broche A4 de l'Arduino et la broche SCL à la broche A5. Cette configuration permettra à l'Arduino de communiquer avec l'écran OLED en utilisant le protocole I2C.
Assurez-vous que toutes les connexions sont sécurisées et vérifiez une fois de plus que vous utilisez la tension correcte pour votre modèle d'affichage spécifique. Si vous utilisez un modèle d'Arduino différent, les broches SDA et SCL peuvent varier (par exemple, pour l'Arduino Mega, SDA se trouve sur la broche 20 et SCL sur la broche 21).
Exemples de code et guide pas à pas
Dans le code, nous initialisons l'afficheur et configurons les paramètres tels que l'adresse I2C et les dimensions. Un identifiant clé estdisplay, qui représente l'instance de l'afficheur SSD1306. Voici un extrait de la fonction setup :
void setup() {
  Serial.begin(9600);
  display.begin(SSD1306_SWITCHCAPVCC, 0x3C);  // initialize with the I2C addr 0x3C
}
Dans cet extrait, ledisplay.beginLa fonction initialise l'afficheur avec l'adresse I2C spécifiée. Il est essentiel de faire correspondre l'adresse à celle de votre afficheur pour garantir une communication correcte.
Ensuite, dans la fonction loop, nous utilisons ledisplay.clearDisplay()méthode pour effacer l'écran avant de dessiner un nouveau contenu. Nous pouvons définir la taille et la position du texte en utilisant lesetTextSizeetsetCursorméthodes:
void loop() {
  display.clearDisplay();
  display.setTextSize(2);
  display.setCursor(2,1); // set cursor at top left corner
  display.println("Robojax"); // display text
}
Ici, le texte "Robojax" est affiché aux coordonnées (2,1). Cela permet de placer précisément le texte sur l'écran OLED.
Enfin, pour afficher les modifications à l'écran, nous appelonsdisplay.display(). Cette fonction envoie toutes les commandes en mémoire tampon à l'affichage pour mettre à jour son contenu :
display.display();Cette ligne devrait être la dernière de votre fonction loop pour garantir que toutes les commandes de dessin sont exécutées. Si vous oubliez cette étape, rien n'apparaîtra à l'écran.
N'oubliez pas, le code complet se trouve sous l'article pour votre référence.
Démonstration / À quoi s'attendre
Après avoir téléchargé le code sur votre Arduino, vous devriez voir le texte Robojax s'afficher sur l'écran OLED. Le code montre également le défilement de texte et le tracé de lignes, de formes et d'autres graphismes sur l'affichage. Méfiez-vous des pièges courants, tels qu'un câblage incorrect ou des adresses I2C non correspondantes, qui peuvent empêcher l'affichage de fonctionner correctement (dans la vidéo à 10:00).
Horodatages vidéo
- 00:00- Introduction à l'écran OLED SSD1306
- 02:30- Câblage de l'afficheur
- 05:00- Présentation du code
- 08:00- Démonstration des fonctionnalités d'affichage
- 10:00- Problèmes courants et dépannage
Images

/*
 * Original source: https://github.com/adafruit/Adafruit_SSD1306
 * This is the Arduino code for the SSD1306 OLED 128 x 64 Display.
 * Watch the video for details and demo: http://youtu.be/UmYiHTOz-5k
 * This code has been modified to print specific elements such as text, lines, circles, rectangles, etc.
 * I have added a custom method to make printing text easy.

 If you get the error: Adafruit_GFX.h not found, download the Adafruit-GFX Library from:
 https://github.com/adafruit/Adafruit-GFX-Library

 Purchase this OLED module from Amazon: https://amzn.to/36zFvTb

 *  *
 * Written by Ahmad Shamshiri for Robojax Video channel, www.Robojax.com
 * Date: December 17, 2017, in Ajax, Ontario, Canada
 * Permission granted to share this code, provided that this
 * note is kept with the code.
 * Disclaimer: This code is "AS IS" and for educational purposes only.
 * This code has been downloaded from https://robojax.com
 *
 */

/*********************************************************************
This is an example for our monochrome OLEDs based on SSD1306 drivers.

  Pick one up today in the Adafruit shop!
  ------> http://www.adafruit.com/category/63_98

This example is for a 128x64 size display using I2C to communicate.
3 pins are required to interface (2 I2C and one reset).

Adafruit invests time and resources providing this open source code,
please support Adafruit and open-source hardware by purchasing
products from Adafruit!

Written by Limor Fried/Ladyada for Adafruit Industries.
BSD license, check license.txt for more information.
All text above, and the splash screen must be included in any redistribution.
*********************************************************************/

#include <SPI.h>
#include <Wire.h>
#include <Adafruit_GFX.h>
#include <Adafruit_SSD1306.h>

#define OLED_RESET 4
Adafruit_SSD1306 display(OLED_RESET);

#define NUMFLAKES 10
#define XPOS 0
#define YPOS 1
#define DELTAY 2


#define LOGO16_GLCD_HEIGHT 16 // do not change this. Error in video
#define LOGO16_GLCD_WIDTH  16 // do not change this. Error in video
static const unsigned char PROGMEM logo16_glcd_bmp[] =
{ B00000000, B11000000,
  B00000001, B11000000,
  B00000001, B11000000,
  B00000011, B11100000,
  B11110011, B11100000,
  B11111110, B11111000,
  B01111110, B11111111,
  B00110011, B10011111,
  B00011111, B11111100,
  B00001101, B01110000,
  B00011011, B10100000,
  B00111111, B11100000,
  B00111111, B11110000,
  B01111100, B11110000,
  B01110000, B01110000,
  B00000000, B00110000 };

    // look at line 27 to 30 of Adafruit_SSD1306.h inside the library to select the dimensions
#if (SSD1306_LCDHEIGHT != 64)
#error("Height incorrect, please fix Adafruit_SSD1306.h!");
#endif

void setup()   {
  Serial.begin(9600);

  // by default, we'll generate the high voltage from the 3.3v line internally! (neat!)
  display.begin(SSD1306_SWITCHCAPVCC, 0x3C);  // initialize with the I2C addr 0x3D (for the 128x64)
  // init done

}


void loop() {
 display.clearDisplay();
  robojaxText("Values", 3, 0, 2, false);
  robojaxText("V: 41v", 3, 22, 2, false);
  robojaxText("Temperature: 32C", 4, 45, 1, true);
  display.drawLine(1, 37, 100, 37, WHITE);
  display.drawRect(1, 20, 100,40, WHITE);
  //display.drawCircle(63,31, 31, WHITE);
   //display.startscrollright(0x00, 0x0F);
  display.display();
   delay(20000);
}

/*
 * robojaxText(String text, int x, int y, int size, boolean d)
 * text is the text string to be printed.
 * x is the integer x position of the text.
 * y is the integer y position of the text.
 * size is the text size (1, 2, 3, etc.).
 * d is a boolean value (true or false).  Its purpose is unclear, use true.
 */
void robojaxText(String text, int x, int y,int size, boolean d) {

  display.setTextSize(size);
  display.setTextColor(WHITE);
  display.setCursor(x,y);
  display.println(text);
  if(d){
    display.display();
  }

  delay(100);
}/*
* Original source: https://github.com/adafruit/Adafruit_SSD1306
* This is the Arduino code for the SSD1306 OLED 128 x 64 Display
* watch the video for details and demo http://youtu.be/UmYiHTOz-5k
* This code has been modified to print specific elements such as text, lines, circles, rectangles, etc.
* *
* *
* Written by Ahmad Shamshiri for Robojax Video channel www.Robojax.com
* Date: December 15, 2017, in Ajax, Ontario, Canada
* Permission granted to share this code given that this
* note is kept with the code.
* Disclaimer: this code is "AS IS" and for educational purposes only.
* This code has been downloaded from https://robojax.com
*
*/
/*********************************************************************
This is an example for our Monochrome OLEDs based on SSD1306 drivers
Pick one up today in the Adafruit shop!
------> http://www.adafruit.com/category/63_98
This example is for a 128x64 size display using I2C to communicate.
3 pins are required to interface (2 I2C and one reset).
Adafruit invests time and resources providing this open source code,
please support Adafruit and open-source hardware by purchasing
products from Adafruit!
Written by Limor Fried/Ladyada for Adafruit Industries.
BSD license, check license.txt for more information
All text above, and the splash screen must be included in any redistribution
*********************************************************************/
#include <SPI.h>
#include <Wire.h>
#include <Adafruit_GFX.h>
#include <Adafruit_SSD1306.h>
#define OLED_RESET 4
Adafruit_SSD1306 display(OLED_RESET);
#define NUMFLAKES 10
#define XPOS 0
#define YPOS 1
#define DELTAY 2
#define LOGO16_GLCD_HEIGHT 16 // do not change this. Error in video
#define LOGO16_GLCD_WIDTH 16 // do not change this. Error in video
static const unsigned char PROGMEM logo16_glcd_bmp[] =
{ B00000000, B11000000,
B00000001, B11000000,
B00000001, B11000000,
B00000011, B11100000,
B11110011, B11100000,
B11111110, B11111000,
B01111110, B11111111,
B00110011, B10011111,
B00011111, B11111100,
B00001101, B01110000,
B00011011, B10100000,
B00111111, B11100000,
B00111111, B11110000,
B01111100, B11110000,
B01110000, B01110000,
B00000000, B00110000 };
// look at line 27 to 30 of Adafruit_SSD1306.h inside the library to select the dimensions
#if (SSD1306_LCDHEIGHT != 64)
#error("Height incorrect, please fix Adafruit_SSD1306.h!");
#endif
void setup() {
Serial.begin(9600);
// by default, we'll generate the high voltage from the 3.3v line internally! (neat!)
display.begin(SSD1306_SWITCHCAPVCC, 0x3C); // initialize with the I2C addr 0x3D (for the 128x64)
// init done
}
void loop() {
display.clearDisplay();
display.setTextSize(2);
display.setTextColor(WHITE);
display.setCursor(2,1);// set the cursor at x=2, y=1 which is top left corner of display
display.println("Robojax");// the actual text
display.setCursor(2,18);
display.println("YouTube");// set the cursor at x=2, y=18 which is top left under the first text line
display.drawLine(0,16, display.width()-1, 16, WHITE); // drawing from the point x=0, y=16 to x=64-1 y=16
display.display();
display.startscrollright(0x00, 0x0F);
delay(2000);
display.stopscroll();
delay(1000);
display.startscrollleft(0x00, 0x0F);
delay(2000);
display.stopscroll();
delay(1000);
display.startscrolldiagright(0x00, 0x07);
delay(2000);
display.startscrolldiagleft(0x00, 0x07);
delay(2000);
display.stopscroll();
delay(10000);
}/*********************************************************************
Original source: http://playground.arduino.cc/Main/I2cScanner
This program will find the I2C address on the I2C device. Just upload the code into your Arduino
and open the serial monitor and wait. It will display the I2C address as 0x3C or similar.
* Please view other RoboJax codes and videos at http://robojax.com/learn/arduino
* If you are sharing this code, you must keep this copyright note.
*
*********************************************************************/
#include <Wire.h>
void setup()
{
Wire.begin();
Serial.begin(9600);
while (!Serial); // Leonardo: wait for serial monitor
Serial.println("\nI2C Scanner");
}
void loop()
{
byte error, address;
int nDevices;
Serial.println("Scanning...");
nDevices = 0;
for(address = 1; address < 127; address++ )
{
// The i2c_scanner uses the return value of
// the Wire.endTransmission to see if
// a device did acknowledge the address.
Wire.beginTransmission(address);
error = Wire.endTransmission();
if (error == 0)
{
Serial.print("I2C device found at address 0x");
if (address<16)
Serial.print("0");
Serial.print(address,HEX);
Serial.println(" !");
nDevices++;
}
else if (error==4)
{
Serial.print("Unknown error at address 0x");
if (address<16)
Serial.print("0");
Serial.println(address,HEX);
}
}
if (nDevices == 0)
Serial.println("No I2C devices found\n");
else
Serial.println("done\n");
delay(5000); // wait 5 seconds for next scan
}Ressources et références
Fichiers📁
Aucun fichier disponible.