How to Control an Actuator Using an Arduino and Two Push Buttons
This video shows how to control an actuator with two relays and an Arduino. We have two push buttons; one is used to push and the other is used to pull the actuator. This project can work with virtually any actuator and any voltage. Any Arduino module can be used.
282-Code Controlling Actuator using Arduino
语言: C++
This code has not been parsed yet. Please return to the admin panel to parse it.|||您可能需要的东西
-
全球速卖通Actuator from AliExpresss.click.aliexpress.com
-
全球速卖通Actuator from AliExpress (another)s.click.aliexpress.com
-
全球速卖通Two actuators with wireless control from AliExpresss.click.aliexpress.com
-
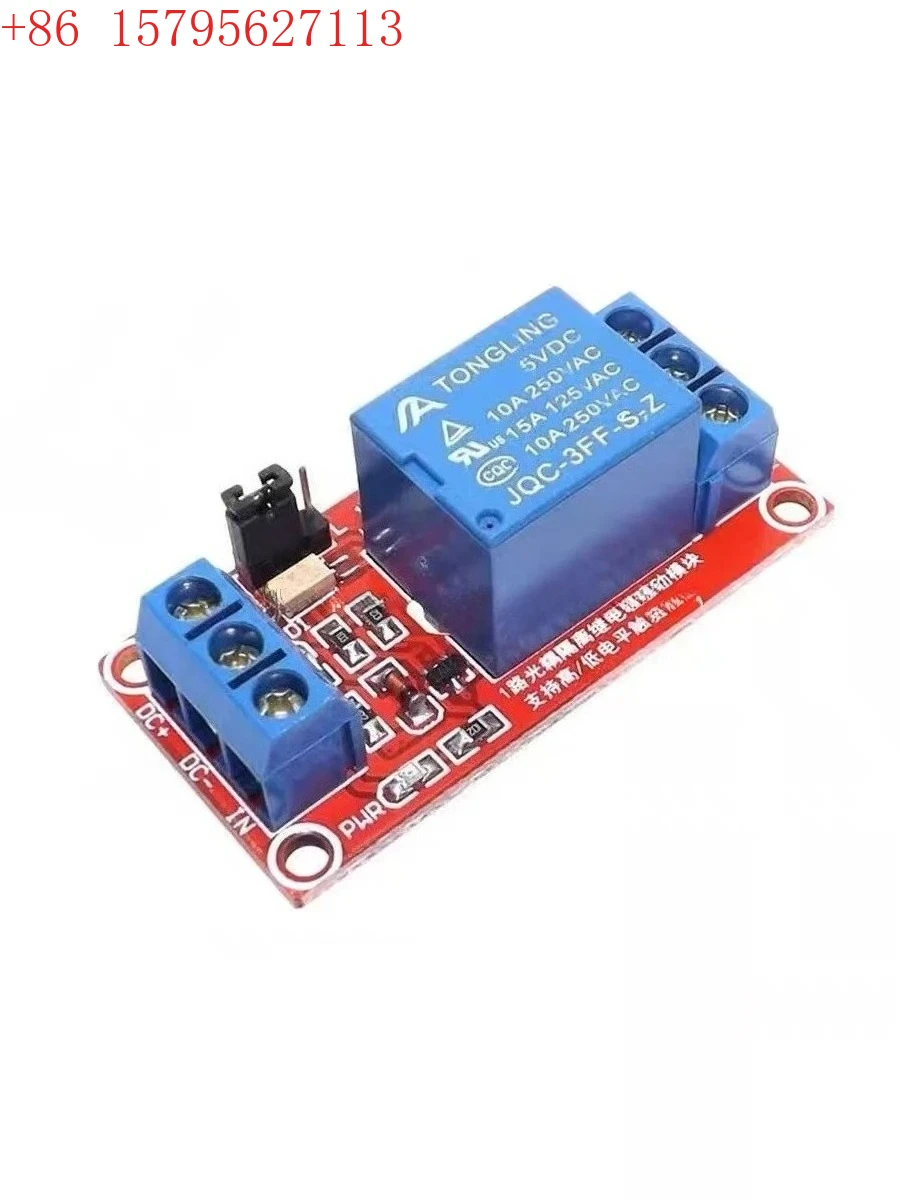
BanggoodDual-channel relay (Banggood)banggood.com
资源与参考
-
外部Actuator from AliExpresss.click.aliexpress.com
-
外部Actuator from AliExpress (another)s.click.aliexpress.com
-
外部
-
外部Actuator from Amazon Canadaamzn.to
-
外部Actuator from Amazon, USAamzn.to
-
外部
-
外部Dual-channel relay (Banggood)banggood.com
-
外部Two actuators with wireless control from AliExpresss.click.aliexpress.com
-
内部
-
内部Dual-Channel Relay (Amazon, USA)amzn.to
文件📁
没有可用的文件。