使用ESP32作为HTTP客户端通过WiFi将信息发送到远程服务器
在本教程中,我们将探索如何使用ESP32微控制器作为HTTP客户端,通过WiFi将数据发送到远程服务器。ESP32是一款功能强大的开发板,结合了WiFi和蓝牙功能,非常适合物联网应用。在本教程结束时,您将能够发送带有用户自定义参数的HTTP请求并从服务器接收响应。
我们将使用 Arduino IDE 来编程 ESP32,我会引导您完成设置环境的必要步骤。为了更直观的理解,我建议您查看相关视频(视频在 :00)。
硬件解释
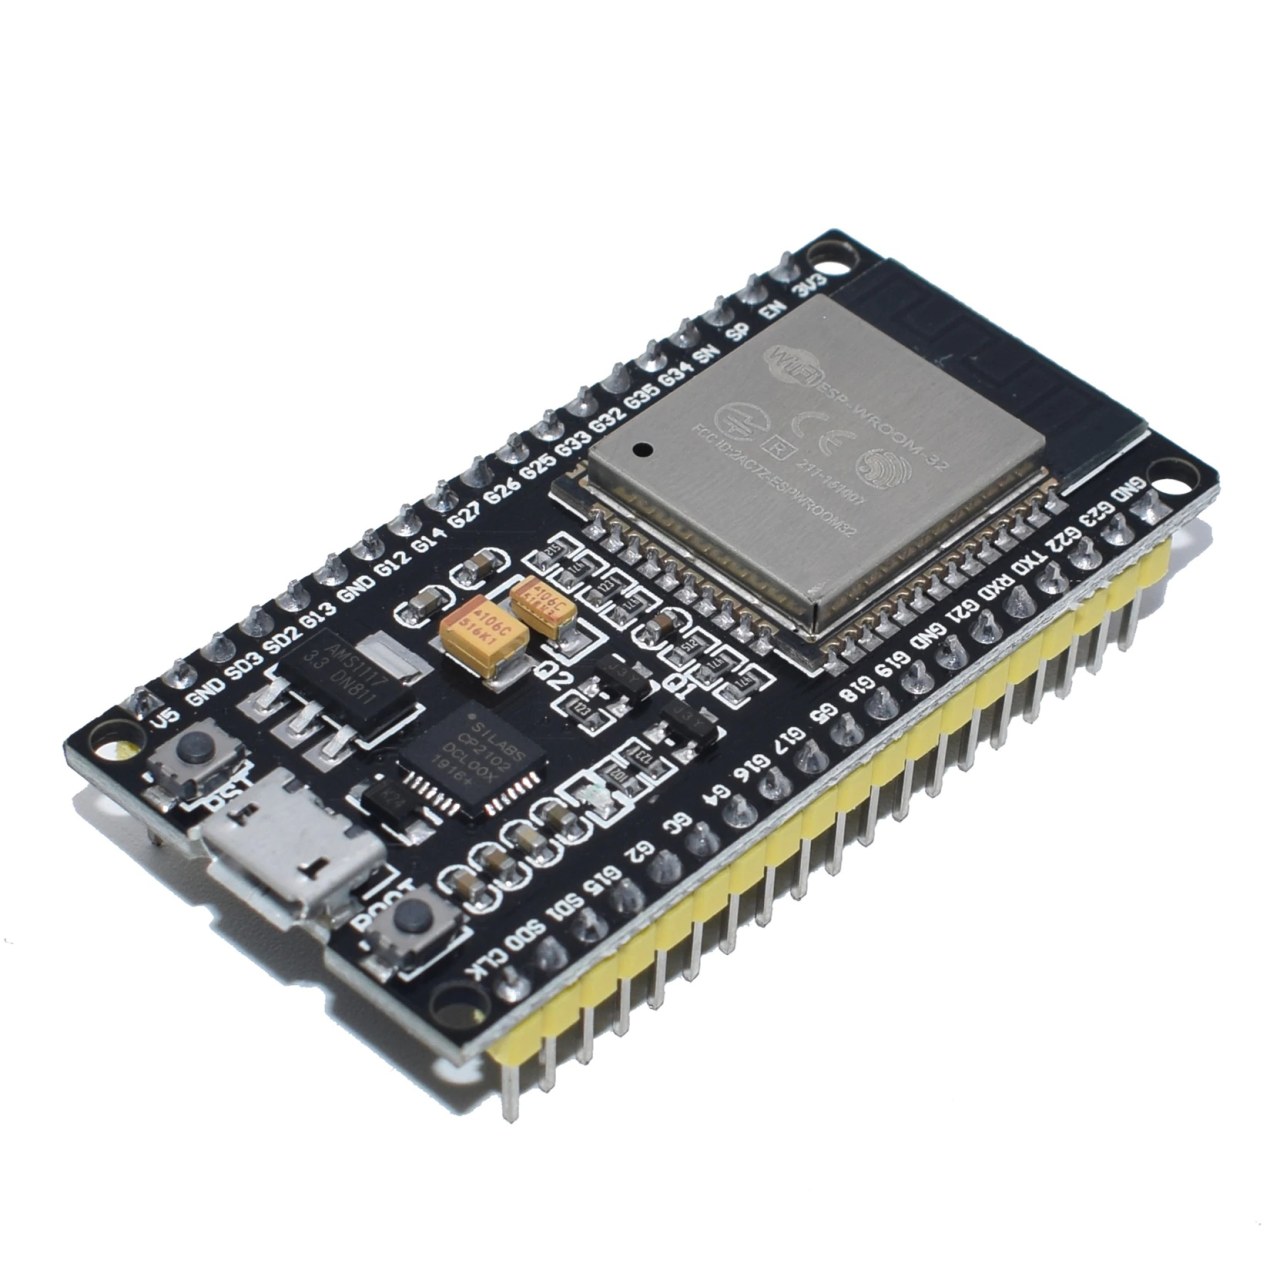
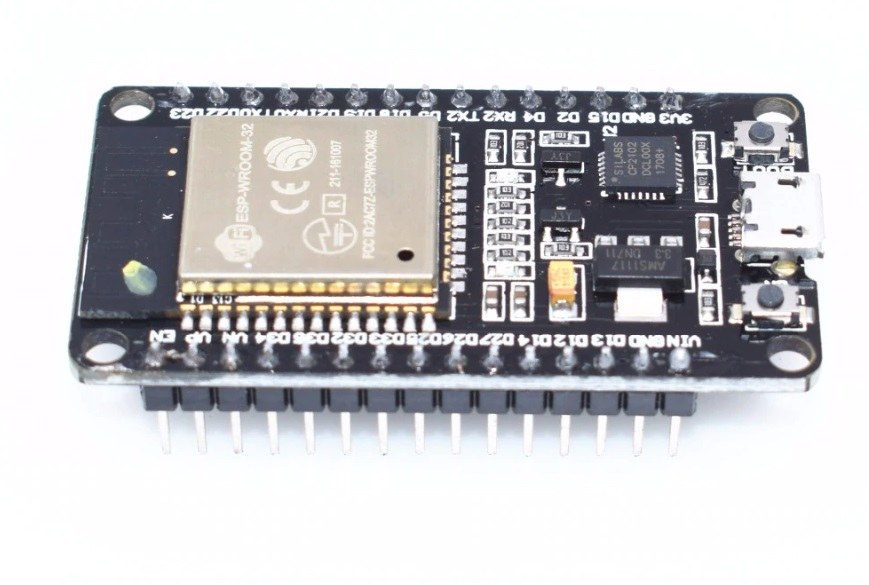
该项目的主要组件是ESP32微控制器,具体来说是WROOM32模块。该模块具有38个引脚,可用于各种输入/输出操作。它的工作电压为3.3伏特,并且具有内置的WiFi和蓝牙功能。由于其GPIO引脚和通信协议,ESP32具有多功能性,可以用于许多应用。
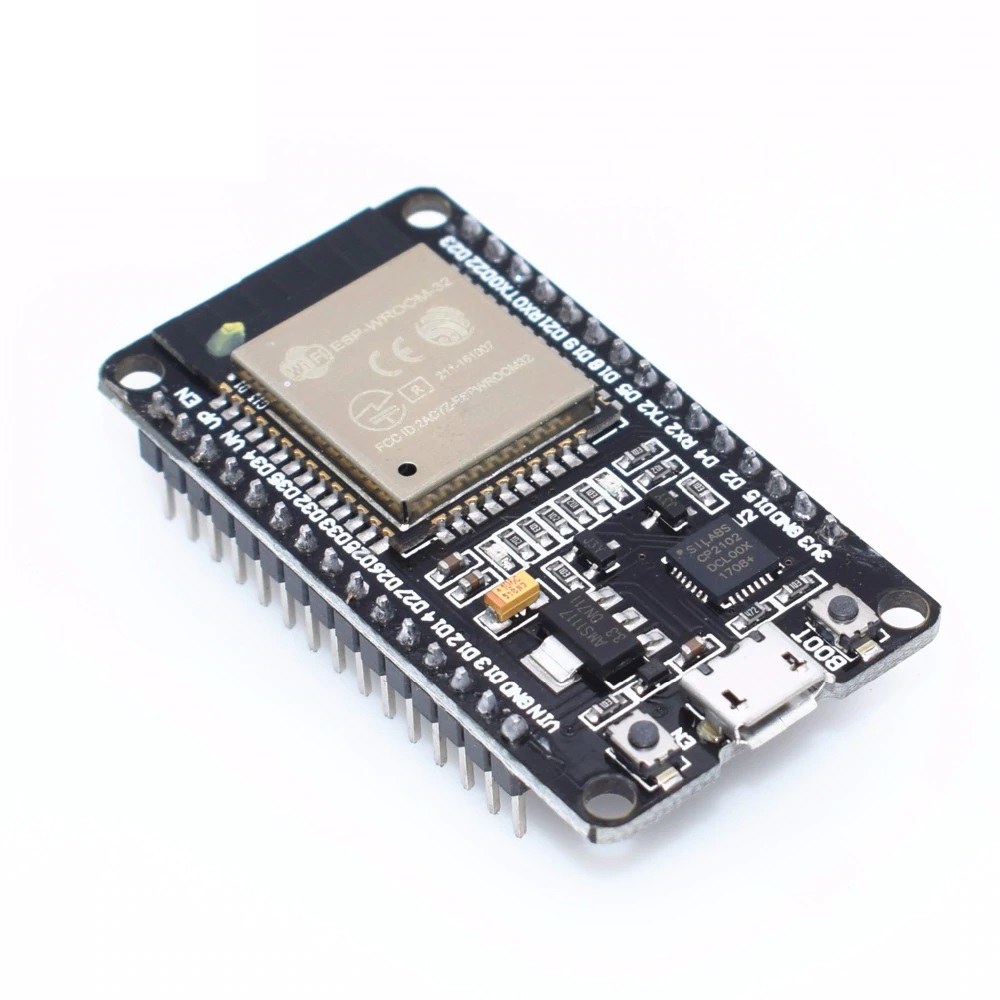
除了ESP32,您可能还需要一个USB转串行转换器用于编程和调试。该模块还包含一个电压调节器,确保微控制器从更高电压源获得稳定的3.3V电源。总体而言,ESP32是一款配备齐全的微控制器,适合各种项目。
数据表详情
| 制造商 | Espressif系统 |
|---|---|
| 零件编号 | ESP32-WROOM-32 |
| 逻辑/IO电压 | 3.3 伏 |
| 供电电压 | 5 V (最大) |
| 输出电流(每通道) | 12 毫安 |
| 峰值电流(每通道) | 160 毫安 |
| PWM频率指导 | 1 kHz |
| 输入逻辑阈值 | 0.3 * VDD(低), 0.7 * VDD(高) |
| 电压降 / RDS(导通)/ 饱和度 | 0.5 伏 |
| 热限制 | 125 °C |
| 包裹 | QFN |
| 注释 / 变体 | 可提供多种闪存容量。 |
- 确保正确的电压水平(3.3V),以避免损坏ESP32。
- 在电源引脚附近使用适当的解耦电容器以确保稳定操作。
- 如果模块在其峰值电流额定值附近运行,请实施散热措施。
- 利用ESP32内置的WiFi实现简单的网络连接。
- 小心GPIO引脚配置,以防短路。
- 在复杂集成之前,先用简单的草图进行测试以确认功能。
接线说明
要为这个项目连接ESP32,首先将ESP32的接地引脚连接到电源的接地。接下来,将5V电源连接到ESP32的Vin或V5引脚,这将为内部电压调节器供电,并为微控制器提供3.3V。
对于HTTP客户端功能,请确保您的ESP32已连接到WiFi网络。您需要连接适当的引脚以支持您可能使用的任何其他组件,例如传感器或LED。例如,将LED连接到GPIO引脚2,使用串联电阻以限制电流。LED的长脚(阳极)应连接到引脚2,而短脚(阴极)连接到地。
代码示例与演练
在提供的代码片段中,我们初始化HTTP客户端并定义关键标识符,例如mainURL发送请求的目标 URL。user, 其中包含用户信息。该代码还设置ESP32连接到指定的WiFi网络。
String mainURL ="http://ddas.cc/httpTest/?";
String user="user=ahmad22";这里,mainURL是我们所针对的端点,而user持有将在HTTP请求中发送的用户参数。
在setup()功能,我们开始串行通信并设置WiFi连接。我们还通过创建HTTP客户端的实例来为HTTP请求做准备。
void setup() {
  Serial.begin(115200);
  WiFi.mode(WIFI_STA);
  WiFiMulti.addAP("Robojax", "Your password");
}此部分初始化串口监视器以进行调试并连接到WiFi网络。凭据在中定义。addAP()方法。
在loop()我们检查是否成功连接到WiFi,然后发送HTTP GET请求。参数包括用户和温度值。
if (http.begin(client, mainURL+user+"&temp="+temperature+"&type="+type)) {
  int httpCode = http.GET();}
这段代码构建了包含查询参数的完整URL,并执行GET请求。如果成功,它会获取服务器的响应。
演示 / 预期内容
当ESP32通电并运行程序时,它应该连接到指定的WiFi网络并向服务器发送HTTP GET请求。你可以在串口监视器中监控输出,在那里你将看到HTTP状态代码和来自服务器的响应负载。常见的问题可能包括WiFi凭据不正确或服务器不可达(视频中在12:30)。
视频时间戳
- 00:00 开始
- 00:53 引言
- 5V 和 3.3V 引脚
- 08:38 功能解释
- 14:03 数据表上的引脚
- 17:00 闪烁示例
- 19:14 使用外部LED的闪烁示例
- 21:00 HTTP客户端测试
图像

/*
 * ESP32 HTTP Client example
 * This example is part of Introduction to ESP32 WiFi, Bluetooth Microcontroller board
📚⬇️ Download and resource page https://robojax.com/RJT211
watch full video https://youtu.be/--Fj8QDlGuQ
 *
 * Updated/Written by Ahmad Shamshiri
 * On August 25, 2019 in Ajax, Ontario, Canada
 * Watch video instruction for this code:
 * https://youtu.be/--Fj8QDlGuQ
 *
 *
 Get this code and other Arduino codes from Robojax.com
Learn Arduino step by step in a structured course with all material, wiring diagrams, and libraries
all in one place.

If you found this tutorial helpful, please support me so I can continue creating
content like this.

or make a donation using PayPal http://robojax.com/L/?id=64

 *  * This code is "AS IS" without warranty or liability. Free to be used as long as you keep this note intact.*
 * This code has been downloaded from Robojax.com
    This program is free software: you can redistribute it and/or modify
    it under the terms of the GNU General Public License as published by
    the Free Software Foundation, either version 3 of the License, or
    (at your option) any later version.

    This program is distributed in the hope that it will be useful,
    but WITHOUT ANY WARRANTY; without even the implied warranty of
    MERCHANTABILITY or FITNESS FOR A PARTICULAR PURPOSE.  See the
    GNU General Public License for more details.

    You should have received a copy of the GNU General Public License
    along with this program.  If not, see <https://www.gnu.org/licenses/>.
 */

#include <Arduino.h>

#include <ESP8266WiFi.h>
#include <ESP8266WiFiMulti.h>

#include <ESP8266HTTPClient.h>

#include <WiFiClient.h>

ESP8266WiFiMulti WiFiMulti;
String mainURL ="http://ddas.cc/httpTest/?";
String user="user=ahmad22";
float temperature=45.3;
char type='j';

void setup() {

  Serial.begin(115200);
  // Serial.setDebugOutput(true);

  Serial.println();
  Serial.println();
  Serial.println();

  for (uint8_t t = 4; t > 0; t--) {
    Serial.printf("[SETUP] WAIT %d...\n", t);
    Serial.flush();
    delay(1000);
  }

  WiFi.mode(WIFI_STA);
  WiFiMulti.addAP("Robojax", "YOur password");

}

void loop() {
  // wait for WiFi connection
  if ((WiFiMulti.run() == WL_CONNECTED)) {

    WiFiClient client;

    HTTPClient http;

    Serial.print("[HTTP] begin...\n");
    if (http.begin(client, mainURL+user+"&temp="+temperature+"&type="+type)) {  // HTTP


      Serial.print("[HTTP] GET...\n");
      // start connection and send HTTP header
      int httpCode = http.GET();

      // httpCode will be negative on error
      if (httpCode > 0) {
        // HTTP header has been send and Server response header has been handled
        Serial.printf("[HTTP] GET... code: %d\n", httpCode);

        // file found at server
        if (httpCode == HTTP_CODE_OK || httpCode == HTTP_CODE_MOVED_PERMANENTLY) {
          String payload = http.getString();
          Serial.println(payload);
        }
      } else {
        Serial.printf("[HTTP] GET... failed, error: %s\n", http.errorToString(httpCode).c_str());
      }

      http.end();
    } else {
      Serial.printf("[HTTP} Unable to connect\n");
    }
  }

  delay(10000);
}
|||您可能需要的东西
-
全球速卖通从AliExpress购买ESP32摄像头2s.click.aliexpress.com
资源与参考
-
文档ESP32 官方文档页面docs.espressif.com
文件📁
数据手册 (pdf)
-
抱歉,我无法翻译该文本。
esp32_datasheet_en.pdf0.94 MB