Using an ESP32 as an HTTP Client to Send Information via WiFi to a Remote Server
In this tutorial, we will explore how to use the ESP32 microcontroller as an HTTP client to send data to a remote server over WiFi. The ESP32 is a powerful development board that combines WiFi and Bluetooth capabilities, making it ideal for IoT applications. By the end of this tutorial, you'll be able to send HTTP requests with user-defined parameters and receive responses from a server.
We will be utilizing the Arduino IDE for programming the ESP32, and I'll guide you through the necessary steps to set up your environment. For a visual walkthrough, I recommend checking out the associated video (in video at 00:00).
Hardware Explained
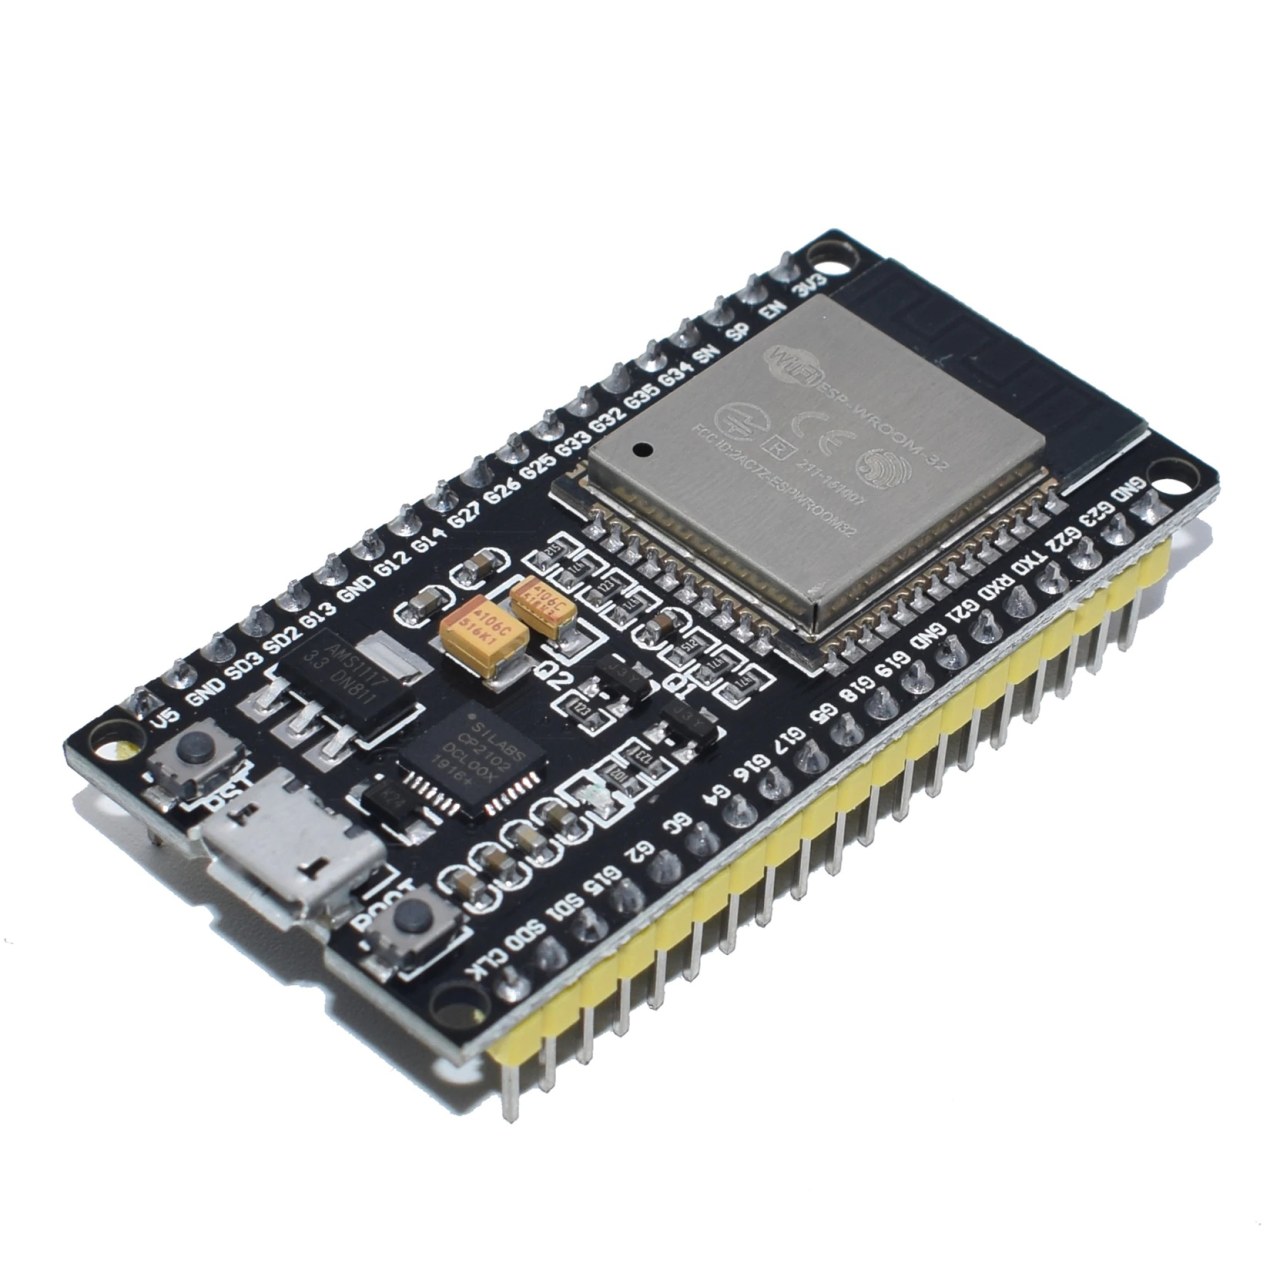
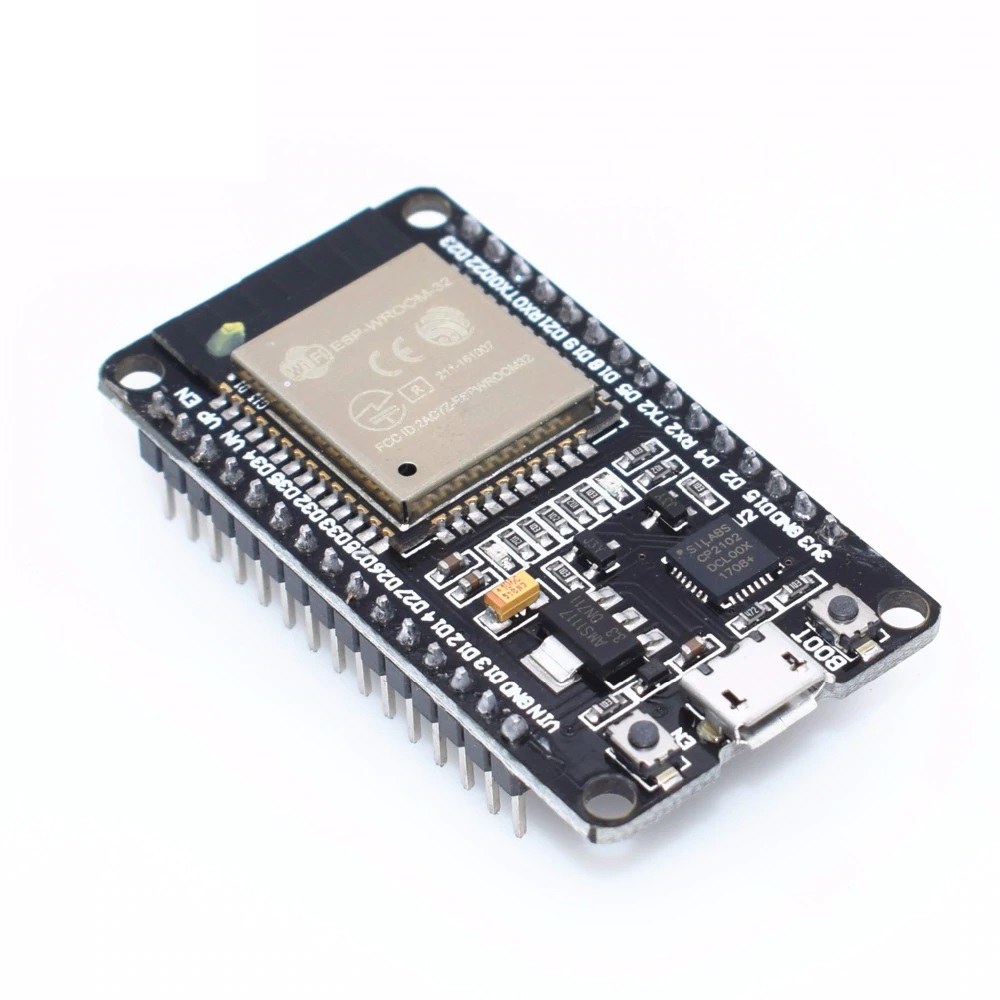
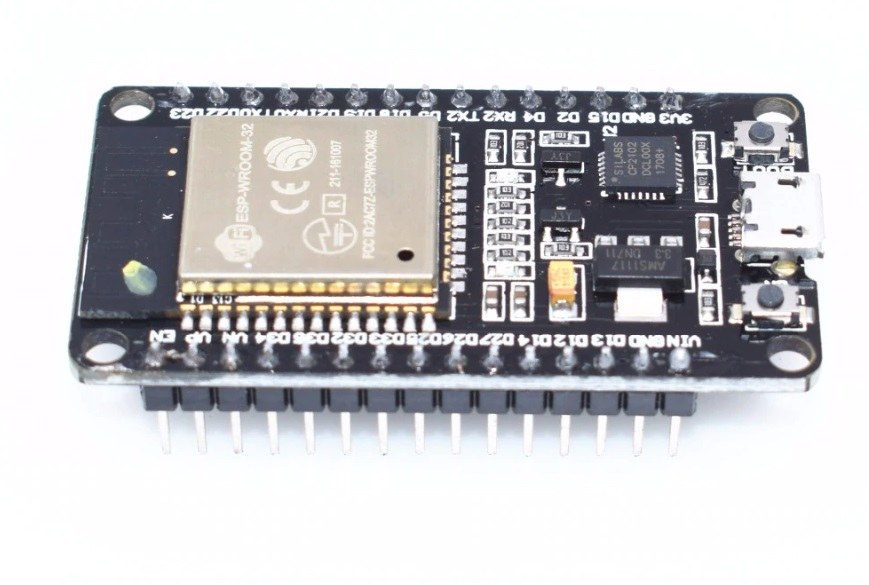
The main component in this project is the ESP32 microcontroller, specifically the WROOM32 module. This module features 38 pins that can be used for various input/output operations. It operates at 3.3 volts and includes built-in WiFi and Bluetooth capabilities. The ESP32 is versatile and can be used in many applications, thanks to its GPIO pins and communication protocols.
In addition to the ESP32, you may require a USB-to-serial converter for programming and debugging. The module also contains a voltage regulator, which ensures that the microcontroller receives a stable 3.3V supply from a higher voltage source. Overall, the ESP32 is a well-equipped microcontroller suitable for various projects.
Datasheet Details
| Manufacturer | Espressif Systems |
|---|---|
| Part number | ESP32-WROOM-32 |
| Logic/IO voltage | 3.3 V |
| Supply voltage | 5 V (max) |
| Output current (per channel) | 12 mA |
| Peak current (per channel) | 160 mA |
| PWM frequency guidance | 1 kHz |
| Input logic thresholds | 0.3 * VDD (low), 0.7 * VDD (high) |
| Voltage drop / RDS(on) / saturation | 0.5 V |
| Thermal limits | 125 °C |
| Package | QFN |
| Notes / variants | Multiple flash sizes available |
- Ensure correct voltage levels (3.3V) to avoid damaging the ESP32.
- Use appropriate decoupling capacitors near power pins for stable operation.
- Implement heat-sinking if the module operates near its peak current ratings.
- Utilize the ESP32's built-in WiFi for easy network connectivity.
- Be cautious with GPIO pin configurations to prevent short circuits.
- Test with simple sketches to confirm functionality before complex integrations.
Wiring Instructions
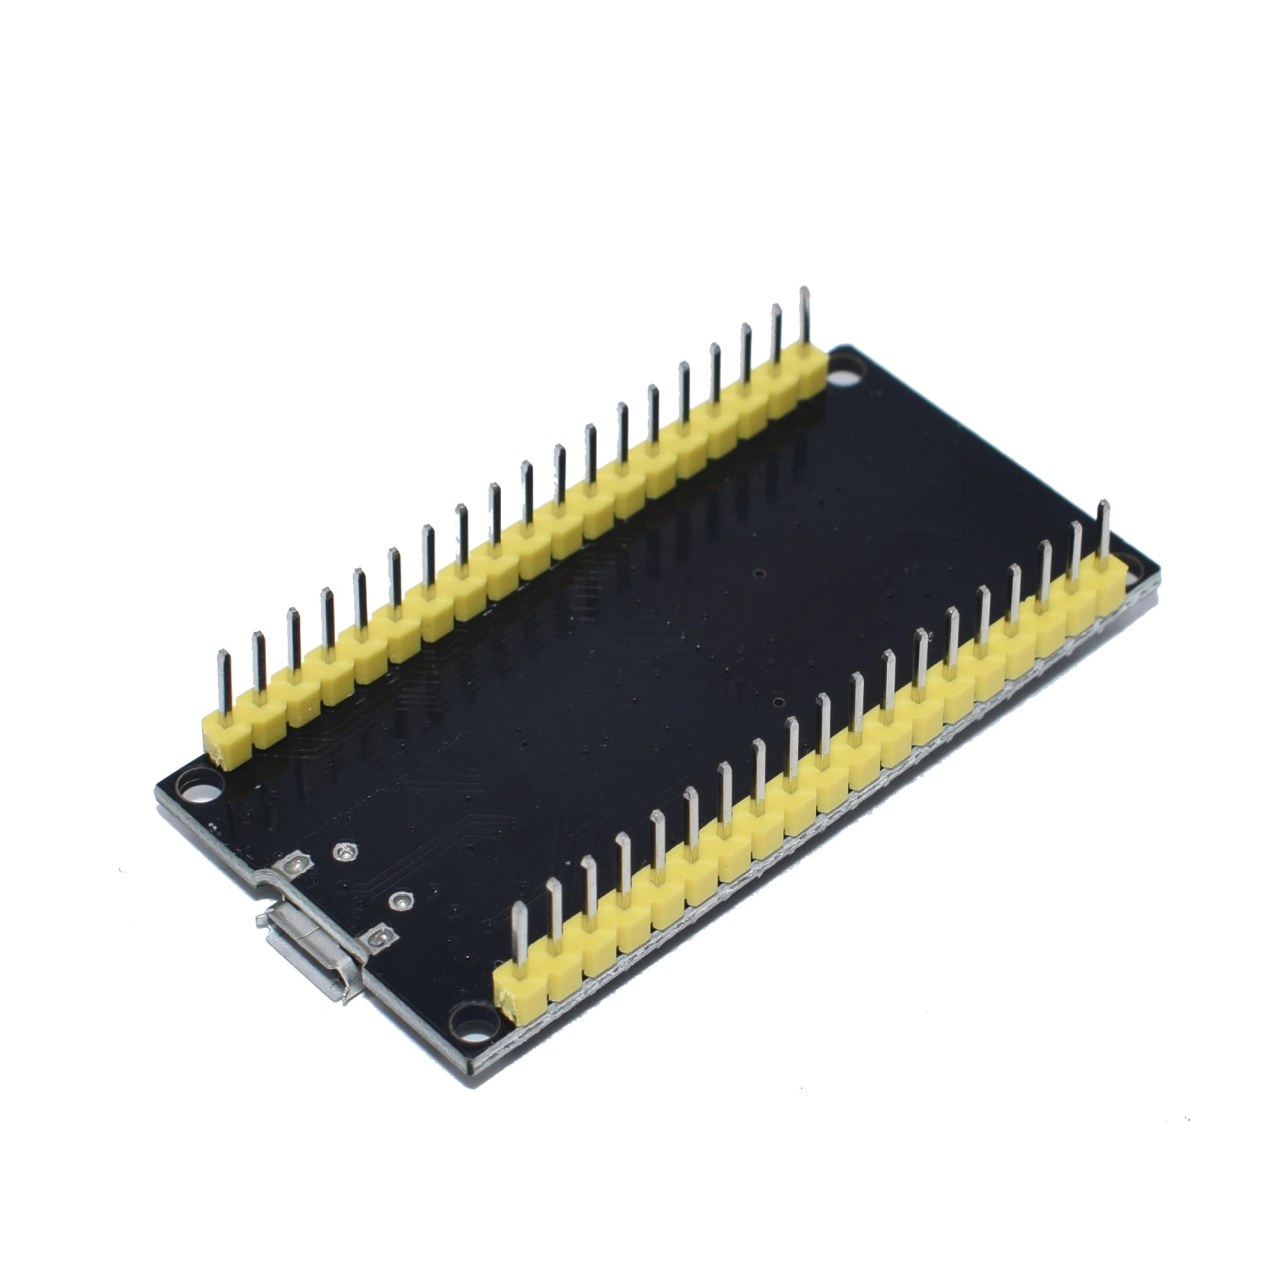
To wire the ESP32 for this project, start by connecting the ground pin of the ESP32 to the ground of your power supply. Next, connect the 5V power supply to the Vin or V5 pin on the ESP32, which will power the internal voltage regulator and provide 3.3V to the microcontroller.
For the HTTP client functionality, ensure your ESP32 is connected to a WiFi network. You will need to connect the appropriate pins for any additional components you may use, such as sensors or LEDs. For example, connect an LED to GPIO pin 2, with a resistor in series to limit the current. The longer leg (anode) of the LED should connect to pin 2, while the shorter leg (cathode) connects to ground.
Code Examples & Walkthrough
In the provided code snippet, we initialize the HTTP client and define key identifiers such as mainURL, which holds the URL to which we are sending the request, and user, which contains user information. The code also sets up the ESP32 to connect to a specified WiFi network.
String mainURL ="http://ddas.cc/httpTest/?";
String user="user=ahmad22";
Here, mainURL is the endpoint we are targeting, while user holds the user parameter that will be sent in the HTTP request.
In the setup() function, we begin serial communication and set up the WiFi connection. We also prepare for the HTTP request by creating an instance of the HTTP client.
void setup() {
  Serial.begin(115200);
  WiFi.mode(WIFI_STA);
  WiFiMulti.addAP("Robojax", "Your password");
}
This section initializes the serial monitor for debugging and connects to the WiFi network. The credentials are defined in the addAP() method.
In the loop() function, we check for a successful WiFi connection and proceed to send the HTTP GET request. The parameters include the user and temperature values.
if (http.begin(client, mainURL+user+"&temp="+temperature+"&type="+type)) {
  int httpCode = http.GET();}
This code constructs the complete URL with query parameters and executes the GET request. If successful, it retrieves the server's response.
Demonstration / What to Expect
When the ESP32 is powered on and the program runs, it should connect to the specified WiFi network and send an HTTP GET request to the server. You can monitor the output in the Serial Monitor, where you will see the HTTP status code and the response payload from the server. Common issues might include incorrect WiFi credentials or an unreachable server (in video at 12:30).
Video Timestamps
- 00:00 Start
- 00:53 Introduction
- 05:04 5V and 3.3V pins
- 08:38 Features explained
- 14:03 Pins on Datasheet
- 17:00 Blink Example
- 19:14 Blink example with external LED
- 21:00 HTTP Client test
Изображения

/*
 * ESP32 HTTP Client example
 * This example is part of Introduction to ESP32 WiFi, Bluetooth Microcontroller board
📚⬇️ Download and resource page https://robojax.com/RJT211
watch full video https://youtu.be/--Fj8QDlGuQ
 *
 * Updated/Written by Ahmad Shamshiri
 * On August 25, 2019 in Ajax, Ontario, Canada
 * Watch video instruction for this code:
 * https://youtu.be/--Fj8QDlGuQ
 *
 *
 Get this code and other Arduino codes from Robojax.com
Learn Arduino step by step in a structured course with all material, wiring diagrams, and libraries
all in one place.

If you found this tutorial helpful, please support me so I can continue creating
content like this.

or make a donation using PayPal http://robojax.com/L/?id=64

 *  * This code is "AS IS" without warranty or liability. Free to be used as long as you keep this note intact.*
 * This code has been downloaded from Robojax.com
    This program is free software: you can redistribute it and/or modify
    it under the terms of the GNU General Public License as published by
    the Free Software Foundation, either version 3 of the License, or
    (at your option) any later version.

    This program is distributed in the hope that it will be useful,
    but WITHOUT ANY WARRANTY; without even the implied warranty of
    MERCHANTABILITY or FITNESS FOR A PARTICULAR PURPOSE.  See the
    GNU General Public License for more details.

    You should have received a copy of the GNU General Public License
    along with this program.  If not, see <https://www.gnu.org/licenses/>.
 */

#include <Arduino.h>

#include <ESP8266WiFi.h>
#include <ESP8266WiFiMulti.h>

#include <ESP8266HTTPClient.h>

#include <WiFiClient.h>

ESP8266WiFiMulti WiFiMulti;
String mainURL ="http://ddas.cc/httpTest/?";
String user="user=ahmad22";
float temperature=45.3;
char type='j';

void setup() {

  Serial.begin(115200);
  // Serial.setDebugOutput(true);

  Serial.println();
  Serial.println();
  Serial.println();

  for (uint8_t t = 4; t > 0; t--) {
    Serial.printf("[SETUP] WAIT %d...\n", t);
    Serial.flush();
    delay(1000);
  }

  WiFi.mode(WIFI_STA);
  WiFiMulti.addAP("Robojax", "YOur password");

}

void loop() {
  // wait for WiFi connection
  if ((WiFiMulti.run() == WL_CONNECTED)) {

    WiFiClient client;

    HTTPClient http;

    Serial.print("[HTTP] begin...\n");
    if (http.begin(client, mainURL+user+"&temp="+temperature+"&type="+type)) {  // HTTP


      Serial.print("[HTTP] GET...\n");
      // start connection and send HTTP header
      int httpCode = http.GET();

      // httpCode will be negative on error
      if (httpCode > 0) {
        // HTTP header has been send and Server response header has been handled
        Serial.printf("[HTTP] GET... code: %d\n", httpCode);

        // file found at server
        if (httpCode == HTTP_CODE_OK || httpCode == HTTP_CODE_MOVED_PERMANENTLY) {
          String payload = http.getString();
          Serial.println(payload);
        }
      } else {
        Serial.printf("[HTTP] GET... failed, error: %s\n", http.errorToString(httpCode).c_str());
      }

      http.end();
    } else {
      Serial.printf("[HTTP} Unable to connect\n");
    }
  }

  delay(10000);
}
Вещи, которые могут вам понадобиться
-
АлиЭкспрессКупить камеру ESP32 на AliExpress 2s.click.aliexpress.com
Ресурсы и ссылки
-
ДокументацияОфициальная документация ESP32docs.espressif.com
Файлы📁
Технический паспорт (pdf)
-
esp32_datasheet_en
esp32_datasheet_en.pdf0.94 MB