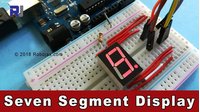
RoboJaxタッチカウンターV3 TM1637 4桁LEDディスプレイ使用
```html

RoboJax タッチカウンター V3 TM1637 4桁LEDディスプレイ使用
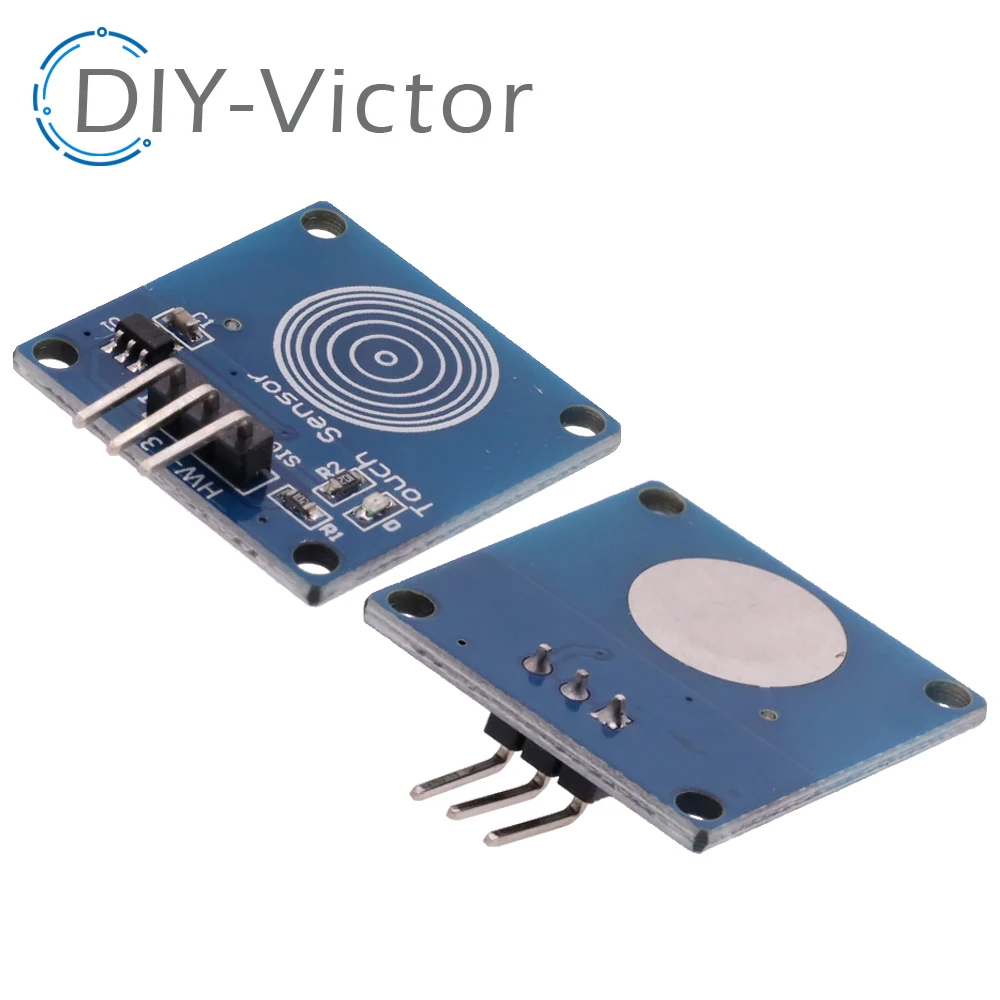
このプロジェクトは、TTP223タッチセンサーとTM1637 4桁LEDディスプレイを使用してタッチカウンターを構築する方法を示しています。各タッチでカウンターが増加し、その結果がLEDに表示されます。リセットボタンを押すことでカウントをゼロにリセットできます。このシンプルなプロジェクトはさまざまなアプリケーションの基礎を提供し、Arduinoを使用したセンサーとディスプレイのインターフェースの素晴らしい入門となります。
このタッチカウンターを使用したプロジェクトのアイデアをいくつか紹介します:
- イベントや在庫用の簡単な集計カウンター。
- レースやゲーム用のラップカウンター。
- 展示物や部屋の訪問者カウンター。
- エクササイズルーチン用のレップカウンター。
ハードウェア/コンポーネント
- Arduino Uno(または互換ボード)
- TTP223 または TTP223B タッチセンサーモジュール
- TM1637 4桁LEDディスプレイモジュール
- リセット用押しボタン
- ジャンパーワイヤー
- ブレッドボード(オプション)
配線ガイド
%%配線%%
TTP223タッチセンサー用:
- VCCをArduinoの5Vに接続
- GNDをArduinoのGNDに接続
- SIG/IO/OUTをArduinoのピン2に接続(コードで変更可能)
TM1637ディスプレイ用:
- VCCをArduinoの5Vに接続
- GNDをArduinoのGNDに接続
- CLKをArduinoのピン10に接続してください。
- DIOをArduinoのピン11に接続
リセットボタンについて:
- 一方の脚をArduinoのGNDに接続する
- 他方の脚をArduinoのピン12に接続(コードで変更可能)
コードの説明
このスケッチは使用しています。TM1637ライブラリ。Arduino IDEライブラリマネージャーを介してインストールします。
コード内の主要な設定可能要素:
#define CLK 10 // clock pin
#define DIO 11 // data in-out pin
const int touchPin = 2; // touch sensor pin
const int resetPin = 12; // reset button pin
const int touchDelay = 500; // delay between touches (in ms) (in video at 04:15)
これらのピン定義は、異なるピンを使用している場合は調整してください。touchDelay変数(動画の04:15で)からの単一のタッチによる複数のカウントを防ぎます。タッチセンサーやリセットボタンにはボルテージディバイダーは必要ありません。リセットボタンにはArduinoの内部プルアップ抵抗が使用され、タッチセンサーモジュールは自分自身の電圧調整を行います。
次の行はシリアルモニターを初期化し、初期表示状態を設定します。
Serial.begin(9600);
display.setBrightness(0x0f); // Set brightness (0x00 to 0x0f) (in video at 05:24)
display.showNumberDec(0); // Initial display value
メインループは、タッチセンサーとリセットボタンの状態を読み取ります。タッチセンサーがアクティブになると、カウントが増加し、表示されます。リセットボタンが押されると、カウントはゼロにリセットされます。
ライブプロジェクト/デモンストレーション
デモンストレーションでは、ボタンが押されるたびにカウンターが増加し、押されるとリセットされる様子が示されています。シリアルモニターは現在のカウントも表示します。ディスプレイの最初の「8888」は、ディスプレイが正常に機能していることを確認しています。
章
- [00:00] イントロダクションとプロジェクトの概要。
- [00:34] コンポーネントと説明。
- [02:41] コードの説明。
- [07:54] 配線指示。
- プロジェクトデモンストレーション。
```
画像


/*
 * This is Arduino touch counter V3 using TTP223/TTP223B and TM1637 seven-segment LED Display.
 * This program will function as a counter. Every time the touch module is touched,
 * the counter increments by 1. The count number is displayed on the TM1637 display.
 * We have a reset button to restart the counting from zero.
 *
 * Watch video instructions for this video: https://youtu.be/VzH9iEqrm0E
 *
 * Written by Ahmad Shamshiri on Sunday, October 28th at 10:33 in Ajax, Ontario, Canada.
 * Get this code from Robojax.com
 *
 * This code is "AS IS" without warranty or liability. Free to be used as long as you keep this note intact.
 * This code has been downloaded from Robojax.com.
    This program is free software: you can redistribute it and/or modify
    it under the terms of the GNU General Public License as published by
    the Free Software Foundation, either version 3 of the License, or
    (at your option) any later version.

    This program is distributed in the hope that it will be useful,
    but WITHOUT ANY WARRANTY; without even the implied warranty of
    MERCHANTABILITY or FITNESS FOR A PARTICULAR PURPOSE.  See the
    GNU General Public License for more details.

    You should have received a copy of the GNU General Public License
    along with this program.  If not, see <https://www.gnu.org/licenses/>.
 */

//***** beginning of TM1637 Display
#include <Arduino.h>
#include <TM1637Display.h>
// Module connection pins (Digital Pins)
#define CLK 10 // clock pin
#define DIO 11 // data in-out pin

// The amount of time (in milliseconds) between readings
#define TEST_DELAY   300
TM1637Display display(CLK, DIO);
uint8_t blank[] = { 0x0, 0x0, 0x0, 0x0 };// data to clear the screen

//***** end of TM1637 Display

const int touchPin = 2;// the input pin where touch sensor is connected
const int resetPin = 12;// the input pin for reset button
const int touchDelay = 500;//millisecond delay between each touch

int count=0;// variable holding the count number

void setup() {
 // Robojax.com Touch counter 20181029

  Serial.begin(9600);// initialize serial monitor with 9600 baud
  Serial.println("Robojax Touch Counter V3");
  pinMode(touchPin,INPUT);// define a pin for touch module
  pinMode(resetPin,INPUT_PULLUP);// define a pin for reset button
  // see video ( link in the video description) on using PULLUP

  display.setBrightness(0x0f);// set brightness of display
  uint8_t data8888[] = { 0xff, 0xff, 0xff, 0xff };  // all segments show
  display.setSegments(data8888); // display 8888 on display for test
  delay(3000);// give time to user to read the display at the beginning
  display.setSegments(blank); // clear the screen from previous values
  display.showNumberDec(0);// display zero at the belonging


  // Robojax.com Touch counter 20181029
}

void loop() {
  // Robojax.com Touch counter 20181029

  int touchValue = digitalRead(touchPin);// read touchPin and store it in touchValue

  // if touchValue is HIGH
  if(touchValue == HIGH)
  {
      count++;// increment the count

      display.setSegments(blank); // clear the screen from previous values
      display.showNumberDec(count);// display the count

      Serial.print("Touched ");//print the information
      Serial.print(count);//print count
      Serial.println(" times.");
    delay(touchDelay);// touch delay time
  }


   // if reset switch is pushed
   if(digitalRead(resetPin) == LOW)
   {

    count =0;// reset the counter;
      Serial.println("Counter Resetted.");//print the information
      display.setSegments(blank); // clear the screen from previous values
      display.showNumberDec(count);// display the count

   }

  // Robojax.com Touch counter 20181029
}
必要かもしれないもの
-
アマゾンAmazon USAからTTP223タッチセンサーを購入するamzn.to
-
アマゾン
-
イーベイ
-
アリエクスプレスTM1637 4-digit 7-segment display on AliExpresss.click.aliexpress.com
ファイル📁
Arduinoライブラリ(zip)
-
TM1637 Arduinoライブラリ
TM1637_library.zip1.36 MB
フリッツィングファイル
-
TM1637 セブンセグメントモジュール
TM1637.fzpz0.01 MB -
TM1637 4桁セグメントディスプレイ
TM1637-1.fzpz0.01 MB
ユーザーマニュアル
-
TM1637ディスプレイマニュアル
robojax-TM1637_display_manual.pdf0.31 MB


![Arduino UNO R4 Minima [ABX00080]](https://i.ebayimg.com/images/g/UqcAAeSwJSpqFl43/s-l225.jpg)