Điều khiển module relay 16 kênh bằng Arduino
```html
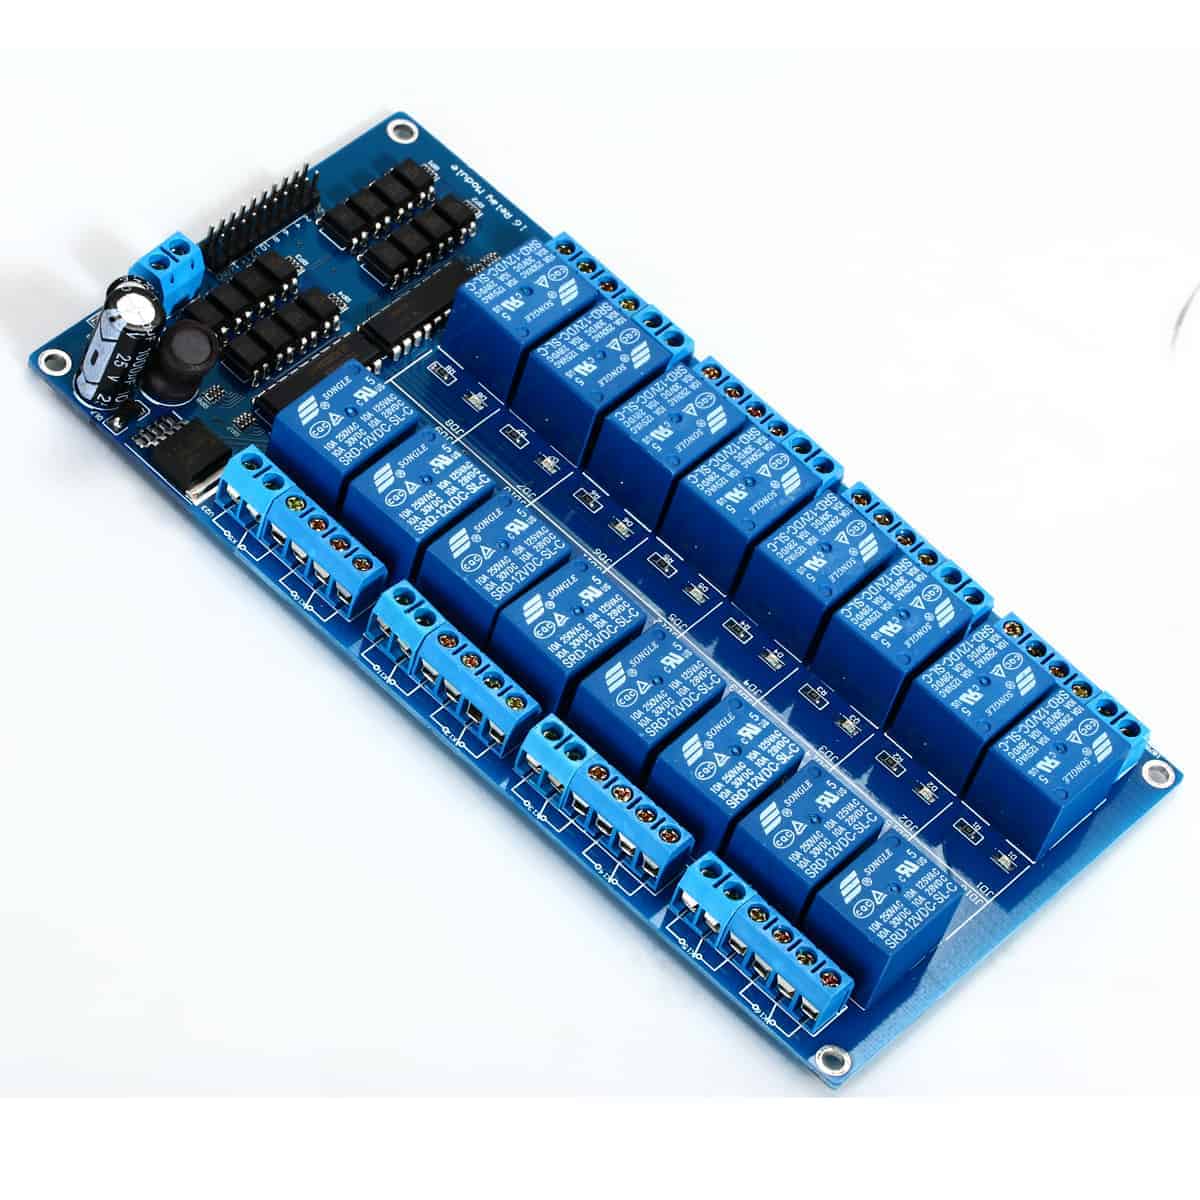
Điều khiển Module Rơ-le 16 Kênh với Arduino
Dự án này trình bày cách điều khiển từng rơ-le trên module rơ-le 16 kênh một cách riêng lẻ bằng Arduino Uno. Thiết lập này cho phép bạn quản lý nhiều tải AC hoặc DC khác nhau, phù hợp cho các ứng dụng như điều khiển đèn, quạt, máy sưởi hoặc các thiết bị điện khác. Hướng dẫn này cung cấp một quy trình chi tiết về phần cứng, cách đấu dây và mã cần thiết để khởi động dự án của bạn.
Phần cứng/Linh kiện
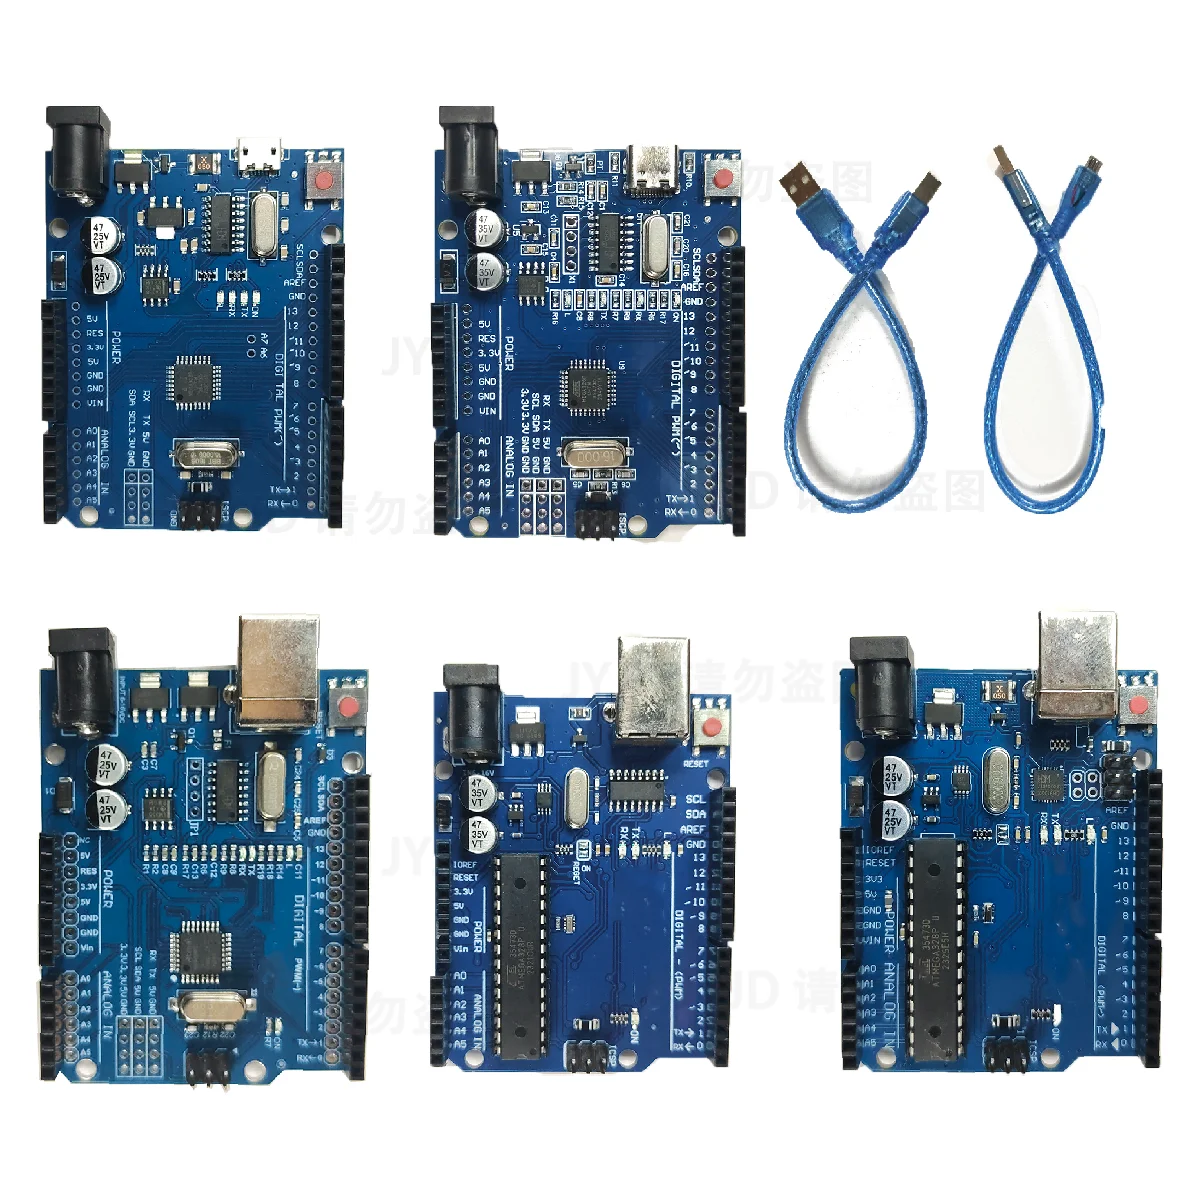
- Arduino Uno (Mega cũng tương thích, Nano và Mini không được khuyến nghị do hạn chế chân trừ khi sử dụng phương pháp đã sửa đổi như trình bày trong video riêng.) (trong video tại 08:53)
- Module Rơ-le 16 Kênh (trong video tại 00:04)
- Nguồn điện ngoài (có khả năng cung cấp ít nhất 1,5A) (trong video tại 02:12)
- Dây kết nối
- Tải (ví dụ: đèn, quạt, v.v.)
Hướng dẫn đấu dây
Module rơ-le 16 kênh yêu cầu nguồn điện ngoài để kích hoạt các rơ-le. Kết nối cực dương và cực âm của nguồn điện ngoài với chân VCC và GND của module rơ-le tương ứng (trong video tại 12:55). Chân GND của module cũng phải được kết nối với GND của Arduino. Mỗi kênh rơ-le trên module tương ứng với một chân, được đánh số từ 1 đến 16. Các chân này nên được kết nối với các chân kỹ thuật số của Arduino như được định nghĩa trong mã (chân 2 đến 12 và A0 đến A4). (trong video tại 09:03) Nếu bạn muốn cấp nguồn cho Arduino từ cùng nguồn điện ngoài, hãy kết nối cực dương với chân VIN của Arduino. (trong video tại 13:24)
Giải thích mã
Mã Arduino được cung cấp điều khiển module rơ-le 16 kênh. Nó định nghĩa các chân kết nối với các kênh rơ-le, loại kích hoạt của rơ-le (LOW trong trường hợp này) và thời gian trễ vòng lặp. Chức năng cốt lõi nằm trong hàm channelControl(), cho phép bạn bật hoặc tắt một rơ-le cụ thể trong một khoảng thời gian xác định.
const int controlPin[16] = {2,3,4,5,6,7,8,9,10,11,12,A0,A1,A2,A3,A4}; // định nghĩa các chân

const int triggerType = LOW;// loại rơ-le của bạn
Thay đổi triggerType thành HIGH nếu rơ-le của bạn kích hoạt ở mức cao. (trong video tại 09:48)
void channelControl(int relayChannel, int action, int t)
{
  // ... (mã được lược bỏ để ngắn gọn)
  digitalWrite(controlPin[relayChannel], state);
  // ...
}
Để điều khiển một rơ-le cụ thể, hãy gọi hàm channelControl() với kênh rơ-le (0-15), hành động mong muốn (1 để BẬT, 0 để TẮT) và thời lượng tính bằng mili giây. Ví dụ, để bật rơ-le 6 trong 2 giây (trong video tại 11:53):
channelControl(6, 1, 2000); // bật rơ-le 7 trong 2 giây
Để điều khiển nhiều rơ-le đồng thời, hãy sử dụng các lệnh `digitalWrite` riêng lẻ trong hàm loop() như hiển thị bên dưới (trong video tại 09:03):
digitalWrite(controlPin[5], LOW); // rơ-le 6 BẬT
digitalWrite(controlPin[2], LOW); // rơ-le 3 BẬT
digitalWrite(controlPin[12], LOW); // rơ-le 13 BẬT
Dự án/Demo trực tiếp
Phần trình diễn (trong video tại 14:17) cho thấy từng rơ-le kích hoạt tuần tự. Màn hình nối tiếp hiển thị trạng thái và thời gian kích hoạt của từng rơ-le. Bạn có thể sửa đổi mã để điều khiển các rơ-le cụ thể dựa trên yêu cầu dự án của mình, chẳng hạn như bật máy sưởi khi nhiệt độ vượt quá một ngưỡng nhất định (trong video tại 16:24).
Chương mục video
- Giới thiệu: 00:00
- Giải thích phần cứng: 01:20
- Kết nối tải bao nhiêu?: 05:37
- Giải thích điện áp rơ-le: 06:46
- Giải thích mã: 08:45
- Giải thích cách đấu dây: 12:53
- Trình diễn: 14:17
```
Hình ảnh
/*
 * Arduino code to control 16 channel relay with Arduino UNO
 *
 * Written by Ahmad Shamshiri for Robojax.com on Sunday, October 8, 2018
 * at 10:35 in Ajax, Ontario, Canada
 * Watch video instructions for this code: https://youtu.be/Q9aBI4ELKC4
 *
 * This code is "AS IS" without warranty or liability. Free to be used as long as you keep this note intact.
 * This code has been downloaded from Robojax.com
    This program is free software: you can redistribute it and/or modify
    it under the terms of the GNU General Public License as published by
    the Free Software Foundation, either version 3 of the License, or
    (at your option) any later version.

    This program is distributed in the hope that it will be useful,
    but WITHOUT ANY WARRANTY; without even the implied warranty of
    MERCHANTABILITY or FITNESS FOR A PARTICULAR PURPOSE.  See the
    GNU General Public License for more details.

    You should have received a copy of the GNU General Public License
    along with this program.  If not, see <https://www.gnu.org/licenses/>.
 */


const int controlPin[16] = {2,3,4,5,6,7,8,9,10,11,12,A0,A1,A2,A3,A4}; // define pins

const int triggerType = LOW;// your relay type
int loopDelay = 1000;// delay in loop
int tmpStat =1;


void setup() {
  for(int i=0; i<16; i++)
  {
    pinMode(controlPin[i], OUTPUT);// set pin as output
    if(triggerType ==LOW){
      digitalWrite(controlPin[i], HIGH); // set initial state OFF for low trigger relay
    }else{
       digitalWrite(controlPin[i], LOW); // set initial state OFF for high trigger relay
    }
  }

  Serial.begin(9600);// initialize serial monitor with 9600 baud
}

void loop() {

  for(int i=0; i<16; i++)
  {

   channelControl(i,tmpStat,200);// turn each relay ON for 200ms


  }
  if(tmpStat)
  {
    tmpStat=0;
  }else{
    tmpStat=1;
  }
 Serial.println("===============");
 //channelControl(6,1, 2000); // turn relay 7 ON for 2 seconds
 //channelControl(6,0, 5000); // turn relay 7 OFF for 5 seconds
 //channelControl(9,1, 3000); // turn relay 10 OFF for ever

 delay(loopDelay);// wait for loopDelay ms

}

/*
 * funciton: channelControl
 * turns ON or OFF specific relay channel
 * @param relayChannel is integer value channel from 0 to 15
 * @param action is 1 for ON or 0 for OFF
 * @param t is time in milliseconds
 */
void channelControl(int relayChannel, int action, int t)
{
  int state =LOW;
  String statTXT =" ON";
  if(triggerType == LOW)
  {
    if (action ==0)// if OFF requested
    {
      state = HIGH;
      statTXT = " OFF";
    }
    digitalWrite(controlPin[relayChannel], state);
    if(t >0 )
    {
      delay(t);
    }
       Serial.print ("Channel: ");
       Serial.print(relayChannel);
       Serial.print(statTXT);
       Serial.print(" - ");
       Serial.println(t);
  }else{
    if (action ==1)// if ON requested
    {
      state = HIGH;
    }else{
      statTXT = " OFF";
    }
    digitalWrite(controlPin[relayChannel], state);
    if(t >0 )
    {
      delay(t);
    }
       Serial.print ("Channel: ");
       Serial.print(relayChannel);
       Serial.print(statTXT);
       Serial.print(" - ");
       Serial.println(t);
  }

}/*
* Arduino code to control 16 channel relay with Arduino UNO
* Control more than 1 relay
* Written by Ahmad Shamshiri for Robojax.com on Sunday, October 8, 2018
* at 10:35 in Ajax, Ontario, Canada
* Watch video instructions for this code: https://youtu.be/Q9aBI4ELKC4
*
* This code is "AS IS" without warranty or liability. Free to be used as long as you keep this note intact.
* This code has been downloaded from Robojax.com
This program is free software: you can redistribute it and/or modify
it under the terms of the GNU General Public License as published by
the Free Software Foundation, either version 3 of the License, or
(at your option) any later version.
This program is distributed in the hope that it will be useful,
but WITHOUT ANY WARRANTY; without even the implied warranty of
MERCHANTABILITY or FITNESS FOR A PARTICULAR PURPOSE. See the
GNU General Public License for more details.
You should have received a copy of the GNU General Public License
along with this program. If not, see <https://www.gnu.org/licenses/>.
*/
const int controlPin[16] = {2,3,4,5,6,7,8,9,10,11,12,A0,A1,A2,A3,A4}; // define pins
const int triggerType = LOW;// your relay type
int loopDelay = 1000;// delay in loop
int tmpStat =1;
void setup() {
for(int i=0; i<16; i++)
{
pinMode(controlPin[i], OUTPUT);// set pin as output
if(triggerType ==LOW){
digitalWrite(controlPin[i], HIGH); // set initial state OFF for low trigger relay
}else{
digitalWrite(controlPin[i], LOW); // set initial state OFF for high trigger relay
}
}
Serial.begin(9600);// initialize serial monitor with 9600 baud
}
void loop() {
digitalWrite(controlPin[5], LOW); // relay 6 ON
digitalWrite(controlPin[2], LOW); // relay 3 ON
digitalWrite(controlPin[12], LOW); // relay 13 ON
digitalWrite(controlPin[5], HIGH); // relay 6 OFF
}Nghĩ bạn có thể cần
-
eBay
-
eBay
-
AliExpressPurchase 16 Channel 5V, 12V or 24V relay module from AliExpresss.click.aliexpress.com
-
BanggoodPurchase 16 Channel relay module from Banggoodbanggood.com
Tài nguyên & tài liệu tham khảo
-
Bên ngoàiDIP 4-pin photocouplerwebpagefx.com
-
Bên ngoài
-
Bên ngoài
-
Bên ngoàiPurchase 16 Channel 5V, 12V or 24V relay module from AliExpresss.click.aliexpress.com
-
Bên ngoàiPurchase 16 Channel relay module from Banggoodbanggood.com
-
Bên ngoài
-
Bên ngoài
-
Bên ngoài
Tập tin📁
Sơ đồ
-
robojax_16ch_relay module schematic
robojax_16ch_relay_schematic.pdf0.37 MB