使用IRF5305 E-Switch模組嚟控制摩打速度
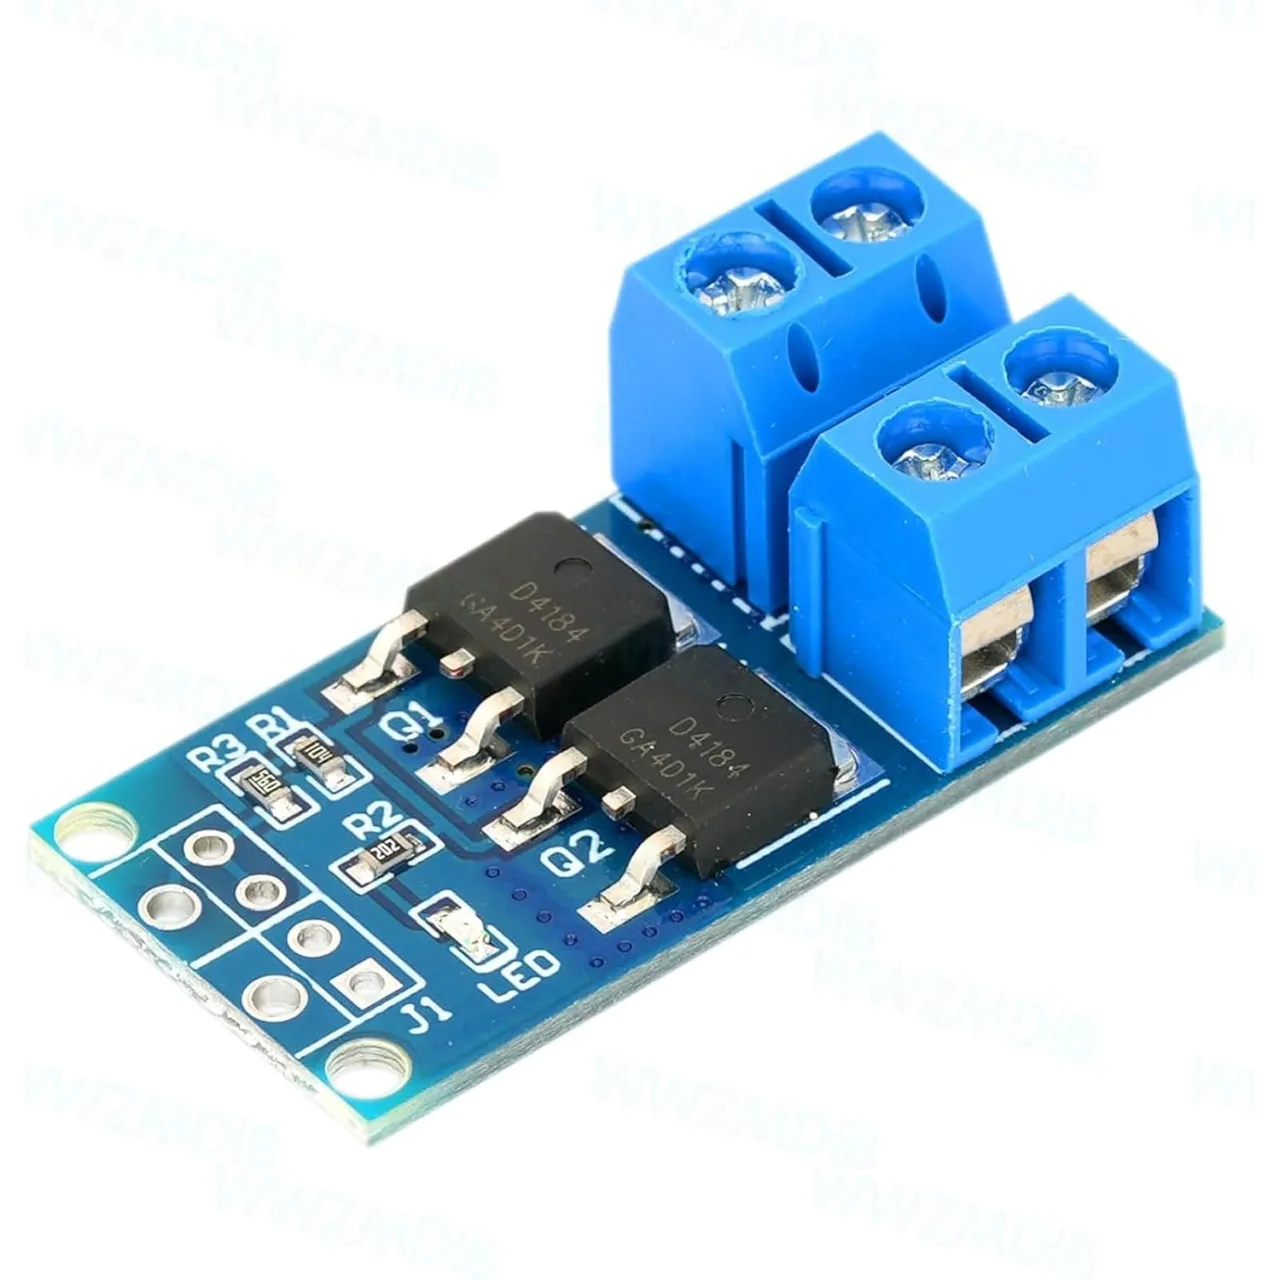
呢個指南會探討IRF5305 E-Switch模組,一個強勁同多用途嘅元件,用P-channel MOSFET透過Arduino嘅低電壓訊號去控制高電流直流負載。同機械繼電器唔同,呢個固態開關提供更快嘅切換速度、更長嘅壽命,同冇物理接觸點嘅損耗。佢嘅實際價值在於可以安全同有效率咁切換或調暗啲負載,而呢啲負載嘅電流遠超Arduino引腳可以提供嘅範圍。
呢個模組好適合各種項目,包括:
- 喺機械人或者自製電動工具入面控制高電流直流摩打嘅速度。
- 調暗汽車或者建築應用嘅高功率LED照明系統。
- 建立一個可靠、耐用嘅電源管理系統,可以開關負載而唔會有繼電器嘅磨損問題。
- 建立一個隔離介面,用低電壓微控制器去控制高電壓(最高36V)電路。
硬件概覽
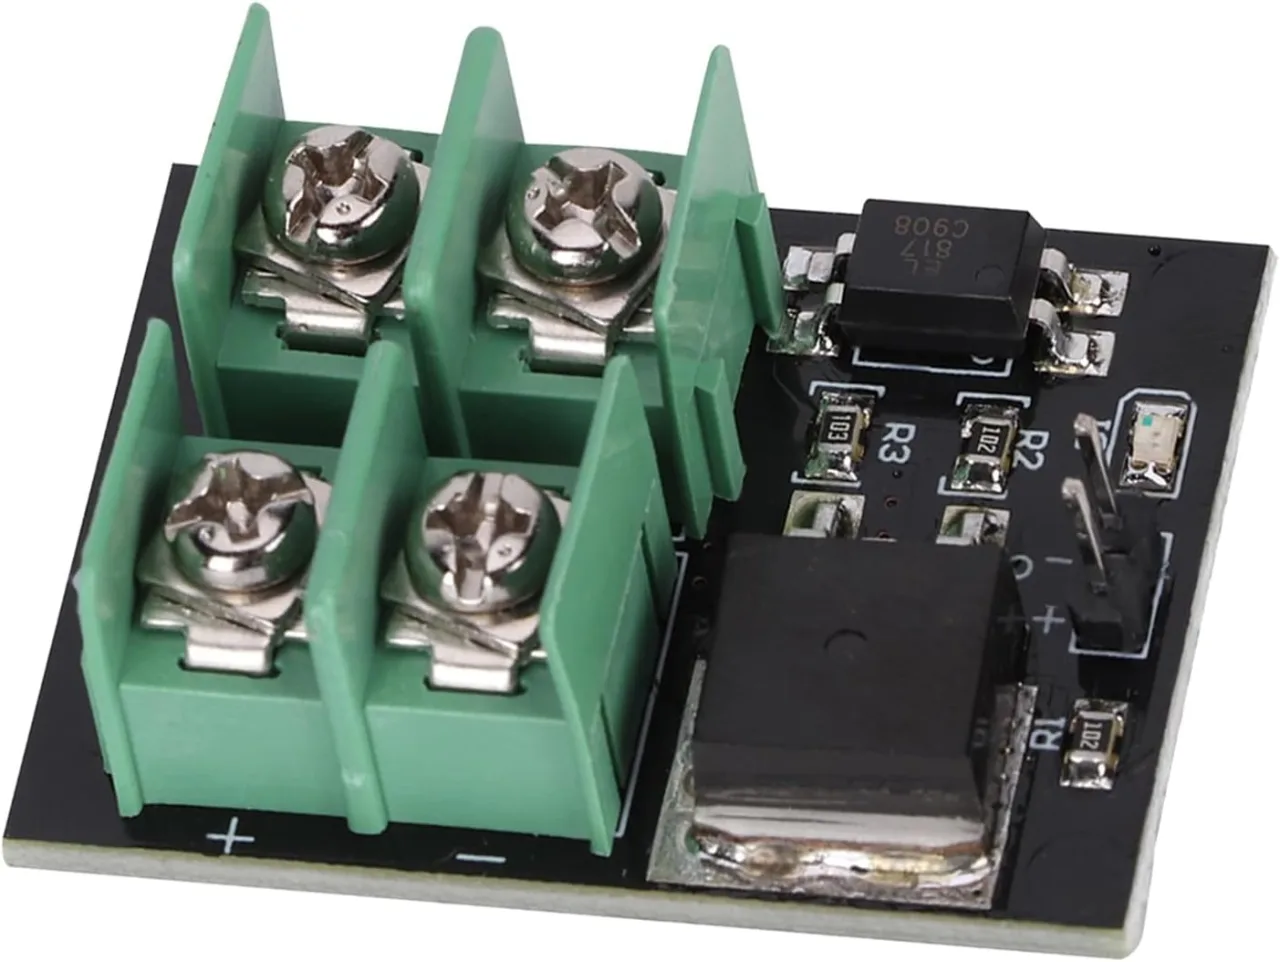
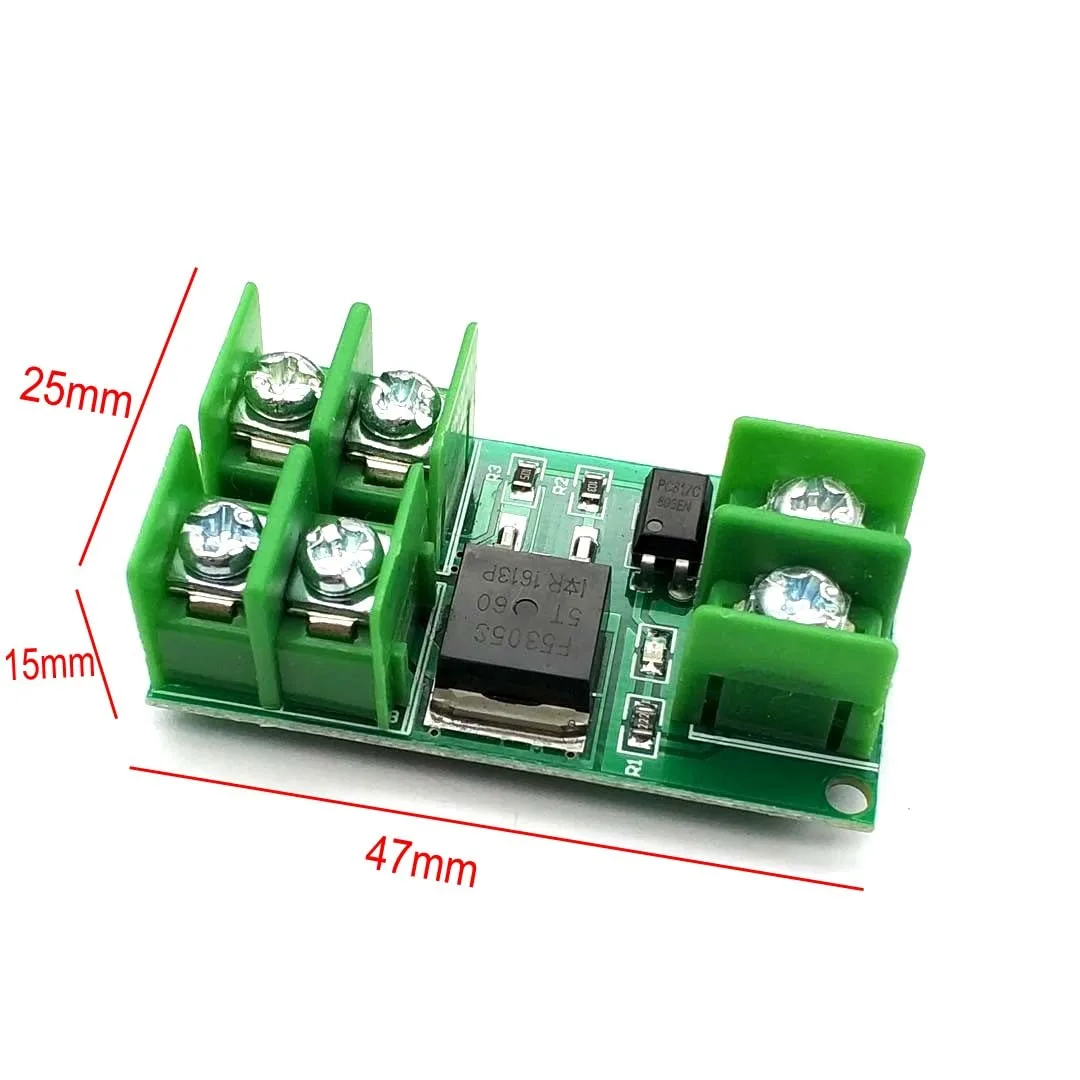
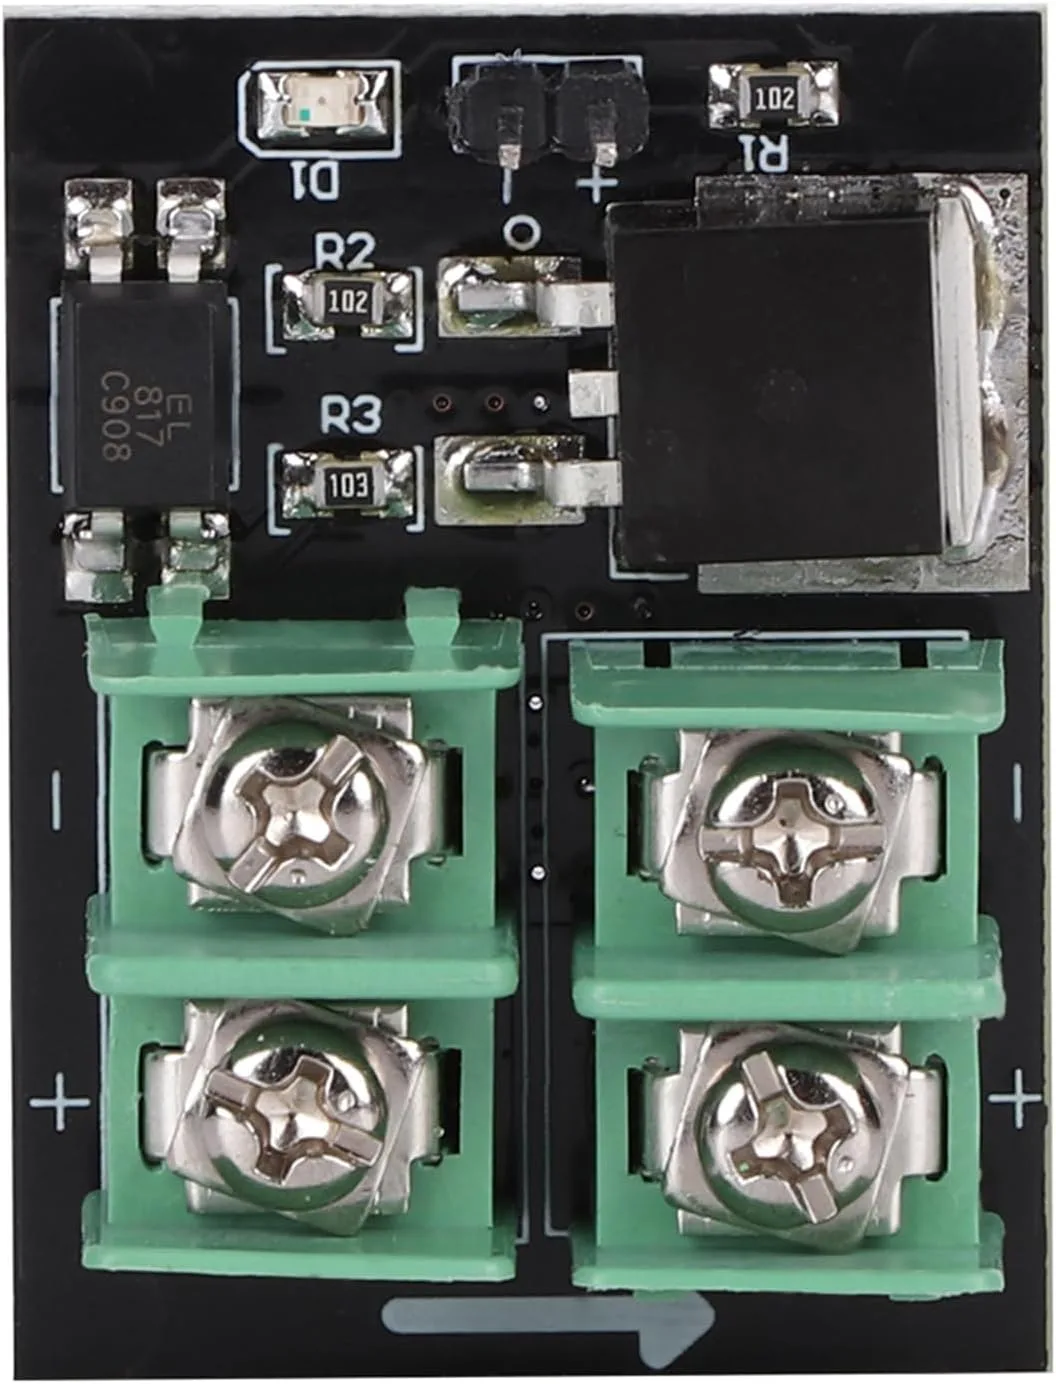
IRF5305 E-Switch模組設計成容易整合。佢有一個端子排用嚟接高功率嗰邊,同兩個引腳用嚟接收控制訊號。個模組包含一個光耦合器,可以喺你嘅Arduino同高功率電路之間提供完全嘅電氣隔離,保護你嘅微控制器免受潛在損壞。主要嘅MOSFET(IRF5305)扮演一個近乎理想嘅開關,佢嘅導通電阻極低,只有65毫歐,確保電壓降同功率損耗係最小(喺影片01:47)。
呢個模組嘅實體尺寸係長40毫米、闊30.1毫米、深16.4毫米(喺影片05:09)。
硬件/元件
- Arduino Uno或者類似嘅板
- IRF5305 E-Switch模組
- 直流摩打或者一個高功率燈膽
- 外部電源(最高36V)
- 跳線
接線指南
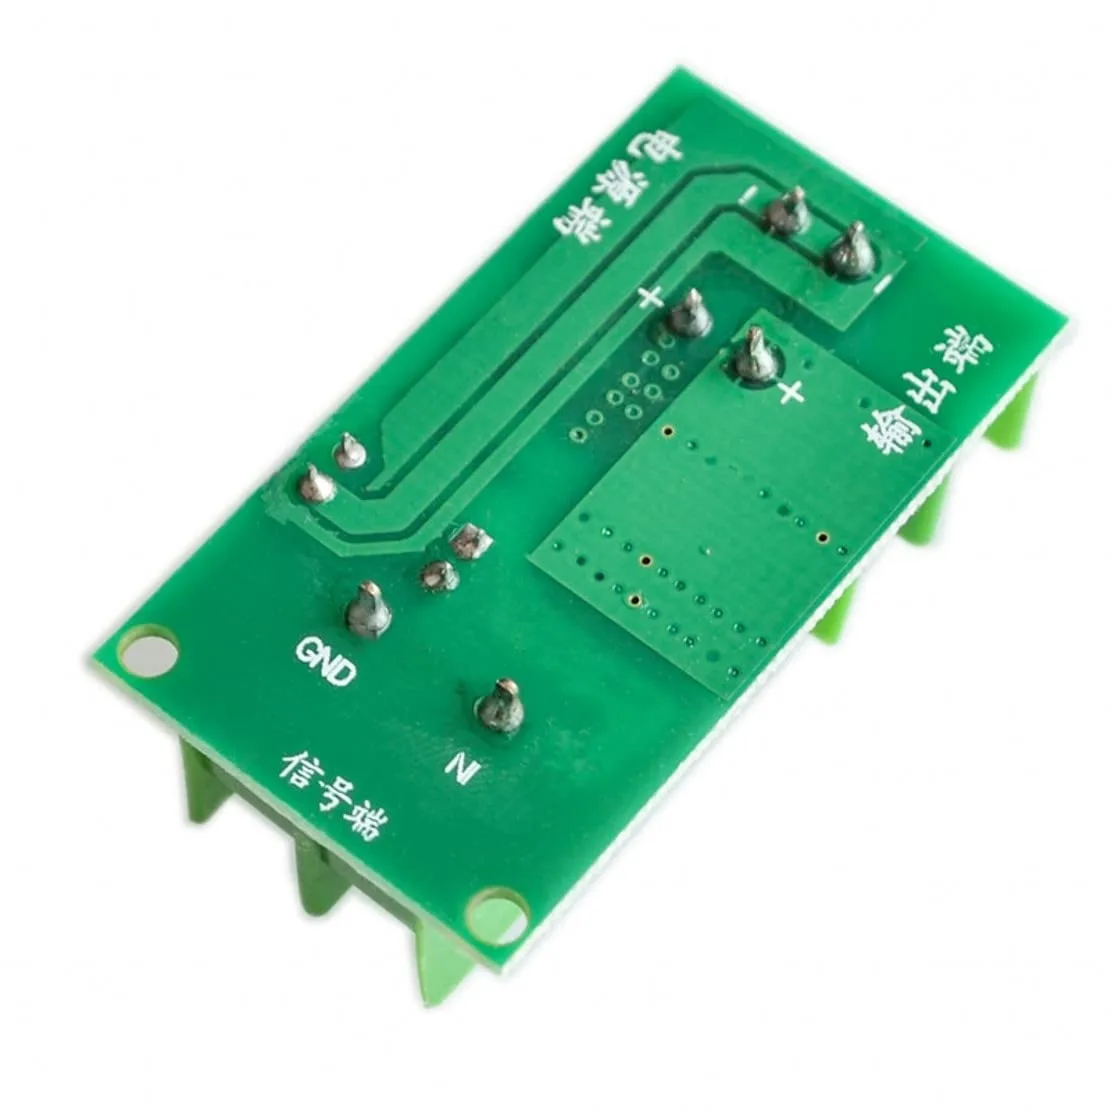
連接呢個模組好直接。訊號嗰邊嘅兩個引腳標示為正極同接地。將接地引腳連接到Arduino嘅一個GND引腳。將正極引腳連接到Arduino嘅一個數碼引腳,例如引腳9(喺影片07:53)。
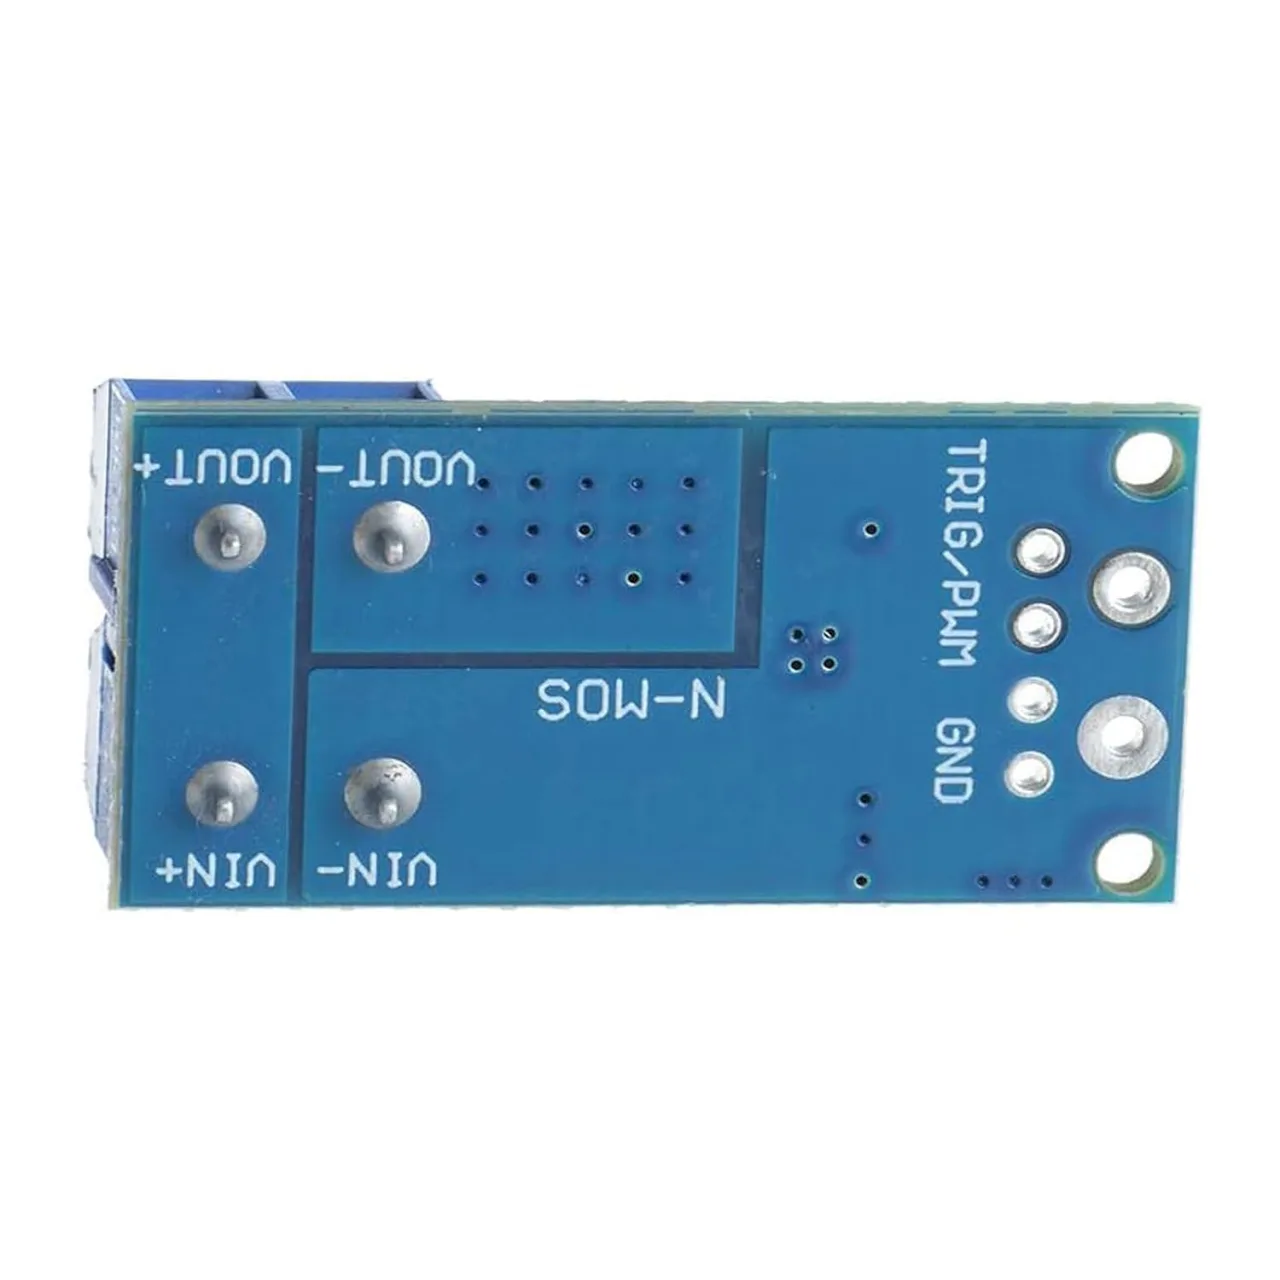
喺高功率嗰邊,將你嘅外部電源正極端子連接到模組輸入嗰邊嘅+端子,負極端子連接到-端子。然後,將你嘅負載(例如摩打)連接到輸出嗰邊嘅+同-端子(喺影片07:24)。
重要:當驅動好似摩打呢類感性負載嘅時候,一定要喺負載兩端並聯一個飛輪二極管。呢個二極管可以保護MOSFET免受摩打關閉時產生嘅電壓尖峰影響(喺影片09:52)。
程式碼解釋
呢個教學提供三個唔同嘅程式,每個示範唔同層次嘅控制。每個嘅程式碼都喺文章下面提供。
基本程式碼:令IRF5305模組長期保持開啟
第一個草稿最簡單。佢嘅設計係將負載開啟然後無限期保持。呢段程式碼嘅關鍵部分係頂部嘅引腳定義。
int loadPin =9;// load pin呢行定義咗Arduino邊個數碼引腳連接到模組嘅「正極」訊號引腳。如果你將佢連接到其他地方,可以將9呢個數字改做任何其他數碼引腳。setup()函數將呢個引腳設定為輸出,而loop()函數包含將負載開啟然後永遠等待嘅邏輯。
基本程式碼:IRF5305模組開/關切換
呢個草稿示範基於時間嘅切換,將負載開啟3秒然後關閉3秒。用戶可以設定嘅部分係引腳定義同延遲時間。
int cont = HIGH;
int loadPin = 9; loadPin變數同第一個程式嘅用途一樣。cont變數係一個狀態旗標,程式會檢查佢嚟決定將負載開啟定關閉。要改變開/關時間,你可以修改if同else區塊入面嘅delay(3000);指令。延遲以毫秒計算,所以3000等於3秒。
基本程式碼:控制IRF5305嘅摩打速度或燈光強度
最後一個程式使用脈寬調變(PWM)去控制摩打速度或者燈光亮度。佢會喺一個循環入面逐漸將功率調高同調低。關鍵變數全部喺草稿頂部。
int motorPin =9;// pin to connect to motor module
int mSpeed = 0;// variable to hold speed value
int mStep = 15;// increment/decrement step for PWM motor speedmotorPin:呢個定義咗連接模組嘅PWM引腳。一定要用支援PWM嘅引腳(通常喺Arduino板上會標有~符號)。mSpeed:呢個變數保存當前嘅PWM值,範圍由0(關)到255(全速)。mStep:呢個係每個循環速度改變嘅增量。較大嘅值(例如25)會令速度加速同減速更快,而較細嘅值(例如5)會令過渡更平滑同慢。
要改變加速/減速效果嘅速度,修改循環末尾嘅delay(200);值。呢個係每個速度步驟之間嘅毫秒時間。
現場項目/示範
喺影片入面,三個程式都有示範。第一個程式成功令摩打持續運轉。然後上傳第二個程式,顯示摩打開三秒、關三秒。最後示範PWM程式,顯示摩打慢慢加速到最高速度,然後減速返到停止,不斷重複呢個循環(影片15:42)。
影片仲包括一個全面嘅電流處理測試。模組連接到電子負載,以確定冇額外散熱片時嘅實際限制。結果顯示,喺較高電壓(最高24V)下,模組可以處理高達10安培。不過,喺較低電壓(大約5V)下,電流處理能力明顯下降,當電流超過10安培時,模組開始過熱同冒煙(影片21:49)。結論係,對於持續高電流應用,需要散熱片嚟保持模組涼爽同防止
損壞。
章節
- [00:00] 介紹同模組概覽
- [01:13] 點解要用MOSFET電子開關
- [03:45] 模組連接同物理尺寸
- [05:24] IRF5305數據手冊回顧
- [07:03] 將模組接線到Arduino
- [08:06] 電路圖解釋
- [10:29] 程式講解:常開程式
- [11:04] 程式講解:開/關控制程式
- [12:03] 程式講解:PWM速度控制程式
- [14:34] 三個程式嘅現場示範
- [17:02] 電流處理同負載測試
- [23:34] 結論同測試結果總結
圖片


/*
 * This is an Arduino sketch for a tutorial video
 * explaining the 5305 MOSFET used as a switch
 * This sketch turns the MOSFET ON and keeps it ON forever
 * Download and resource page https://robojax.com/RJT125

 * Written by Ahmad Shamshiri on Sep 12, 2018 in Ajax, Ontario, Canada
 * For Robojax.com
 * Watch instruction video for this code: https://youtu.be/eAANkWDvusU
 * This code is "AS IS" without warranty or liability. Free to be used as long as you keep this note intact.
 */
int loadPin =9;// load pin


void setup() {
  // Robojax.com demo
  pinMode(loadPin,OUTPUT);
  Serial.begin(9600);
  Serial.println("Robojax Demo");

}

void loop() {
  // Robojax.com tutorial

  digitalWrite(loadPin, HIGH);
 while(1);// wait forever


}/*
* This is an Arduino sketch for a tutorial video
* explaining the 5305 MOSFET used as a switch
* This sketch turns the MOSFET ON for 3 seconds then turns it OFF for 3 seconds.
* Download and resource page https://robojax.com/RJT125
* Written by Ahmad Shamshiri on Sep 12, 2018 at 17:36 in Ajax, Ontario, Canada
* For Robojax.com
* Watch the instruction video for this code: https://youtu.be/eAANkWDvusU
* This code is "AS IS" without warranty or liability. Free to be used as long as you keep this note intact.
*/
int cont = HIGH;
int loadPin = 9;
void setup() {
// Robojax.com demo
pinMode(loadPin,OUTPUT);
Serial.begin(9600);
Serial.println("Robojax Demo");
}
void loop() {
// Robojax.com tutorial
if(cont == HIGH)
{
Serial.println("OUTPUT is HIGH");
digitalWrite(loadPin,HIGH);
delay(3000);
cont = LOW;
}else{
Serial.println("OUTPUT is LOW");
digitalWrite(loadPin,LOW);
delay(3000);
cont = HIGH;
}
}/*
* This is an Arduino sketch for a tutorial video
* explaining the 5305 MOSFET used as a switch
* This sketch will control the speed of a motor or the intensity of a light using PWM
* Download and resource page https://robojax.com/RJT125
* Written by Ahmad Shamshiri on Sep 12, 2018 at 23:23 in Ajax, Ontario, Canada
* For Robojax.com
* Watch the instruction video for this code: https://youtu.be/eAANkWDvusU
* This code is "AS IS" without warranty or liability. Free to be used as long as you keep this note intact.
*/
int motorPin =9;// pin to connect to motor module
int mSpeed = 0;// variable to hold speed value
int mStep = 15;// increment/decrement step for PWM motor speed
void setup() {
// Robojax.com demo
pinMode(motorPin,OUTPUT);// set mtorPin as output
Serial.begin(9600);// initialize serial motor
Serial.println("Robojax Demo");
}
void loop() {
// Robojax.com tutorial
analogWrite(motorPin, mSpeed);// send mSpeed value to motor
Serial.print("Speed: ");
Serial.println(mSpeed);// print mSpeed value on Serial monitor (click on Tools->Serial Monitor)
mSpeed = mSpeed + mStep;
// See the video for details.
if (mSpeed <= 0 || mSpeed >= 255) {
mStep = -mStep;
}
delay(200);
}資源與參考資料
暫時冇資源。
文件📁
其他文件
-
IRF5305 P-Channel MOSFET DatasheetDatasheet for the IRF5305, a P-channel power MOSFET. It features a drain-to-source voltage of -55V, continuous drain current of -31A, and low on-resistance, suitable for high-power switching applications.
robojax_e-switch_IRF5305_datasheet.pdf0.16 MB