Stroomwaarneming met behulp van 'n Arduino-motorschild (L298N/L298P)
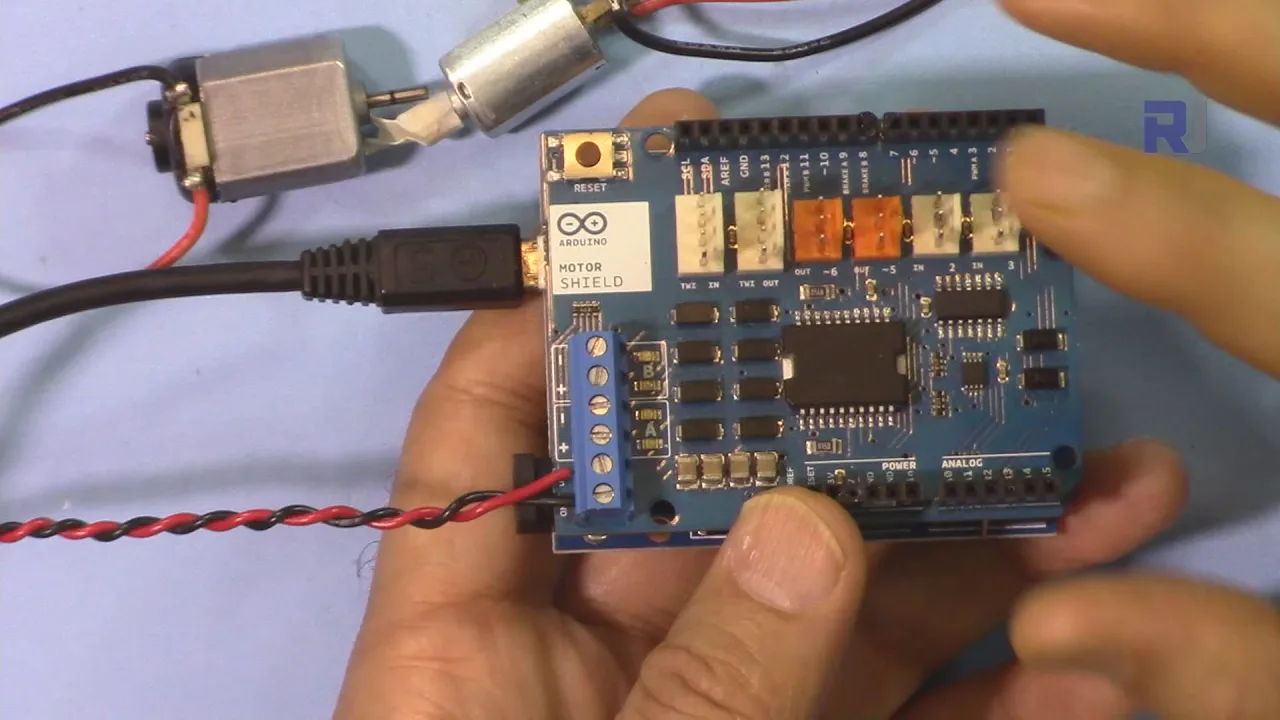
Hierdie projek demonstreer hoe om die stroomwaarnemingsvermoëns van 'n Arduino-motorskerm (soos die L298N/L298P) te gebruik om die stroom wat deur 'n GS-motor getrek word, te meet en aksies te aktiveer gebaseer op daardie stroom. Dit stel jou in staat om slimmer motorbeheerstelsels te skep wat op wisselende vragte kan reageer, oorverhitting kan voorkom, en gevorderde beheeralgoritmes kan implementeer.
Projekidees:
- Bou 'n robot wat outomaties sy spoed aanpas gebaseer op die vrag wat dit dra.
- Skep 'n slim waaier wat spoed verhoog soos die omgewingstemperatuur styg (deur die verhoogde stroomtrekking te bespeur soos die motor harder werk).
- Ontwikkel 'n veiligheidsmeganisme wat 'n motor afskakel as dit stol of 'n obstruksie teëkom, wat skade voorkom.
- Ontwerp 'n selfbalanserende robot wat stroomwaarneming gebruik om wanbalanse te bespeur en sy postuur reg te stel.
Hardeware/Komponente
- Arduino Uno
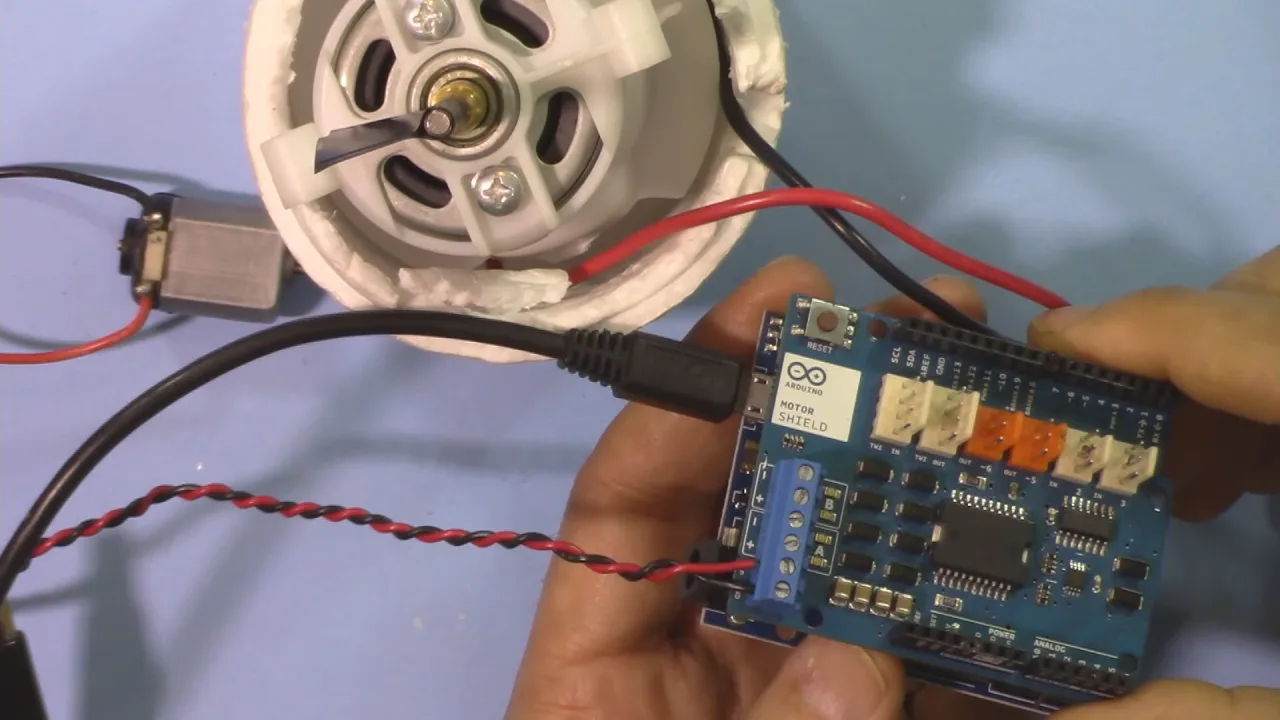
- L298N/L298P-motorskerm
- GS-motor
- Kragtoevoer (vir die motor)
- Multimeter (opsioneel, om stroomlesings te verifieer)
Kodeverduideliking
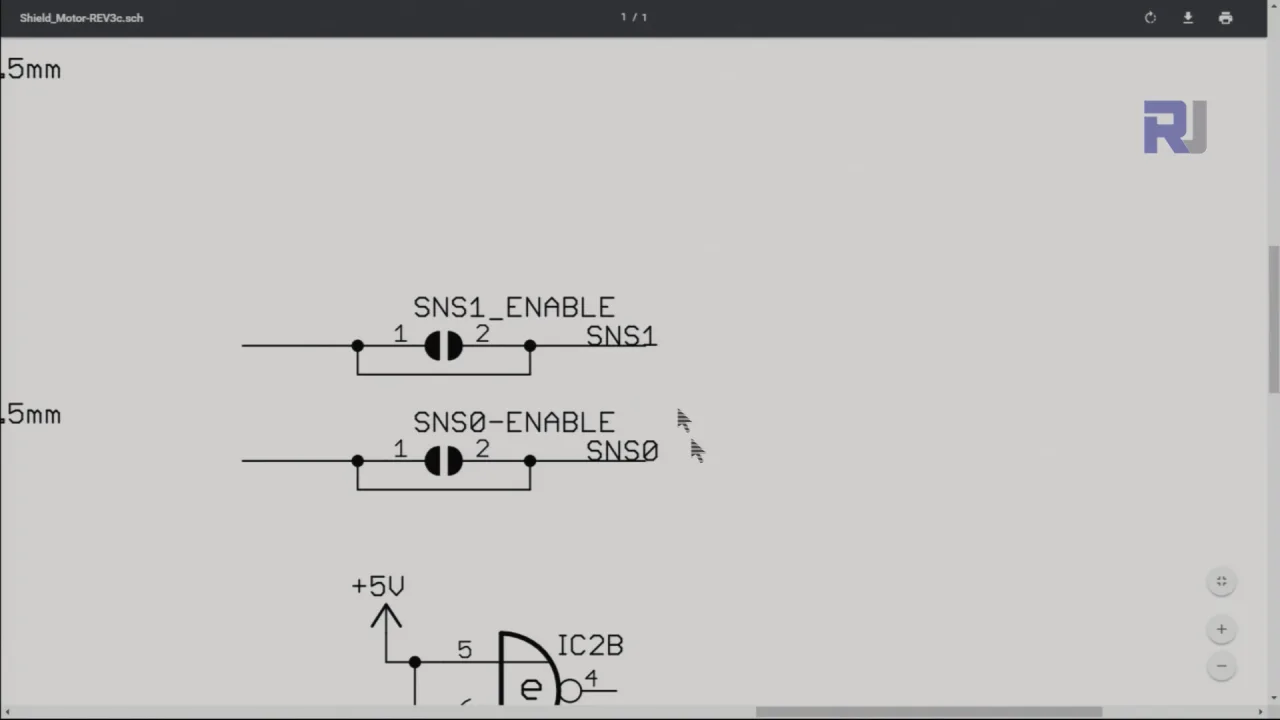
Die verskafde Arduino-kode gebruik die analooginsette van die Arduino om die spanning oor die stroomwaarnemingsweerstande op die motorskerm te lees. Hierdie lesings word dan in stroomwaardes omgeskakel. Die kernfunksionaliteit lê in hierdie sleutelkode-afdelings:
const double currentFactor = 2/3.3;// 3.3V per 2A (in video by 04:35)
// ... binne die loop()-funksie ...
double currentVB = map(analogRead(currentSenseB), 0, 1024, 0, 5000)/1000;
double currentB = currentVB * currentFactor; //(in video by 04:44)
// ... soortgelyke kode vir currentSenseA en currentA
Die currentFactor word afgelei van die motorskerm se spesifikasies (in hierdie geval stem 3.3V ooreen met 2A). Die map-funksie skaal die rou analooglesings (0-1024) na spanning (0-5V). Hierdie spanning word dan met die currentFactor vermenigvuldig om die werklike stroom in Ampère te verkry.
Gebruiker-konfigureerbare Parameters:
currentSenseAencurrentSenseB: Analoogpenne gekoppel aan die stroomwaarnemingsuitsette van die motorskerm (A0 en A1 in hierdie voorbeeld). (in video by 04:44)- Die drempelwaarde (1.25 in die voorbeeld) binne die
if-stelling bepaal die stroomvlak waarop die gedefinieerde aksie geaktiveer word. (in video by 07:29)
if(currentB > 1.25) {
    brake('B', 1);// pas rem toe (in video by 07:42)
    // ... ander aksies
}
Lewende Projek/Demonstrasie
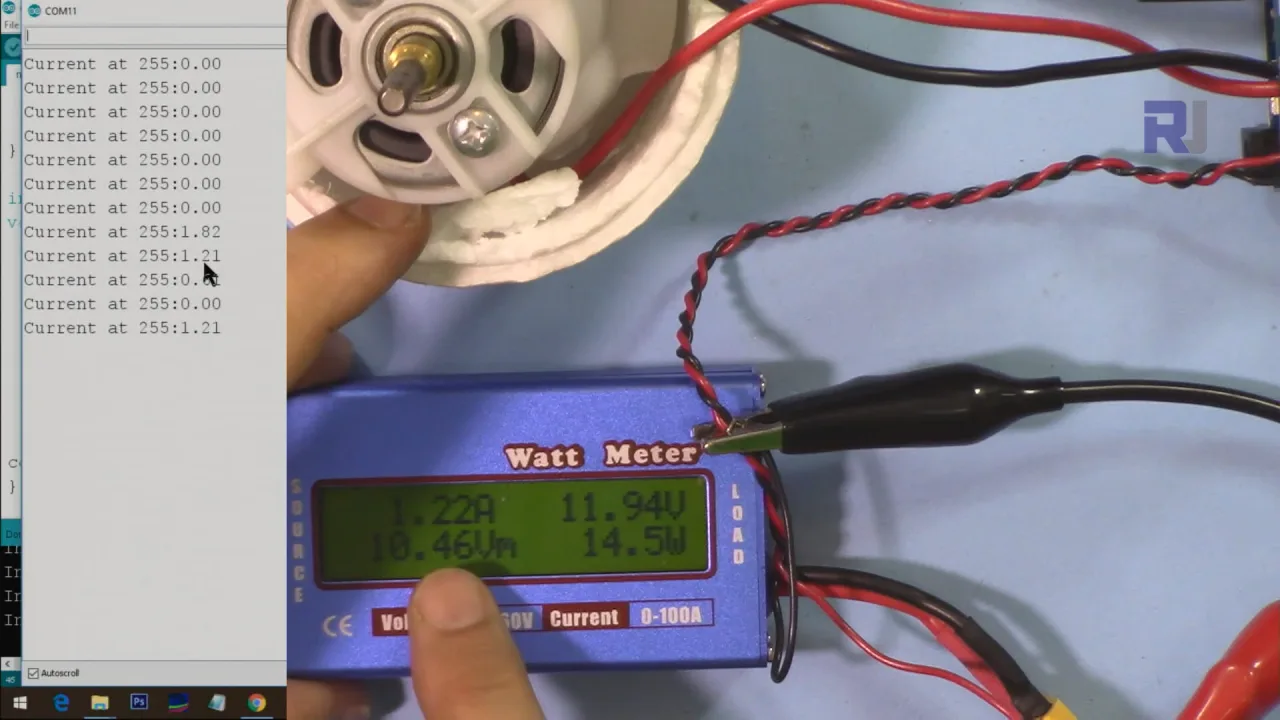
(in video by 05:43) Die video demonstreer die projek in aksie, wat intydse stroomlesings tesame met metings van 'n multimeter wys. Dit verifieer die akkuraatheid van die stroomwaarnemingsopstelling en demonstreer hoe die kode op veranderinge in motorvrag reageer. Die voorbeeldkode sluit 'n voorwaardelike stelling in wat 'n rem toepas as die stroom 'n voorafbepaalde drempel oorskry, wat 'n praktiese toepassing van stroomwaarneming illustreer.
Hoofstukke
- [00:00] Inleiding en Projekoorsig
- [00:35] Motorskerm-basiese beginsels en Stroomwaarneming
- [01:06] Hardeware-verduideliking: Stroomwaarnemingsweerstande en Penne
- [02:35] Interne Stroombane van die Motorskerm
- [04:13] Kodeverduideliking en Stroomberekening
- [05:43] Demonstrasie en Intydse Stroommeting
- [07:15] Aksie Neem Gebaseer op Stroomlesings
Beelde
/*
 * Current Sensing with Arduino Motor Shield
 *
 * Written by Ahmad Shamshiri for Robojax.com on August 31, 2018 at 17:40 in Ajax, Ontario, Canada
 * Watch video instruction for this code: https://youtu.be/-uQKBDTWHPM
 * This code requires a viewing of the introduction to the Arduino Motor Shield,
 * which you can watch here: https://youtu.be/kIgbjyqNrV8

     This program is free software: you can redistribute it and/or modify
    it under the terms of the GNU General Public License as published by
    the Free Software Foundation, either version 3 of the License, or
    (at your option) any later version.

    This program is distributed in the hope that it will be useful,
    but WITHOUT ANY WARRANTY; without even the implied warranty of
    MERCHANTABILITY or FITNESS FOR A PARTICULAR PURPOSE.  See the
    GNU General Public License for more details.

    You should have received a copy of the GNU General Public License
    along with this program.  If not, see <https://www.gnu.org/licenses/>.
 */
const int MotorPinA = 12;
const int MotorSpeedPinA = 3;
const int MotorBrakePinA = 9;
const int currentSenseA =A0;


const int MotorPinB = 13;
const int MotorSpeedPinB = 11;
const int MotorBrakePinB = 8;
const int currentSenseB =A1;

const int CW  = HIGH;// variable for clockwise rotation
const int CCW = LOW;// variable for counterclockwise rotation

const int showComments = 1;// show comments in serial monitor
const double currentFactor = 2/3.3;// 3.3V per 2A which is 0.909

void setup() {
  // motor A pin assignment
  pinMode(MotorPinA, OUTPUT);// define motor pin as output
  pinMode(MotorSpeedPinA, OUTPUT);//define motor speed control pin
  pinMode(MotorBrakePinA, OUTPUT);// define motor brake pin

  // motor B pin assignment
  pinMode(MotorPinB, OUTPUT);
  pinMode(MotorSpeedPinB, OUTPUT);
  pinMode(MotorBrakePinB, OUTPUT);


  Serial.begin(9600);//  serial monitor initialized

}


void loop() {

  brake('B', 0); // release brake

  moveMotor('B', CW, 255);// start motor B in CW direction with 255 PWM value
  Serial.print("Current at 255:");
  double currentVB = map(analogRead(currentSenseB), 0, 1024, 0, 5000)/1000;
  double currentB = currentVB*currentFactor;// get channel B current from voltage and current factor (from data sheet)

  double currentVA = map(analogRead(currentSenseA), 0, 1024, 0, 5000)/1000;
  double currentA = currentVA*currentFactor;// get channel A current from voltage and current factor (from data sheet)

  if(currentB >1.25)
  {
    brake('B', 1);// apply brake
    brake('B',0);// release brake
    // change the rotation direction to CCW
    moveMotor('B', CCW, 255);
  }
  Serial.println(currentB);// print the current
  delay(300);


}// loop end


/*
 *
 * Written by Ahmad Shamshiri August 29, 2018 at 20:59 in Ajax, Ontario, Canada
 * moveMotor controls the motor
  @param motor is char A or B referring to motor A or B.
  @param dir is motor direction, CW or CCW
  @param speed is PWM value between 0 to 255

  Example 1: to start moving motor A in CW direction with 135 PWM value
  moveMotor('A', CW, 135);

  Example 2: to start moving motor B in CCW direction with 200 PWM value
  moveMotor('B', CCW, 200);
 */

void moveMotor(char motor, int dir, int speed)
{
  int motorPin;
  int motorSpeedPin;

  if(motor =='A')
  {
    motorPin      = MotorPinA;
    motorSpeedPin = MotorSpeedPinA;
  }else{
    motorPin      = MotorPinB;
    motorSpeedPin = MotorSpeedPinB;
  }
   digitalWrite(motorPin, dir);// set direction for motor
   analogWrite(motorSpeedPin, speed);// set speed of motor
}//moveMotor end

/*
 * brake, stops the motor, or releases the brake
 * @param motor is character A or B
 * @param brk if 1, brake; if 0, release brake
 * example of usage:
 * brake('A', 1);// applies brake to motor A
 * brake('A', 0);// releases brake from motor A
 */
void brake(char motor, int brk)
{
  if(motor =='A')
  {
    digitalWrite(MotorBrakePinA, brk);// brake
    delay(1000);
  }else{
    digitalWrite(MotorBrakePinB, brk);// brake
    delay(1000);

  }
}
Hulpbronne en verwysings
Lêers📁
Datasheet (pdf)
-
Datashet for L298N Dual H-bridge motor driver
robojax_L298N datasheet.pdf0.18 MB