本教程是的一部分: 键盘
这里列出了所有键盘视频。
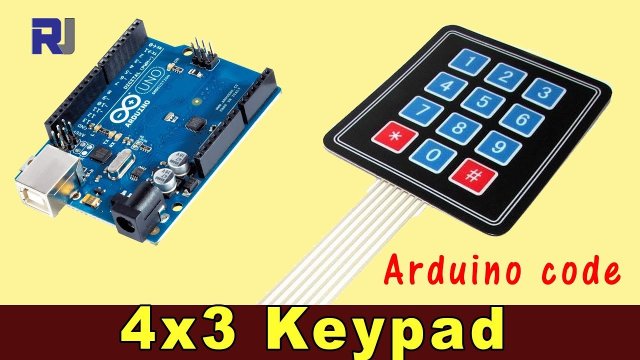
使用4x3键盘与Arduino
在本教程中,我们将探讨如何使用4x3键盘与Arduino一起读取按键。这个键盘可以用于各种项目,例如为安全系统创建一个简单的输入界面或任何需要用户输入的应用程序。在本指南结束时,您将能够读取按键并对特定按键作出响应。

确保查看附带的视频,以便对接线和代码实现进行视觉演示(视频中的00:00)。
硬件说明
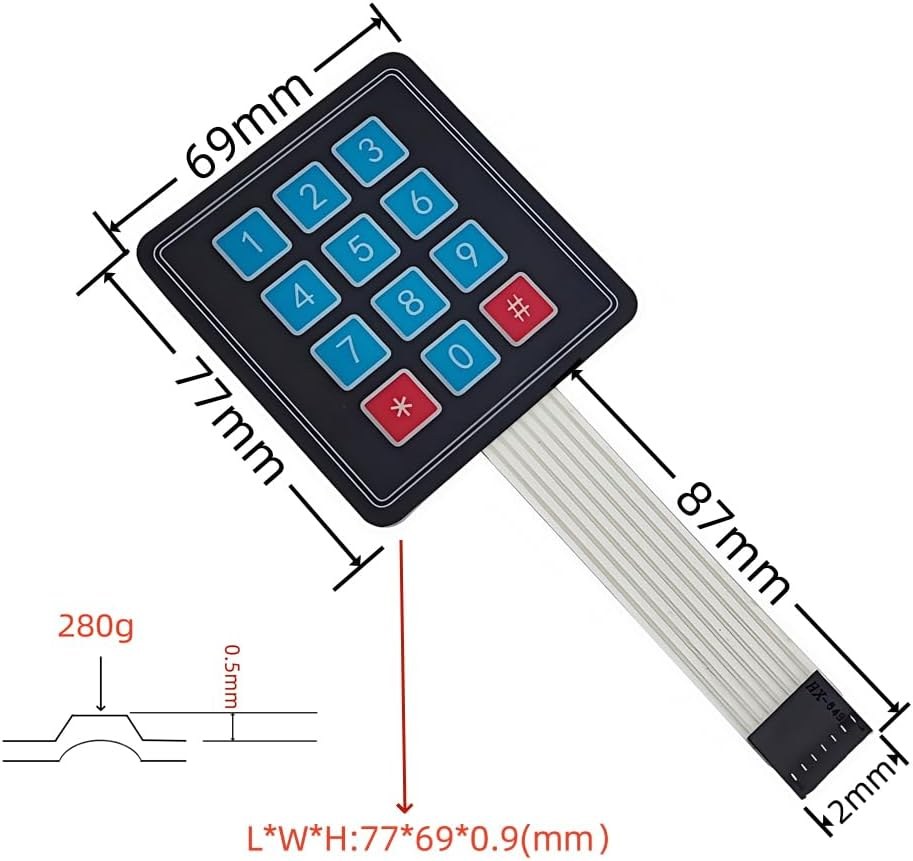
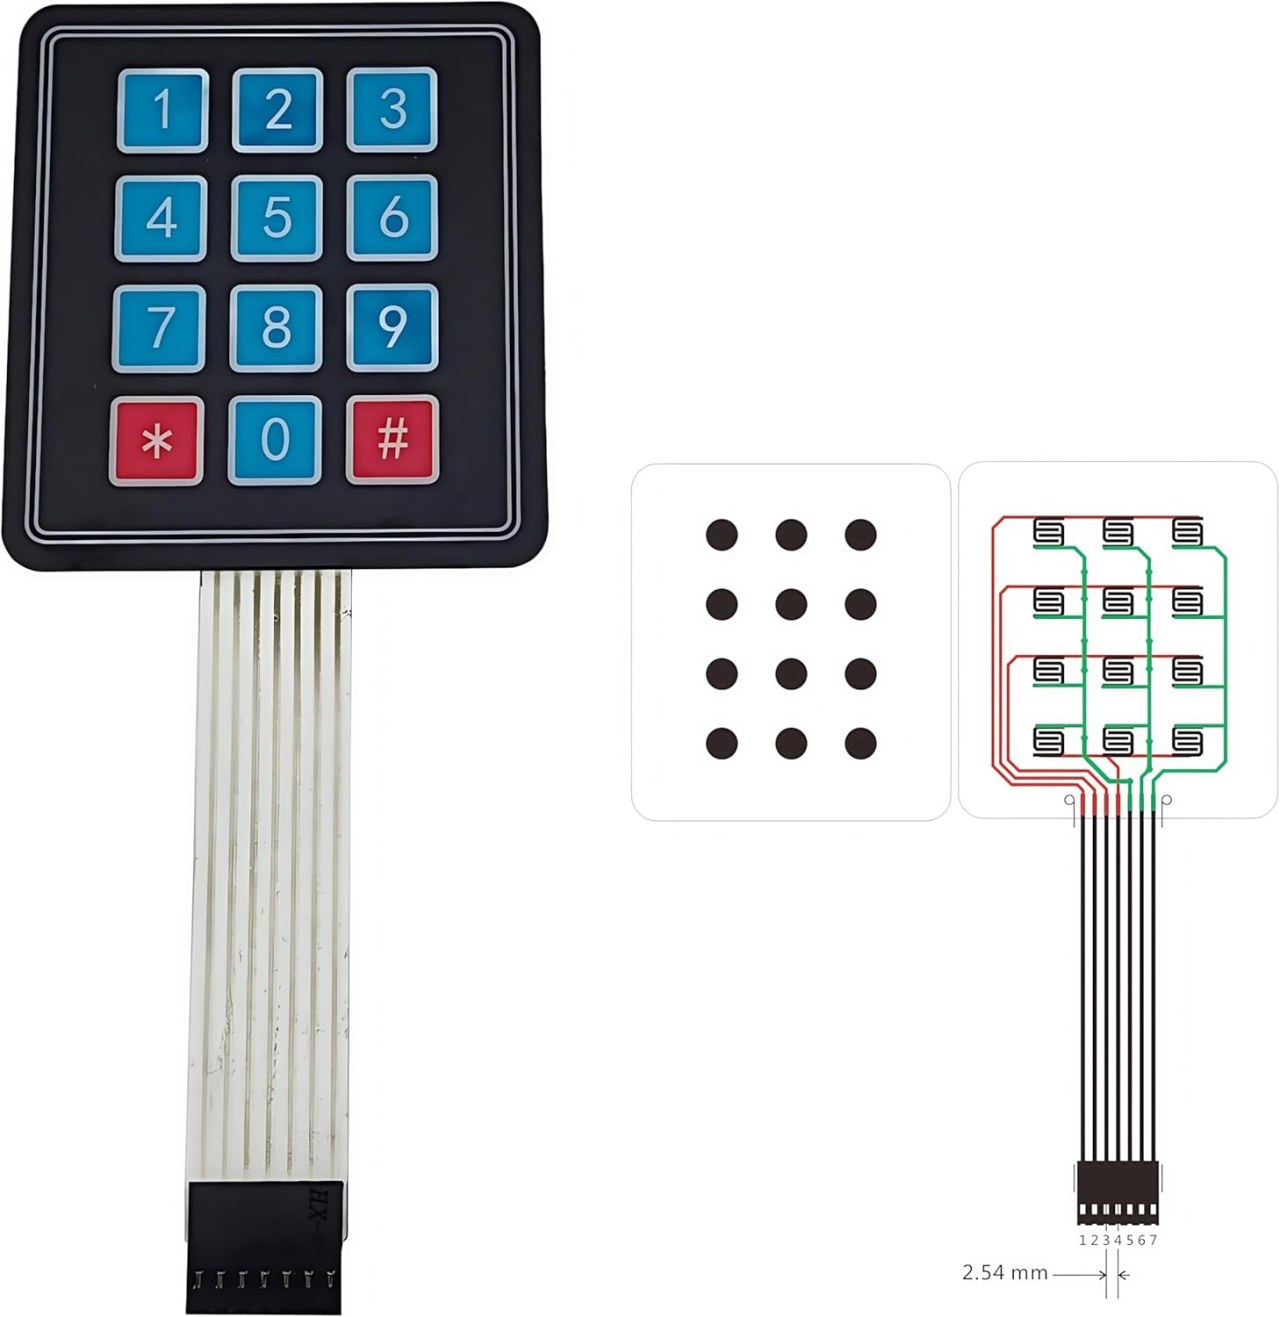
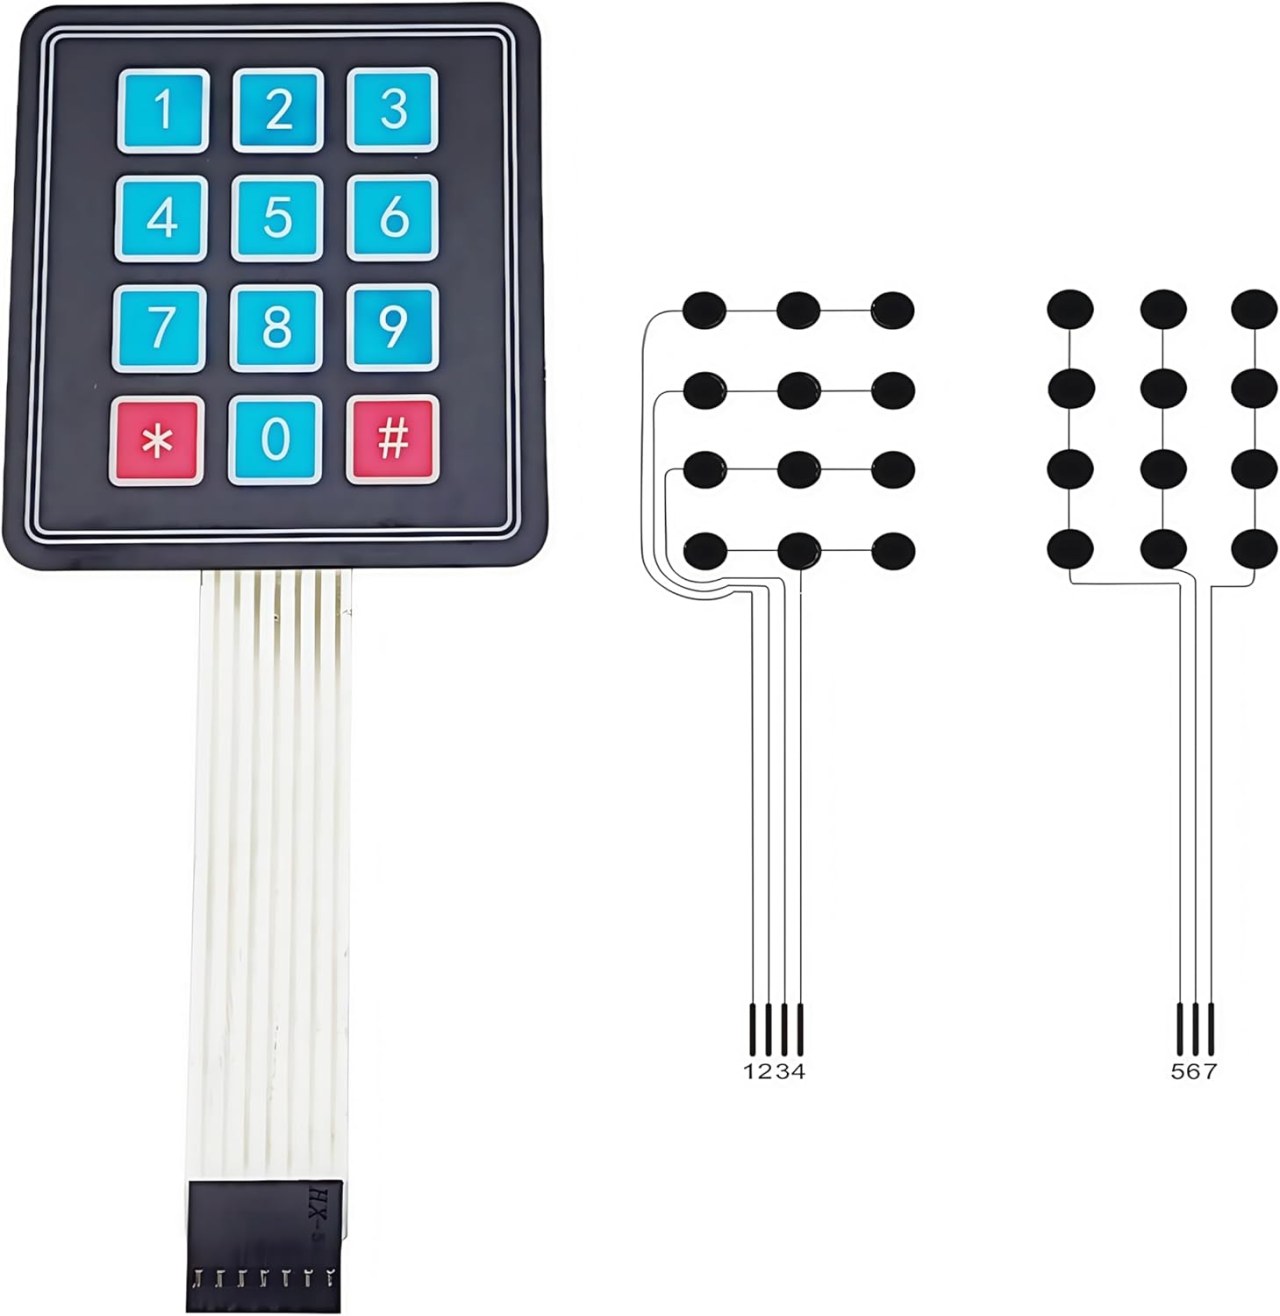
该项目的主要组件包括4x3键盘和Arduino板。键盘由排列成4行3列的按键矩阵组成。当按下一个按键时,它会将特定的行与特定的列连接,从而允许Arduino识别哪个按键被按下。
Arduino 板作为中央控制器,读取键盘输入。它利用 Keypad 库,简化了管理矩阵键盘的过程,使得检测按键操作变得更容易。
数据表详细信息
| 制造商 | 各种 |
|---|---|
| 零件编号 | 4x3 键盘 |
| 逻辑电压 | 5 伏 |
| 操作电流 | ≤ 20 毫安 |
| 键的寿命 | ≥ 1,000,000 次按压 |
| 包裹 | 矩阵键盘 |
- 将键盘引脚正确连接到Arduino的数字引脚。
- 根据您的设置,如有必要,请使用上拉或下拉电阻。
- 确保在你的Arduino IDE中包含Keypad库。
- 在软件中对按键进行防抖处理,以避免多次读取。
- 测试每个键以确认正确的接线和功能。
接线说明

将4x3键盘连接到Arduino时,您需要将键盘的行和列引脚连接到Arduino的数字引脚。将行引脚(通常为4个引脚)连接到引脚2,3,4抱歉,无法翻译。5在Arduino上。列引脚(通常为3个引脚)应连接到引脚。6,7, 和8.
确保将键盘的地线引脚连接到Arduino的地线,将电源引脚连接到5V输出。此设置将允许Arduino在按下时读取每个键的状态,使用Keypad库处理矩阵扫描。
代码示例与操作指南
以下代码初始化键盘并将按下的键打印到串口监视器。键值存储在一个字符数组中。
const byte ROWS = 4; //four rows
const byte COLS = 3; //three columns
char keys[ROWS][COLS] = {
  {'1','2','3'},
  {'4','5','6'},
  {'7','8','9'},
  {'*','0','#'}
};的keys数组定义了键盘的布局,这与按键的物理排列相对应。每个字符代表键盘上的一个按钮。

接下来,我们设置键盘。setup()功能:
void setup(){
  Serial.begin(9600);
  Serial.println("Robojax 4x3 keypad");
}
此段代码以9600的波特率初始化串行通信,使我们能够在串行监视器中查看按键操作。
最后,循环检查按键并做出相应的响应:
void loop(){
  char key = keypad.getKey();
  if (key){
    Serial.println(key);
  }
  if (key =='4'){
    Serial.println("Key 4 is pressed");
  }
}这里,程序检查是否按下了任何键。keypad.getKey()如果按下一个键,它会打印出该键的值。此外,如果按下 '4' 键,将显示特定的消息。
演示 / 期待什么
当设置完成后,按下键盘上的任何键应该会将相应的字符输出到串行监视器。如果按下键 '4',将打印一条特殊消息,指示该键的激活。此功能允许您在此基础上构建更复杂的应用。
注意浮动输入可能导致不稳定的行为。确保所有连接牢固,并测试每个键以确认功能正常(在视频的00:00处)。
图像
本教程是……的一部分: 键盘
- Arduino Code and Video for a Four-Key Keypad
- Arduino Code and Video: 4x4 Matrix Black Keypad
- Build a Simple Electronic Lock with Keypad and LCD Using Arduino
- Controlling an 8-channel relay with a 4x3 keypad
- How to use 4x4 Soft Keypad with Arduino
- How to Use a 5x4 20-Key Keypad with Arduino to Detect Strings
- Lesson 67: Controlling an 8-Channel Relay with a Keypad Using Arduino
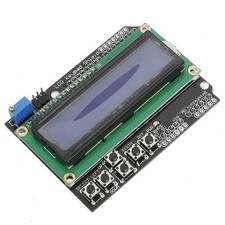
- 1602 LCD Keypad Shield: Basic Code
This code has not been parsed yet. Please return to the admin panel to parse it.|||您可能需要的东西
-
亚马逊从亚马逊购买4x3键盘。amzn.to
资源与参考
尚无可用资源。