如何設定I²C地址,以及為LCD1602同LCD2004使用I²C掃描器
喺呢個教學入面,我哋會探討點樣設定I²C地址,同埋點樣用I²C掃描器嚟處理LCD1602同LCD2004顯示屏。了解I²C通訊對於將呢啲LCD模組整合到你嘅Arduino項目入面係好重要嘅,咁樣可以做到高效嘅數據傳輸同控制。完成呢個指南之後,你就能夠有效地識別你嘅LCD嘅I²C地址,並確保佢哋正常運作。


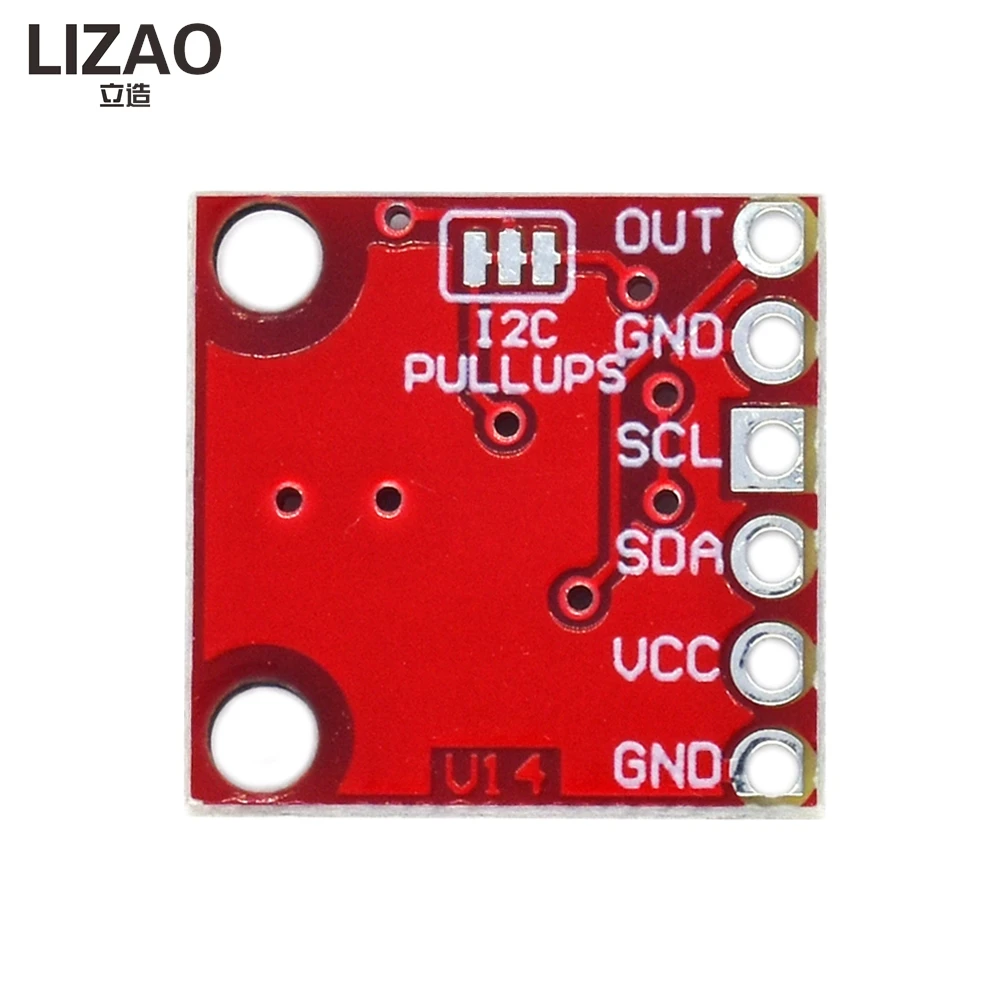
我哋會用BMP-180感測器作為呢個項目嘅一部分,佢係用I²C通訊嚟運作嘅。呢個感測器提供溫度同氣壓讀數,可以顯示喺LCD1602或者LCD2004上面。呢個教學會包括接線指示、程式碼片段,同埋預期結果嘅示範。想更加視覺化咁理解嘅話,記得睇吓相關嘅影片(影片喺00:00)。
硬件解釋
呢個項目嘅主要組件包括BMP-180感測器、一個LCD1602或者LCD2004顯示屏,同埋一塊Arduino板。BMP-180係一個數碼氣壓感測器,透過I²C協議通訊,只需要兩條數據線:SDA(數據線)同SCL(時鐘線)。LCD顯示屏都係兼容I²C嘅,可以用相同嘅通訊協議輕鬆控制,令到設置更加整潔同高效。
BMP-180嘅供電電壓係1.8V至3.6V之間,即係話如果你用較高嘅電壓源,就可以透過穩壓器嚟供電。而LCD顯示屏通常係用5V運作,所以好容易就可以同Arduino板連接,唔需要額外嘅組件。
數據表詳情
| 製造商 | Bosch |
|---|---|
| 零件編號 | BMP-180 |
| 邏輯/IO電壓 | 1.8 - 3.6 V |
| 供電電壓 | 1.8 - 3.6 V |
| 輸出電流(每通道) | 3.6 µA |
| 峰值電流(每通道) | 1 mA |
| PWM頻率指引 | N/A |
| 輸入邏輯閾值 | N/A |
| 電壓降 / RDS(on) / 飽和 | N/A |
| 熱限制 | -40至+85 °C |
| 封裝 | 3.6 x 3.8 mm |
| 備註 / 變體 | 溫度同氣壓感測器 |
- 確保正確嘅電壓供應:BMP-180需要1.8V至3.6V。
- 喺SDA同SCL線上面用上拉電阻,以確保I²C通訊穩定。
- 保持電線短啲,避免信號衰減。
- 掃描期間檢查I²C地址係咪正確。
- 監察溫度範圍:BMP-180係-40至+85 °C。
接線指示

要將BMP-180感測器同LCD顯示屏連接到你嘅Arduino,跟住以下步驟:

首先,將BMP-180嘅Vn腳連接到Arduino嘅5V輸出。跟住,將BMP-180嘅GND腳連接到Arduino嘅接地。BMP-180嘅SDA腳應該連接到Arduino嘅A4腳,而SCL腳就連接到A5。
對於LCD1602或者LCD2004,將VCC腳連接到Arduino嘅5V,GND腳都連接到接地。LCD嘅SDA腳都應該連接到A4(同BMP-180共用),而SCL腳就應該連接到A5。
呢個配置令到兩個裝置可以喺同一條I²C匯流排上面通訊,確保設置整潔同高效。
程式碼示例同講解
要掃描I²C地址,我哋會用一個簡單嘅程式碼片段。以下嘅摘錄初始化I²C通訊,並準備好序列監視器:
#include

void setup() {
  Wire.begin();
  Serial.begin(9600);
  while (!Serial); // Leonardo: 等待序列監視器
  Serial.println("\nI2C Scanner");
}
呢段程式碼初始化用於I²C通訊嘅Wire函式庫,並設定序列監視器嚟輸出。呢個對於除錯同確保I²C裝置被識別係好重要嘅。
Loop函式會掃描I²C匯流排上面嘅裝置,並打印佢哋嘅地址:
void loop() {
  byte error, address;
  int nDevices = 0;
  Serial.println("Scanning...");

  for(address = 1; address < 127; address++) {
    Wire.beginTransmission(address);
    error = Wire.endTransmission();
    if (error == 0) {
      Serial.print("I2C device found at address 0x");
      Serial.println(address, HEX);
      nDevices++;
    }
  }
  if (nDevices == 0) Serial.println("No I2C devices found\n");
  delay(5000); // 等5秒再掃描
}
呢個Loop會檢查由1至127嘅每個地址,嘗試同任何存在嘅裝置通訊。如果有一個裝置確認通訊,佢嘅地址就會打印到序列監視器。呢個係識別你嘅LCD或者其他連接裝置嘅I²C地址嘅關鍵步驟。
示範 / 預期結果
當運行I²C掃描器嘅時候,你應該會喺序列監視器入面見到訊息,顯示有冇搵到任何I²C裝置。如果成功,輸出會顯示已連接裝置嘅地址,格式係十六進制值(例如「I2C device found at address 0x27」)。如果冇搵到任何裝置,你就會見到相應嘅訊息。
確保所有連接都穩固,同埋供應正確嘅電壓水平係好重要嘅,咁先可以避免裝置偵測嘅問題(影片喺05:30)。
圖片


// --------------------------------------
//http://playground.arduino.cc/Main/I2cScanner
// i2c_scanner
//
// Version 1
//    This program (or code that looks like it)
//    can be found in many places.
//    For example on the Arduino.cc forum.
//    The original author is not known.
// Version 2, June 2012, Using Arduino 1.0.1
//     Adapted to be as simple as possible by Arduino.cc user Krodal
// Version 3, Feb 26, 2013
//    V3 by louarnold
// Version 4, March 3, 2013, Using Arduino 1.0.3
//    by Arduino.cc user Krodal.
//    Changes by louarnold removed.
//    Scanning addresses changed from 0...127 to 1...119,
//    according to the i2c scanner by Nick Gammon
//    http://www.gammon.com.au/forum/?id=10896
// Version 5, March 28, 2013
//    As version 4, but address scans now to 127.
//    A sensor seems to use address 120.
// Version 6, November 27, 2015.
//    Added waiting for the Leonardo serial communication.
//
//
// This sketch tests the standard 7-bit addresses
// Devices with higher bit addresses might not be seen properly.
// Watch Video explaining I2C address: https://www.youtube.com/watch?v=bqMMIbmYJS0
//

#include <Wire.h>


void setup()
{
  Wire.begin();

  Serial.begin(9600);
  while (!Serial);             // Leonardo: wait for serial monitor
  Serial.println("\nI2C Scanner");
}


void loop()
{
  byte error, address;
  int nDevices;

  Serial.println("Scanning...");

  nDevices = 0;
  for(address = 1; address < 127; address++ )
  {
    // The i2c_scanner uses the return value of
    // the Write.endTransmisstion to see if
    // a device did acknowledge to the address.
    Wire.beginTransmission(address);
    error = Wire.endTransmission();

    if (error == 0)
    {
      Serial.print("I2C device found at address 0x");
      if (address<16)
        Serial.print("0");
      Serial.print(address,HEX);
      Serial.println("  !");

      nDevices++;
    }
    else if (error==4)
    {
      Serial.print("Unknown error at address 0x");
      if (address<16)
        Serial.print("0");
      Serial.println(address,HEX);
    }
  }
  if (nDevices == 0)
    Serial.println("No I2C devices found\n");
  else
    Serial.println("done\n");

  delay(5000);           // wait 5 seconds for next scan
}
你可能需要嘅嘢
-
亞馬遜Buy LCD1602-I2C from Amazonamzn.to
-
阿里巴巴速卖通Purchase 10pcs LCD1602-I2C from AliExpresss.click.aliexpress.com
-
阿里巴巴速卖通Purchase LCD1602-I2C from AliExpresss.click.aliexpress.com
資源與參考資料
暫時冇資源。
文件📁
Arduino 函式庫 (zip)
-
LCD1602 LCD Arduino library from Robojax
robojax-LCD1602-I2C-library-master.zip0.01 MB
Fritzing 文件
-
LCD2004-I2C
LCD2004-I2C.fzpz0.02 MB