本教程是的一部分: WiFi LoRa 32 教程
所有与Heltec WiFi LoRa 32相关的视频都通过此群组进行关联。其他视频的链接位于本文下方。
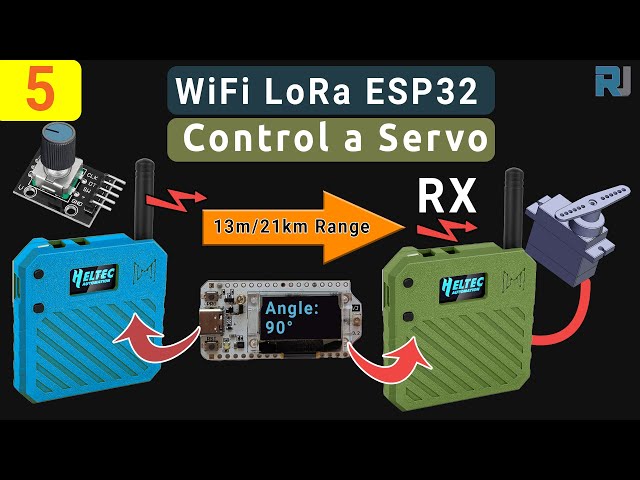
远程控制伺服电机!Heltec WiFi LoRa 32 V3 Arduino 教程(TX)
在本指南中,我们将使用我们Heltec ESP32 LoRa V3舵机项目的确切草图,并逐步讲解它们的工作原理——没有添加任何额外代码。您将了解到发射器如何读取旋转编码器,固定并通过LoRa发送该角度,以及接收器如何解密它并驱动微型舵机。所有部件和代码链接在下方,如果您通过我们的推荐链接下单,将帮助我们继续制作这些教程。
安装 Heltec ESP32 板
将此路径添加到您的Arduino IDE的首选项中,如视频所示:https://resource.heltec.cn/download/package_heltec_esp32_index.json
1. 发射器(TX)硬件与设置
在TX一侧您需要:
-
Heltec WiFi LoRa 32 V3 主板(在 Meshnology N33 外壳中,由 3000 mAh 电池供电)
-
旋转编码器接线到 GPIO 6(CLK)、GPIO 5(DT)、GPIO 4(SW)
-
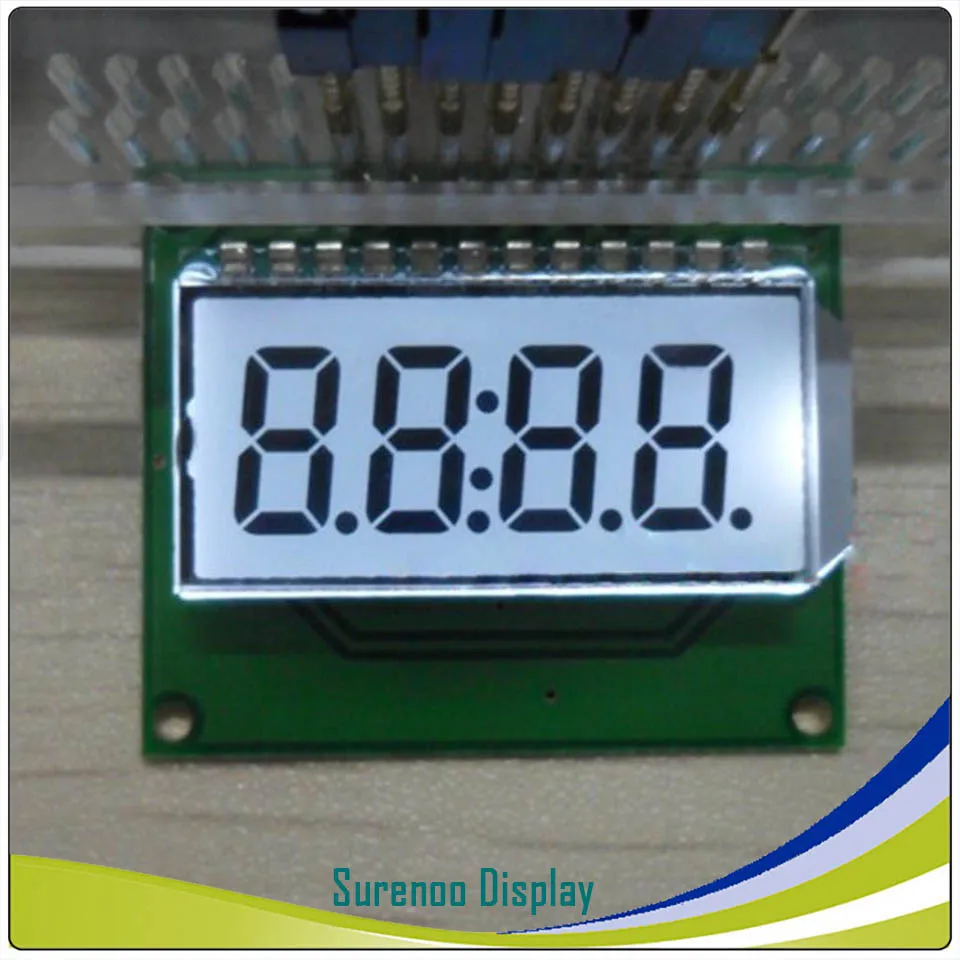
在 I²C 上的 OLED 显示器 (SDA= 4, SCL= 15)
该草图开始时包含并初始化一切,正如在Heltec_ESP32_LoRa_V3_Sevo_TX_AiRotaryEncoder.ino:
cppCopyEdit#include "AiEsp32RotaryEncoder.h"
#include "HT_SSD1306Wire.h"
#include "LoRaWan_APP.h"
#include "mbedtls/aes.h"
// …
static SSD1306Wire display(0x3c, 500000, SDA_OLED, SCL_OLED, GEOMETRY, RST_OLED);
AiEsp32RotaryEncoder rotaryEncoder = AiEsp32RotaryEncoder(
    PIN_A, PIN_B, SW_PIN, ROTARY_ENCODER_VCC_PIN, false, true, true);
const int homePosition = 90;
const int MAX_ANGLE    = 180;
int servoAngel = homePosition;
在setup()代码:
-
在显示屏上开启电源,设置字体
-
呼叫
rotaryEncoder.begin(),rotaryEncoder.setup(readEncoderISR),rotaryEncoder.setBoundaries(0, MAX_ANGLE, true)和rotaryEncoder.setAcceleration(20) -
重置编码器为
homePosition -
通过初始化LoRa
Mcu.begin(HELTEC_BOARD, SLOW_CLK_TPYE)并设置RadioEvents、通道和参数与提供的草图完全相同。
安全地发送角度
每个循环周期运行rotary_loop(),它:
-
在中断服务例程中读取编码器
-
当
servoAngel更改,将其打包到一个16字节的缓冲区中,使用AES-128加密encryptAES()从草图中) ,并呼叫cppCopyEditRadio.Send(data, sizeof(data)); -
套装
lora_idle = false直到OnTxDone()触发并重置它。
3. 接收机 (RX) 硬件和设置
在RX端你需要:
-
Heltec WiFi LoRa 32 V3 板(相同外壳/电池)
-
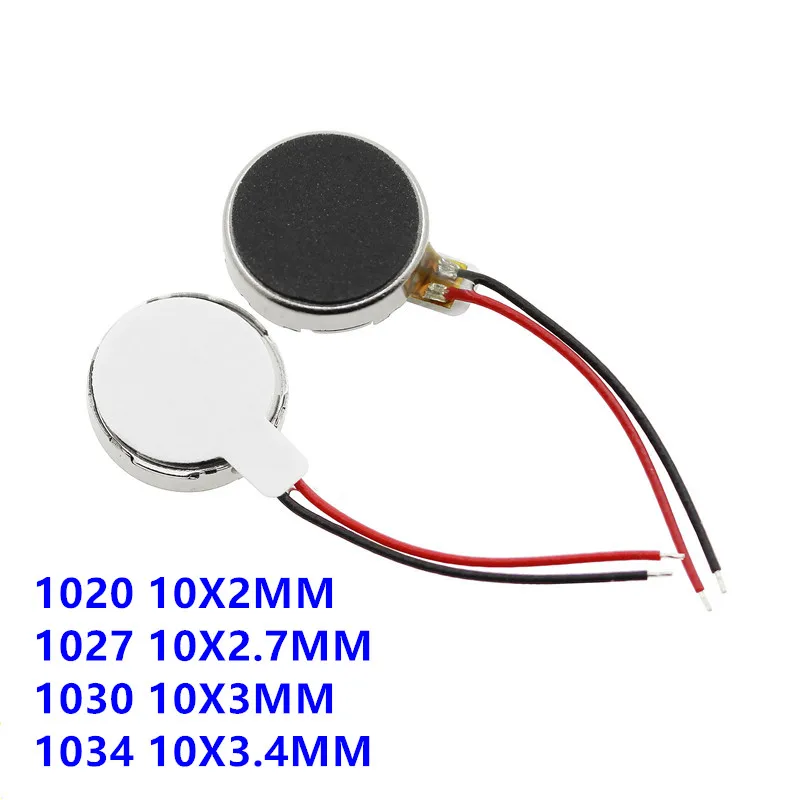
微型伺服(如 SG90)连接在 GPIO 6(或任何经过测试的 PWM 引脚)
-
OLED 显示器
草图在Heltec_ESP32_LoRa_V3_Sevo_RX.ino开始于:
cppCopyEdit#include <ESP32Servo.h>
#include "HT_SSD1306Wire.h"
#include "LoRaWan_APP.h"
#include "mbedtls/aes.h"
// …
const int servoPin       = 6;
const int SERVO_DUTY_MIN = 400;  // us
const int SERVO_DUTY_MAX = 2400; // us
Servo    myservo;
int      servoAngel     = homePosition;
在setup(), it:
-
为显示/LoRa模块的电源开启
VextON()) -
电话
Radio.Init(&RadioEvents)并使用相同的LoRa参数配置RX -
将伺服器附加到
myservo.attach(servoPin, SERVO_DUTY_MIN, SERVO_DUTY_MAX)并将其居中于homePosition.
4. 接收、解密和驱动伺服器
核心是OnRxDone(uint8_t *payload, …)回调:
cppCopyEditdecryptAES((uint8_t*)rxpacket, userKey);
if (isNumber(rxpacket)) {
  servoAngel = atoi(rxpacket);
  myservo.write(servoAngel);
  delay(15);
}
Serial.println("Angle: " + String(servoAngel));
lora_idle = true;
它解密16字节的数据块,将其转换为一个整数,并立即更新伺服器。
5. PWM引脚支持与伺服调整
我们测试了这些ESP32引脚的PWM输出,它们都可以用来驱动微型伺服电机:
CopyEdit1, 2, 3, 4, 5, 6, 19, 35, 36, 38, 39, 40, 41, 42, 45, 47, 48
对于标准的SG90,我们的代码使用的脉冲范围为400 微秒(0Ã'°) to2400 微秒(180°),这提供了平滑、完整的扫动,没有抖动。
6. 接线图
以下是您可以放入 TX 和 RX 原理图的占位符:


代码和联盟链接
以上所有草图均可在下面的“代码与资源”部分下载。如果您想自己动手制作,请考虑通过我们的附属链接购买您的Heltec LoRa32 V3模块、Meshnology N33外壳、旋转编码器和SG90伺服电机。这对您没有额外费用,并帮助我们继续制作像这样的免费教程!
视频章节供参考
-
00:00 介绍与概述
-
遥控概念
-
00:19 LoRa通信基础知识
-
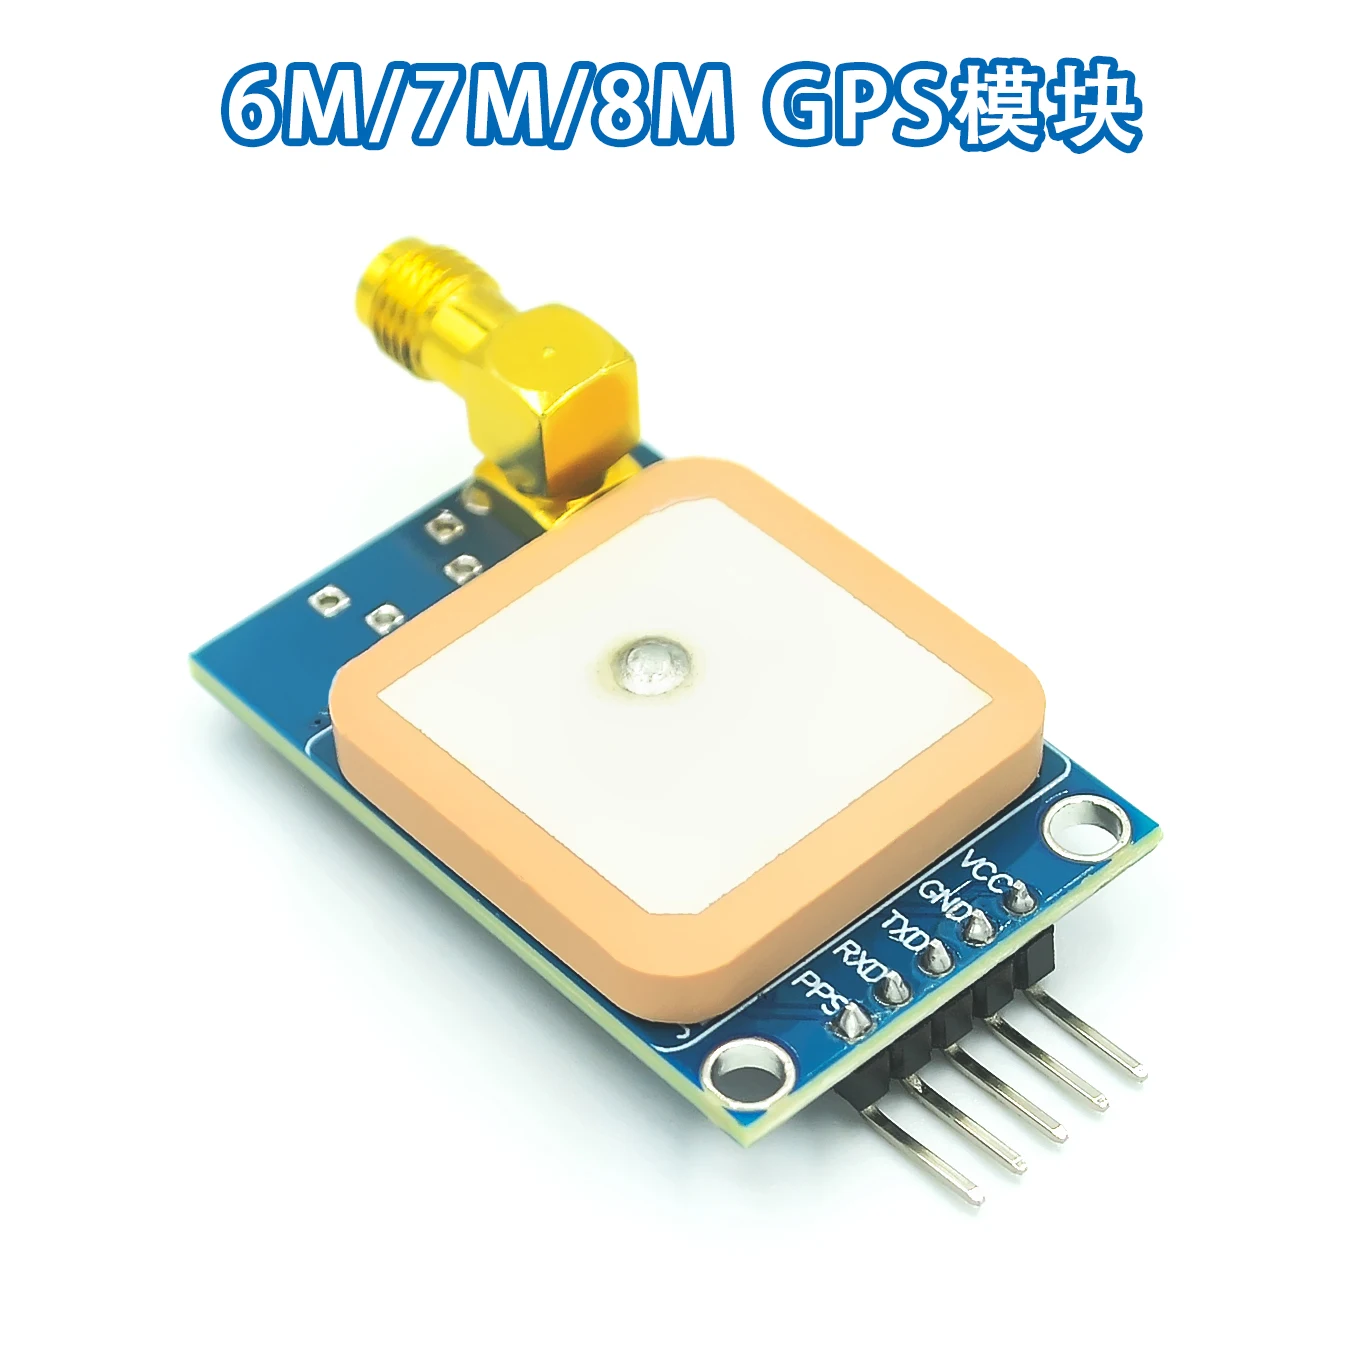
00:23 硬件预览
-
00:28 案例和电池展示
-
模块功能 :03
-
01:42 规格与连接性
-
02:54 给伺服供电
-
03:05 接线和引脚排列
-
09:35 天线放置
-
11:04 案件组装
-
29:26 上传草图
-
35:09 范围测试 1.2 公里
-
36:38 范围测试 1.4 公里
-
38:41 性能回顾
-
43:04 结论与支持
本教程是……的一部分: WiFi LoRa 32 教程
- 使用Heltec WiFi LoRa 32 V3通过DHT22传输温度到1.4公里
- 13英里20公里没有WiFi?LoRa如何在疯狂的距离上传输电压!(Heltec WiFi LoRa 32 V3)
- 从13英里(21公里)外开启设备 - 终极离网LoRa项目,配备WiFi LoRa 32!
- 远程门警报系统,距离13英里(21公里),使用LoRa - 脱离电网!(Heltec WiFi LoRa 32 V3)
- DIY远程继电器项目:13英里无Wi-Fi/无SIM的Heltec LoRa 32模块
- How to Use the Heltec LoRa CubeCell Development Board HTCC-AB01
/*
File: Heltec_ESP32_LoRa_V3_Sevo_TX_AiRotaryEncoder.ino
written on 24 Jun, 2025 by Ahmad Shamshiri

 * =====================================================================
 * ARDUINO CODE DESCRIPTION: SECURE LoRa SERVO CONTROL SYSTEM (TX)
 * =====================================================================
 *
 * HARDWARE COMPONENTS:
 * -------------------
 *  - Main Controller: Heltec WiFi LoRa 32 V3
 *  - Enclosure: Meshnology N33 case with 3000mAh battery
 *  - Input: Rotary encoder with push-button
 *  - Feedback: Built-in OLED display
 *  - Output: Servo motor + LoRa wireless transmission
 *
 * SYSTEM FUNCTIONALITY:
 * -------------------
 * [1] ROTARY ENCODER CONTROL:
 *     - Clockwise/Counter-clockwise rotation adjusts target angle (0°-180°)
 *     - Real-time angle display on OLED screen
 *     - Push-button returns servo to Home position (default: 90°)
 *
 * [2] SECURE WIRELESS TRANSMISSION:
 *     - All angle values encrypted before LoRa transmission
 *     - Home position command transmitted as special secure packet
 *     - Uses 433MHz LoRa band for reliable communication
 *
 * [3] POWER MANAGEMENT:
 *     - Optimized for battery operation (3000mAh)
 *     - Low-power modes between transmissions
 *
 * FOR COMPLETE SETUP INSTRUCTIONS:
 * Please watch the tutorial video at: https://youtu.be/EPynuJ7sasY
 * =====================================================================

Watch full video explaination:  https://youtu.be/EPynuJ7sasY
Resources page: https://robojax.com/T635


 * DISCLAIMER:
 * This code is provided "AS IS" without warranty of any kind. The author
 * shall not be held liable for any damages arising from the use of this code.
 *
 * LICENSE:
 * This work is licensed under the GNU General Public License v3.0
 * Permissions beyond the scope of this license may be available at Robojax.com
 *
 * SHARING TERMS:
 * You are free to share, copy and modify this code for non-commercial purposes
 * PROVIDED you:
 * 1. Keep this entire comment block intact with the original code
 * 2. Include the original Robojax.com link
 * 3. Keep the YouTube tutorial link (if applicable)
 * 4. Clearly indicate any modifications made
 *
 * Original tutorial at: https://robojax.com/T635
 * YouTube Video: https://youtu.be/EPynuJ7sasY
 *
 * ********************************************************************
 */

#include <Wire.h>
#include "HT_SSD1306Wire.h"
#include "WiFi.h"
static SSD1306Wire  display(0x3c, 500000, SDA_OLED, SCL_OLED, GEOMETRY_128_64, RST_OLED); // addr , freq , i2c group , resolution , rst


const int TX_POWER = 2;//dBm from 2 to 20. when powered via battery 2 to 14dBm is the best option
const int MAX_ANGLE = 180;//the most common is 180, but you can set it as needed

String labelAngle = "Angle";
const int homePosition = 90; //initial position


//endcoder
const int SW_PIN = 4;//define a pin for rotary encode switch
const int PIN_A  = 6;
const int PIN_B  = 5;//
const int ANGLE_STEP  = 6;//
const bool debug= false;//to print debug data in serial moinitor set it to true, else false

int servoAngel = homePosition;
int oldAngleValue = servoAngel;
#include "mbedtls/aes.h"//for securing data
#include <cstring>  // For memset, memcpy
mbedtls_aes_context aes;
const char *userKey = "hyhT676#h~_1a"; //Security key.


#include "LoRaWan_APP.h"
#include "AiEsp32RotaryEncoder.h"
#include "Arduino.h"
#define ROTARY_ENCODER_VCC_PIN -1

//instead of changing here, rather change numbers above
AiEsp32RotaryEncoder rotaryEncoder = AiEsp32RotaryEncoder(
            PIN_A,
            PIN_B,
            SW_PIN,
            ROTARY_ENCODER_VCC_PIN,
            ANGLE_STEP);


#define RF_FREQUENCY                                915432000 // Hz

#define TX_OUTPUT_POWER                             TX_POWER        // dBm from 2 to 20. when powered via battery 2 to 14dBm

#define LORA_BANDWIDTH                              0         // [0: 125 kHz,
                                                              //  1: 250 kHz,
                                                              //  2: 500 kHz,
                                                              //  3: Reserved]
#define LORA_SPREADING_FACTOR                       7         // [SF7..SF12]
#define LORA_CODINGRATE                             1         // [1: 4/5,
                                                              //  2: 4/6,
                                                              //  3: 4/7,
                                                              //  4: 4/8]
#define LORA_PREAMBLE_LENGTH                        8         // Same for Tx and Rx
#define LORA_SYMBOL_TIMEOUT                         0         // Symbols
#define LORA_FIX_LENGTH_PAYLOAD_ON                  false
#define LORA_IQ_INVERSION_ON                        false


#define RX_TIMEOUT_VALUE                            1000
#define BUFFER_SIZE                                 64 // Define the payload size here

char txpacket[BUFFER_SIZE];
char rxpacket[BUFFER_SIZE];

double txNumber;

bool lora_idle=true;

static RadioEvents_t RadioEvents;
unsigned long lastTxTime = 0;
void OnTxDone( void );
void OnTxTimeout( void );
void decryptAES(uint8_t *data, const char *key);
void encryptAES(uint8_t *data, const char *key);
void processKey(const char *userKey, uint8_t *processedKey, size_t keySize);
void VextON(void);

void rotary_loop();//prototyp function: rotary encoder
void IRAM_ATTR readEncoderISR();//prototyp function: rotary encoder
void rotary_onButtonClick();//prototyp function: rotary encoder

void setup() {
  Serial.begin(115200);
  Serial.println();

  VextON();
  delay(100);

	//we must initialize rotary encoder
	rotaryEncoder.begin();
	rotaryEncoder.setup(readEncoderISR);
	bool circleValues = false;
	rotaryEncoder.setBoundaries(0, MAX_ANGLE, circleValues); //minValue, maxValue, circleValues true|false (when max go to min and vice versa)
	/*Rotary acceleration introduced 25.2.2021.
   * in case range to select is huge, for example - select a value between 0 and 1000 and we want 785
   * without accelerateion you need long time to get to that number
   * Using acceleration, faster you turn, faster will the value raise.
   * For fine tuning slow down.
   */
	//rotaryEncoder.disableAcceleration(); //acceleration is now enabled by default - disable if you dont need it
	rotaryEncoder.setAcceleration(20); //or set the value - larger number = more accelearation; 0 or 1 means disabled acceleration
  rotaryEncoder.reset(homePosition); //set home position

  // Initialising the UI will init the display too.
  display.init();
  display.setFont(ArialMT_Plain_10);
  //LoRa stuff
  Mcu.begin(HELTEC_BOARD,SLOW_CLK_TPYE);

    txNumber=0;

    RadioEvents.TxDone = OnTxDone;
    RadioEvents.TxTimeout = OnTxTimeout;

    Radio.Init( &RadioEvents );
    Radio.SetChannel( RF_FREQUENCY );
    Radio.SetTxConfig( MODEM_LORA, TX_OUTPUT_POWER, 0, LORA_BANDWIDTH,
                                   LORA_SPREADING_FACTOR, LORA_CODINGRATE,
                                   LORA_PREAMBLE_LENGTH, LORA_FIX_LENGTH_PAYLOAD_ON,
                                   true, 0, 0, LORA_IQ_INVERSION_ON, 3000 );

}


void displayAngle() {
    display.clear();  // Clear display before new content

    // Line 1: Text: Angle
    display.setTextAlignment(TEXT_ALIGN_LEFT);

    // Line 2: Temperature value in 24pt font
    display.setFont(ArialMT_Plain_24);

    // Format
    String angleString = String(servoAngel) + "°"; //

    display.setFont(ArialMT_Plain_16);
    display.drawString(0, 0, labelAngle);
    display.setFont(ArialMT_Plain_24);
    display.drawString(0, 15, angleString);

    display.display();  // Update OLED
}


void VextON(void)
{
  pinMode(Vext,OUTPUT);
  digitalWrite(Vext, LOW);
}

void VextOFF(void) //Vext default OFF
{
  pinMode(Vext,OUTPUT);
  digitalWrite(Vext, HIGH);
}

void sendData()
{

  String txData = String(servoAngel) ;

  uint8_t data[BUFFER_SIZE];
  memset(data, 0, sizeof(data));  // Zero-padding
  strncpy((char*)data, txData.c_str(), sizeof(data) - 1); // Copy string safely

  encryptAES(data, userKey);  // Encrypt before sending
  if(lora_idle == true)
    {
      //delay(1000);
      Radio.Send(data,  sizeof(data));
      if(debug){
      Serial.print("Sending: ");
      Serial.println((char *)data);
      }
      lora_idle = false;
      oldAngleValue =servoAngel;//keep record of angle change
    }
    Radio.IrqProcess( );
}


void loop() {
  rotary_loop();
  // clear the display
  display.clear();

  displayAngle(); //

  if(oldAngleValue != servoAngel)
  {
	  sendData();
  }
  //delay(100);

}


void OnTxDone( void )
{
        if(debug){
	        Serial.println("TX done......");
        }
	lora_idle = true;
}

void OnTxTimeout( void )
{
    Radio.Sleep( );
        if(debug){
	        Serial.println("TX Timeout......");
        }
    lora_idle = true;
}


/**
 * Converts a user-provided plaintext key into a fixed-length 16-byte (128-bit)
 * or 32-byte (256-bit) key.
 */
void processKey(const char *userKey, uint8_t *processedKey, size_t keySize) {
    memset(processedKey, 0, keySize); // Fill with zeros
    size_t len = strlen(userKey);
    if (len > keySize) len = keySize; // Truncate if too long
    memcpy(processedKey, userKey, len); // Copy valid key part
}

/**
 * Encrypts a 16-byte (one block) message using AES-128.
 */
void encryptAES(uint8_t *data, const char *key) {
    uint8_t processedKey[16]; // 128-bit key
    processKey(key, processedKey, 16);

    mbedtls_aes_init(&aes);
    mbedtls_aes_setkey_enc(&aes, processedKey, 128);
    mbedtls_aes_crypt_ecb(&aes, MBEDTLS_AES_ENCRYPT, data, data);
    mbedtls_aes_free(&aes);
}

/**
 * Decrypts a 16-byte (one block) message using AES-128.
 */
void decryptAES(uint8_t *data, const char *key) {
    uint8_t processedKey[16]; // 128-bit key
    processKey(key, processedKey, 16);

    mbedtls_aes_init(&aes);
    mbedtls_aes_setkey_dec(&aes, processedKey, 128);
    mbedtls_aes_crypt_ecb(&aes, MBEDTLS_AES_DECRYPT, data, data);
    mbedtls_aes_free(&aes);
}


void rotary_onButtonClick()
{
	static unsigned long lastTimePressed = 0;
	//ignore multiple press in that time milliseconds
	if (millis() - lastTimePressed < 500)
	{
		return;
	}
	lastTimePressed = millis();

	        if(debug){
	          Serial.print("button pressed ");
	          Serial.print(millis());
	          Serial.println(" milliseconds after restart");
          }
}

void rotary_loop()
{
	//dont print anything unless value changed
	if (rotaryEncoder.encoderChanged())
	{
		        if(debug){
	            Serial.print("Value: ");
		          Serial.println(rotaryEncoder.readEncoder());
            }
    servoAngel = rotaryEncoder.readEncoder();

	}
	if (rotaryEncoder.isEncoderButtonClicked())
	{
    rotaryEncoder.reset(homePosition);
    servoAngel = homePosition;
		rotary_onButtonClick();
	}
}

void IRAM_ATTR readEncoderISR()
{
	rotaryEncoder.readEncoder_ISR();
}
Common Course Links
Common Course Files
资源与参考
-
外部Heltec WiFi Kit 32 网站链接heltec.org
文件📁
没有可用的文件。