This tutorial is part of: WiFi LoRa 32 Tutorials
All videos related to Heltec WiFi LoRa 32 are related using this group. Links to other videos are below this article.

Using Heltec WiFi LoRa 32 V3 to transmit temperature using DHT22 to 1.4km
In this tutorial, we will explore how to use the Heltec WiFi LoRa 32 V3 module to transmit temperature data from a DHT22 sensor over long distances, achieving ranges up to 1.4 kilometers. This capability is made possible through the use of LoRa technology, which allows for low-power, long-range communication. By the end of this guide, you will have a working system that can send temperature readings wirelessly.
We will begin with an overview of the hardware components involved in this project, including the Heltec WiFi LoRa 32 V3 module and the DHT22 sensor. After that, we will proceed to the wiring instructions, where you will learn how to connect these components. Lastly, we will walk through the code required to make this system operational. For visual guidance, please refer to the video at various timestamps (in video at 00:00).
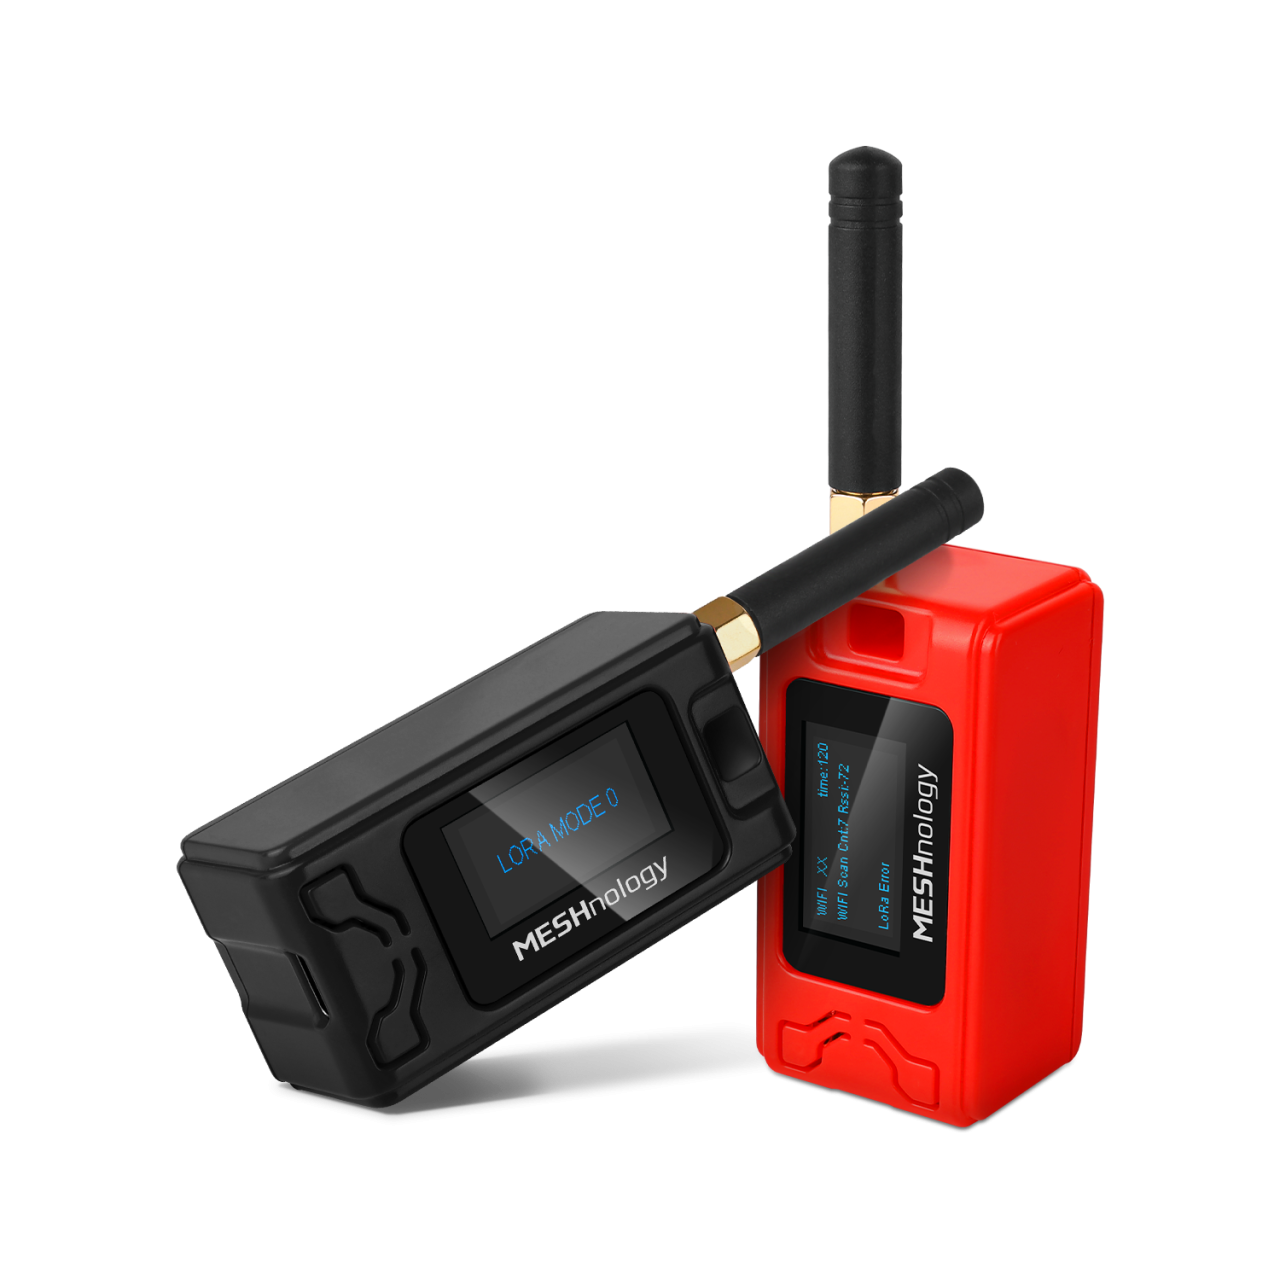
Hardware Explained
The main components for this project are the Heltec WiFi LoRa 32 V3 module and the DHT22 temperature and humidity sensor. The Heltec module features an ESP32 microcontroller, which provides Wi-Fi and Bluetooth capabilities alongside LoRa communication. This allows for flexible data transmission options.
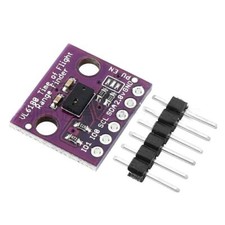
The DHT22 sensor is a digital sensor that provides accurate temperature and humidity readings. It communicates with the ESP32 through a single digital output pin, making it easy to connect and use in your projects. Together, these components form a robust system for wireless temperature monitoring.
Datasheet Details
| Manufacturer | Heltec Automation |
|---|---|
| Part number | WiFi LoRa 32 V3 |
| Logic/IO voltage | 3.3 V |
| Supply voltage | 3.7–4.2 V |
| Output current (per channel) | ~1 A |
| Peak current (per channel) | ~2 A |
| PWM frequency guidance | 1 kHz (typ.) |
| Input logic thresholds | 0.7 V (high), 0.3 V (low) |
| Voltage drop / RDS(on) / saturation | 0.3 V (max) |
| Thermal limits | 85 °C (max) |
| Package | PCB module |
| Notes / variants | Various frequency options available (e.g., 433 MHz, 868 MHz, 915 MHz) |
- Ensure to power the DHT22 with 3.3V, not 5V.
- Use appropriate logic levels for communication between the ESP32 and DHT22.
- Consider heat-sinking if running at high currents for extended periods.
- Check the antenna connection for LoRa to maximize range.
- Be mindful of the LoRa frequency regulations in your region.
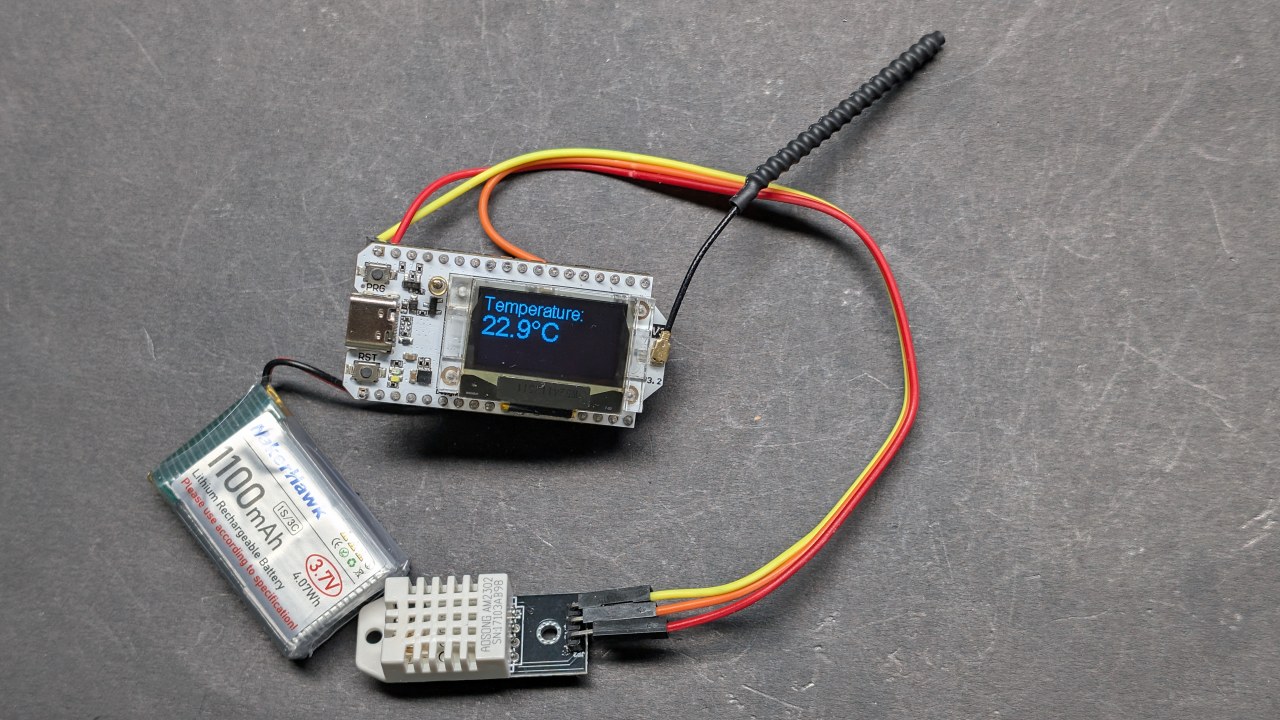
Wiring Instructions

To wire the Heltec WiFi LoRa 32 V3 with the DHT22 sensor, start by connecting the sensor's VCC pin to the 3.3V pin on the Heltec module. Next, connect the GND pin of the DHT22 to one of the GND pins on the Heltec. The data pin of the DHT22 should be connected to GPIO pin 3 on the Heltec.
Make sure to use a pull-up resistor (around 10kΩ) between the data pin and VCC for stable readings. Additionally, ensure that the LoRa antenna is securely connected to enhance transmission range. If you're using external power, ensure the Heltec module is powered correctly to avoid any operational issues.
Installing Heltec ESP32 Boards
Add this path into preferences of your Arduino IDE as shown in the video:https://resource.heltec.cn/download/package_heltec_esp32_index.json
Code Examples & Walkthrough
The following code snippets illustrate how to set up the Heltec module to read temperature data from the DHT22 sensor and transmit it via LoRa. The code initializes the display and sets up the DHT sensor.
#include
#define DHTPIN 3         // GPIO pin for DHT22
#define DHTTYPE DHT22    // Define DHT type
DHT dht(DHTPIN, DHTTYPE);
void setup() {
  Serial.begin(115200);
  dht.begin(); // Initialize DHT sensor
}
In this snippet, we define the pin the DHT22 sensor is connected to and initialize it in the setup() function. The Serial.begin(115200) line is for debugging output.
void loop() {
  float tempC = dht.readTemperature(); // Read temperature in Celsius
  float tempF = dht.convertCtoF(tempC); // Convert to Fahrenheit
  sendData(tempC, tempF); // Function to send temperature data
}
This excerpt shows how to read temperature data in the loop() function. The sendData() function is called to transmit the temperature readings over LoRa.
void sendData(float tempC, float tempF) {
  String data = "Temperature: " + String(tempC) + "°C"; // Create data string
  Radio.Send(data.c_str(), data.length()); // Send data
}
Here, we create the data string containing the temperature and send it using the Radio.Send() method. This will transmit the data wirelessly to the receiving module.
Please refer to the full code loaded below the article for detailed implementation.
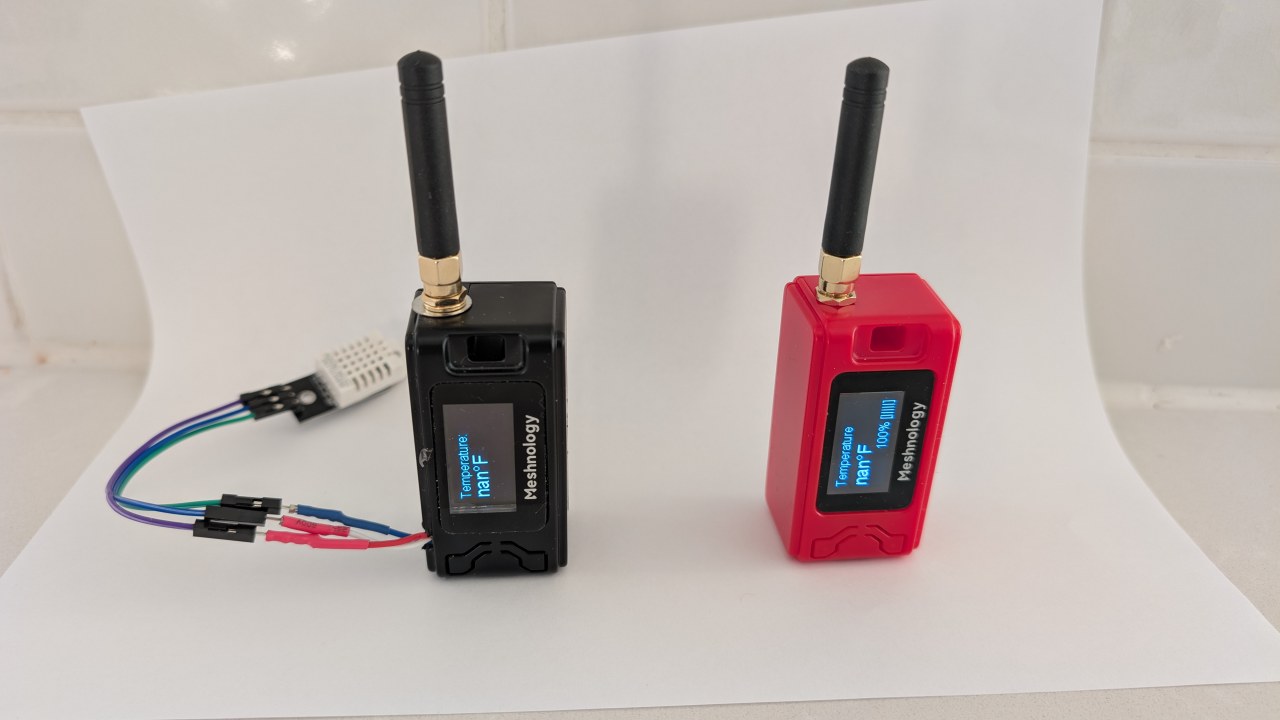
Demonstration / What to Expect
Once everything is set up and the code is uploaded to the Heltec module, you should see the temperature readings displayed on the OLED screen. The system will transmit the temperature data, which can be received by another Heltec module configured to read the data. You can test the range by moving the receiver further away from the transmitter, confirming the maximum distance achieved (in video at 1:30).
Be cautious of common pitfalls such as incorrect wiring, insufficient power supply, or using the wrong LoRa frequency. Ensure the DHT22 is functioning properly and that the antenna is connected to maximize the range.
Video Timestamps
- 00:00 Start
- 3:51 Specs
- 8:32 Documentation page
- 9:52 Package and battery
- 12:58 Powering it up for the first time
- 16:37 Installing Library
- 18:19 Transmitter Basic code
- 19:43 Receiver Basic Code
- 20:39 Demonstration of sending receiving text
- 23:02 OLED demo code
- 24:06 Basic Text on OLED display code
- 26:26 Basic Text on OLED demo
- 26:58 Reading temperature with DHT22
- 28:49 LoRa Transmitter Temperature and Display
- 30:07 LoRa Receiver Temperature and Display
- 32:13 Triggering LED when temperature increases
- 22:26 LoRa Transmission Range Test
- 35:01 dBm and Milli Watt
Images
This tutorial is part of: WiFi LoRa 32 Tutorials
- 13 Miles 20km with NO WiFi? How LoRa Sent Voltage Across Crazy Distances! (Heltec WiFi LoRa 32 V3)
- Turn On a Device from 13 mile 21km Away – The Ultimate Off-Grid LoRa Project with WiFi LoRa 32!
- Remote Door Alert System from 13 mile 21 km Away With LoRa – Off the Grid! (Heltec WiFi LoRa 32 V3)
- Control a Servo motor from Miles Away! Heltec WiFi LoRa 32 V3 Arduino Tutorial (TX)
- DIY Remote Relay Project: 13 Mile No-Wi-Fi/No-SIM Heltec LoRa 32 Module
- How to Use the Heltec LoRa CubeCell Development Board HTCC-AB01
This code has not been parsed yet. Please return to the admin panel to parse it.This code has not been parsed yet. Please return to the admin panel to parse it.This code has not been parsed yet. Please return to the admin panel to parse it.Common Course Links
Common Course Files
Resources & references
-
External
-
External
-
External
-
External
-
ExternalPurchase Wi-Fi LoRa 32 from Meshnologymeshnology.com
Files📁
Other files
-
Heltec WiFi LoRa 32 V3 Schematic Diagram (V3.1)
Heltec_WiFiLoRAV3_Schematic_Diagram.pdf0.18 MB