ESP32 Tutorial 54/55 - Set WS2812 LED Strip Color over Wifi | SunFounder's ESP32 IoT Learning kit
In this tutorial, we will learn how to control the color of a WS2812 RGB LED strip using an ESP32 microcontroller over Wi-Fi. By utilizing a color picker, you can select different colors from your mobile device or desktop and send that information to the LED strip. This project showcases the capabilities of the ESP32, allowing for seamless interaction with LED lighting through a web interface.

The ESP32 microcontroller is equipped with both Wi-Fi and Bluetooth, making it a versatile choice for IoT applications. In this project, we will focus on the Wi-Fi functionality to control the LED strip. Users will be able to choose colors dynamically, creating a visually engaging experience. For additional clarity on this project, be sure to check out the video at (in video at 00:00).
Hardware Explained
The primary components for this project include the ESP32 microcontroller and the WS2812 LED strip. The ESP32 is a powerful microcontroller with built-in Wi-Fi capabilities, enabling wireless communication and control.
The WS2812 LED strip consists of individually addressable RGB LEDs, allowing you to set the color of each LED independently. Each LED incorporates a control circuit and a RGB LED within a single package, which simplifies the wiring and control of multiple LEDs.
Datasheet Details
| Manufacturer | Worldsemi |
|---|---|
| Part number | WS2812B |
| Logic/IO voltage | 3.5–5.3 V |
| Supply voltage | 5 V |
| Output current (per channel) | 20 mA |
| Peak current (per channel) | 60 mA |
| PWM frequency guidance | 400 Hz |
| Input logic thresholds | 0.3 × VDD (low), 0.7 × VDD (high) |
| Voltage drop / RDS(on) / saturation | 0.5 V |
| Thermal limits | –40 to +80 °C |
| Package | 5050 SMD |
| Notes / variants | Available in various lengths and configurations. |
- Ensure proper power supply to avoid damaging the LEDs.
- Use a common ground between the ESP32 and the LED strip.
- Keep data lines short to prevent signal degradation.
- Consider adding a capacitor (1000 µF) across the power supply for stability.
- Use a resistor (470 Ω) on the data line for signal integrity.
Wiring Instructions

To wire the ESP32 to the WS2812 LED strip, connect the components as follows: First, connect the 5V pin of the LED strip to the 5V output of the ESP32. Next, connect the ground (GND) pin of the LED strip to a GND pin on the ESP32. Finally, connect the data pin of the LED strip (usually labeled as DI or Data In) to GPIO pin 13 on the ESP32. Make sure all connections are secure to ensure proper functionality.
In the video, alternative wiring methods are briefly mentioned, but the setup described here is the recommended configuration for optimal performance (in video at 03:00).
Code Examples & Walkthrough
The code begins by including the necessary libraries for controlling the WS2812 LED strip and setting up the web server. The LED pin is defined as LED_PIN and the number of LEDs in the strip is set with NUM_LEDS.
#define LED_PIN 13 // NeoPixel LED strip
#define NUM_LEDS 8 // Number of LEDs
Adafruit_NeoPixel strip = Adafruit_NeoPixel(NUM_LEDS, LED_PIN, NEO_GRB + NEO_KHZ800);
This snippet initializes the NeoPixel library and sets up the LED strip on the specified pin. The Adafruit_NeoPixel object, strip, is what you will use to control the LED colors.
Next, the code initializes Wi-Fi and sets up a web server to handle incoming requests. The SSID and password for the network are defined, allowing the ESP32 to connect to the Wi-Fi.
const char *ssid = "your_SSID";
const char *password = "your_PASSWORD";
WebServer server(80);
In this excerpt, replace your_SSID and your_PASSWORD with your actual Wi-Fi credentials. This connection enables the ESP32 to communicate with devices on the same network, allowing for remote control of the LED strip.
The main function for changing the LED color is setColor(), which iterates through each LED and sets its color based on the selected RGB values.
void setColor() {
  for (int i = 0; i < NUM_LEDS; i++) {
    strip.setPixelColor(i, valueR, valueG, valueB); // Set the color of the i-th LED
    strip.show(); // Update the LED strip with the new colors
    delay(10); // Wait for 10 milliseconds
  }
}
This function ensures that each LED in the strip is updated with the selected color. The delay allows the LEDs to change color smoothly. As you interact with the web interface, this function will be called to reflect your color choices.
Demonstration / What to Expect
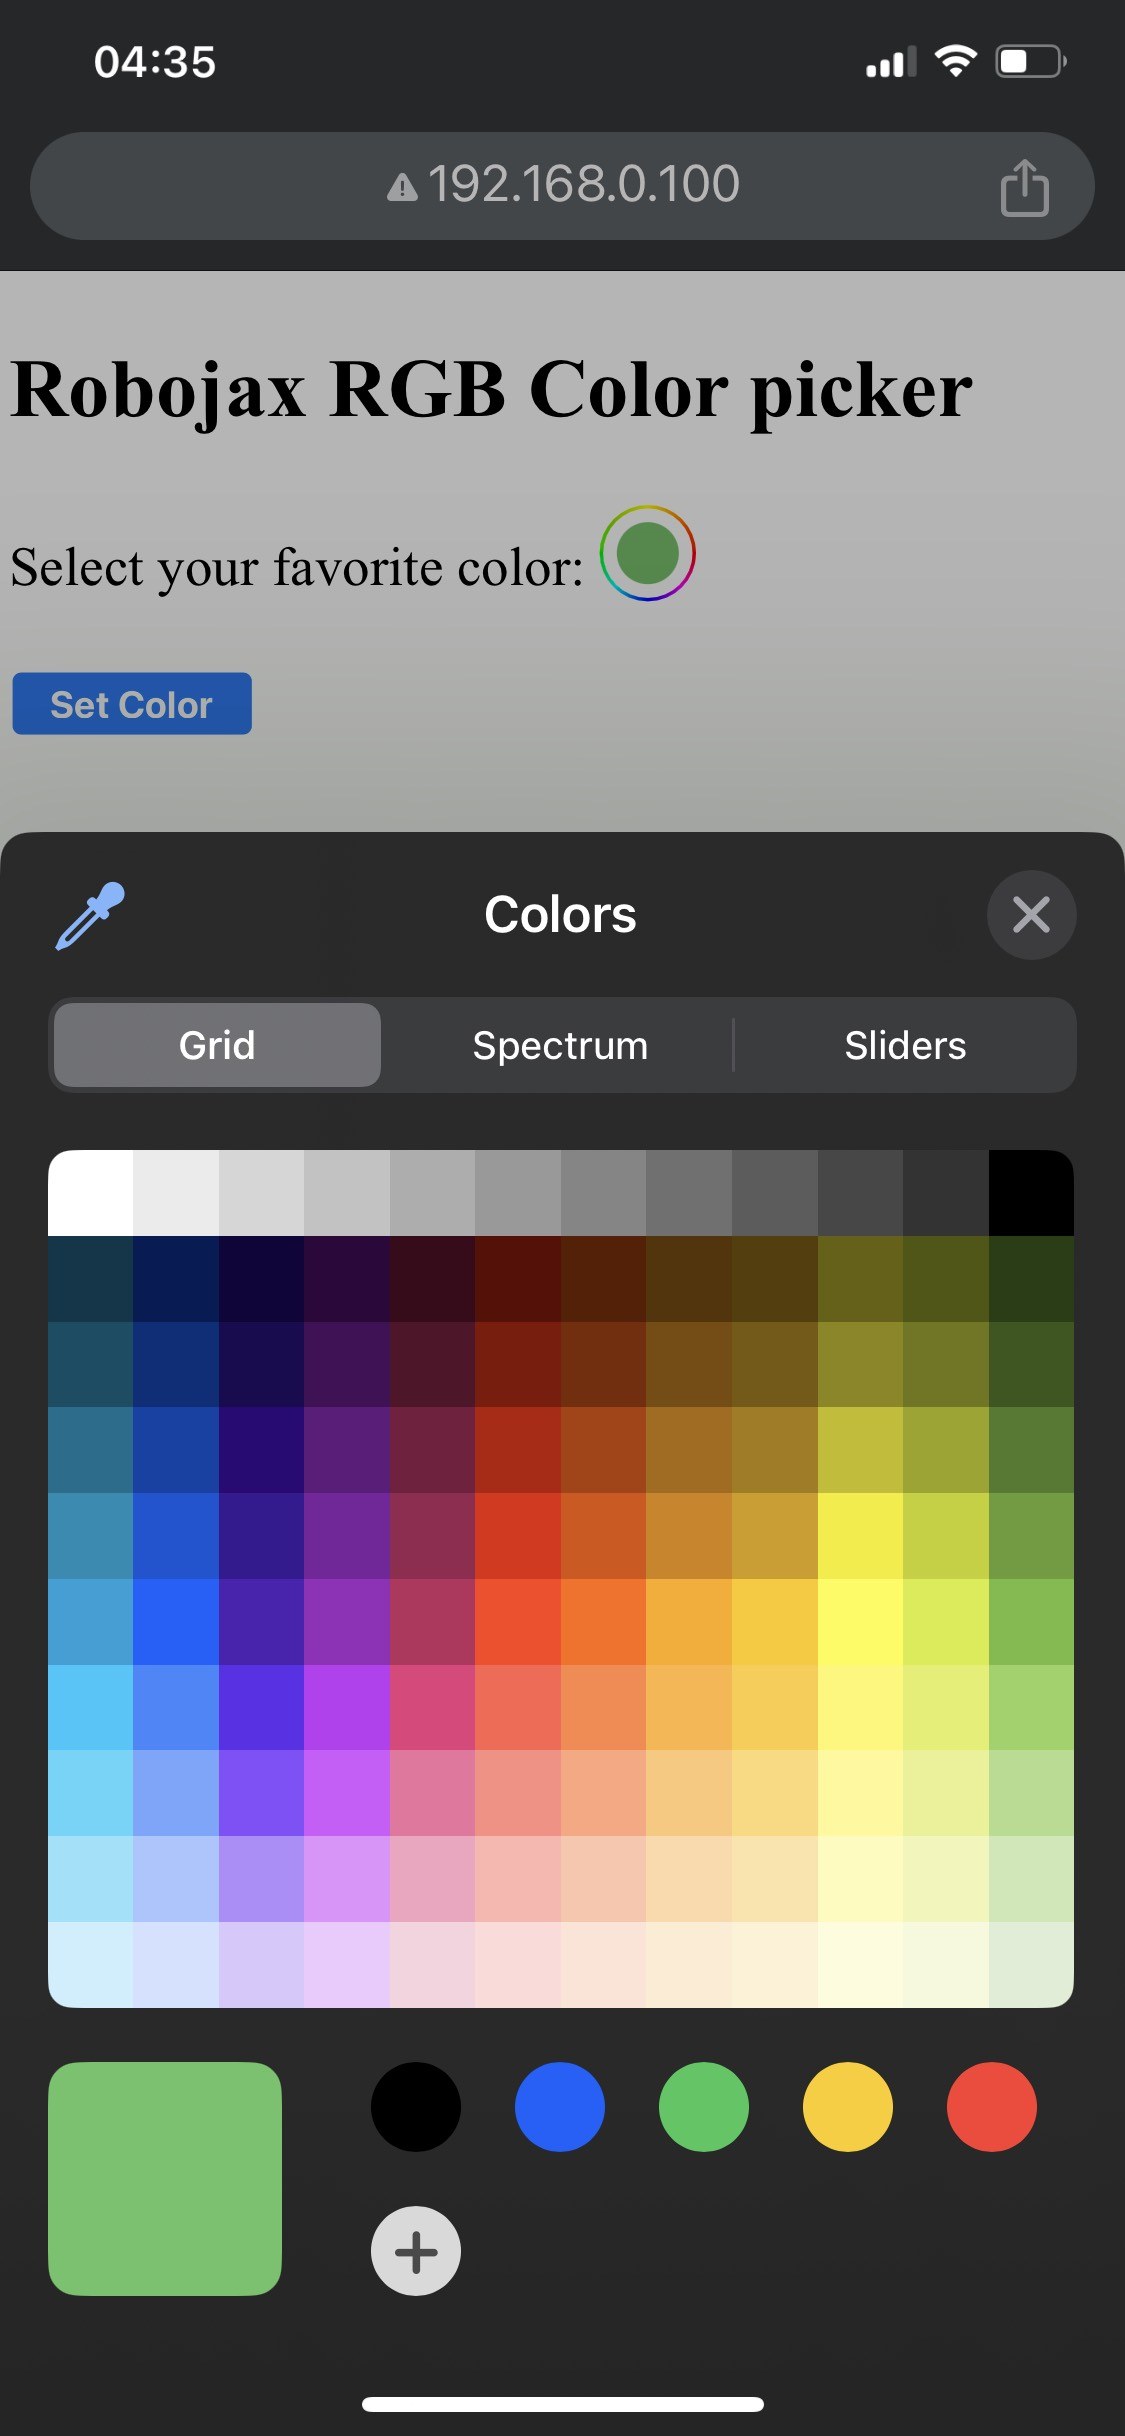

When the setup is complete, you should be able to access the web interface via the ESP32's IP address. You will see a color picker that allows you to select any color, which will then be sent to the LED strip. If the ESP32 loses Wi-Fi connection, the strip will blink a warning color, indicating the issue (in video at 14:30).
Common pitfalls include incorrect wiring, which can lead to the LEDs not lighting up, or using incorrect SSID/password combinations that prevent the ESP32 from connecting to the network. Always double-check your connections and credentials.
Video Timestamps
- 00:00 Start
- 2:01 Introduction to the project
- 3:09 Docs
- 3:47 RGB color explained
- 7:47 Wiring
- 8:40 Arduino code for WS2812 with WIFI explained
- 19:35 Selecting ESP32 board and COM port in Arduino IDE
- 21:17 Controlling LED Strip over wifi demo
图像
This code has not been parsed yet. Please return to the admin panel to parse it.Common Course Links
Common Course Files
资源与参考
尚无可用资源。
文件📁
没有可用的文件。