
15A 400W MOSFET AOD4184A to control motor or load
15A 400W MOSFET AOD4184A to control motor or load
This is Arduino Sketch for Tutorial video explaining how to use MOSFET module to control a DC load or using PWM to control speed of motor.
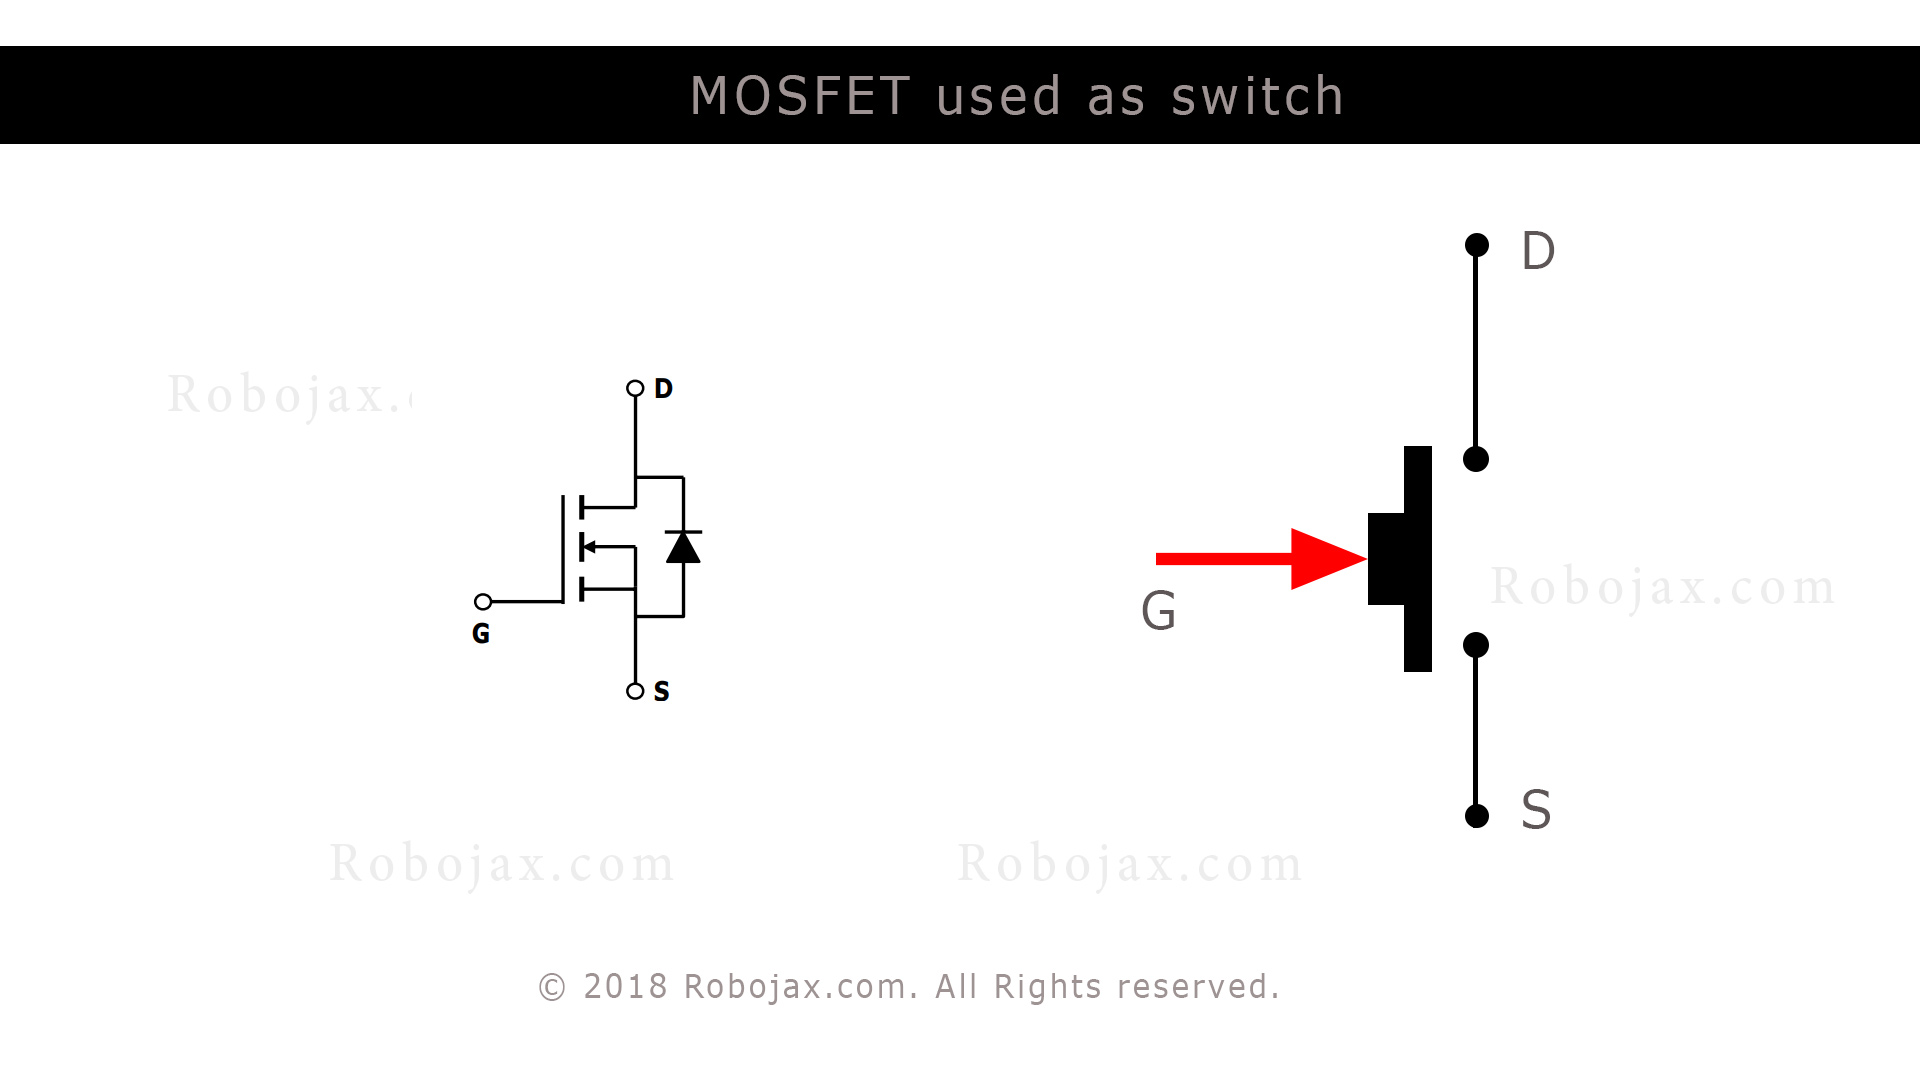
MOSFET symbol and equivalent switch representation
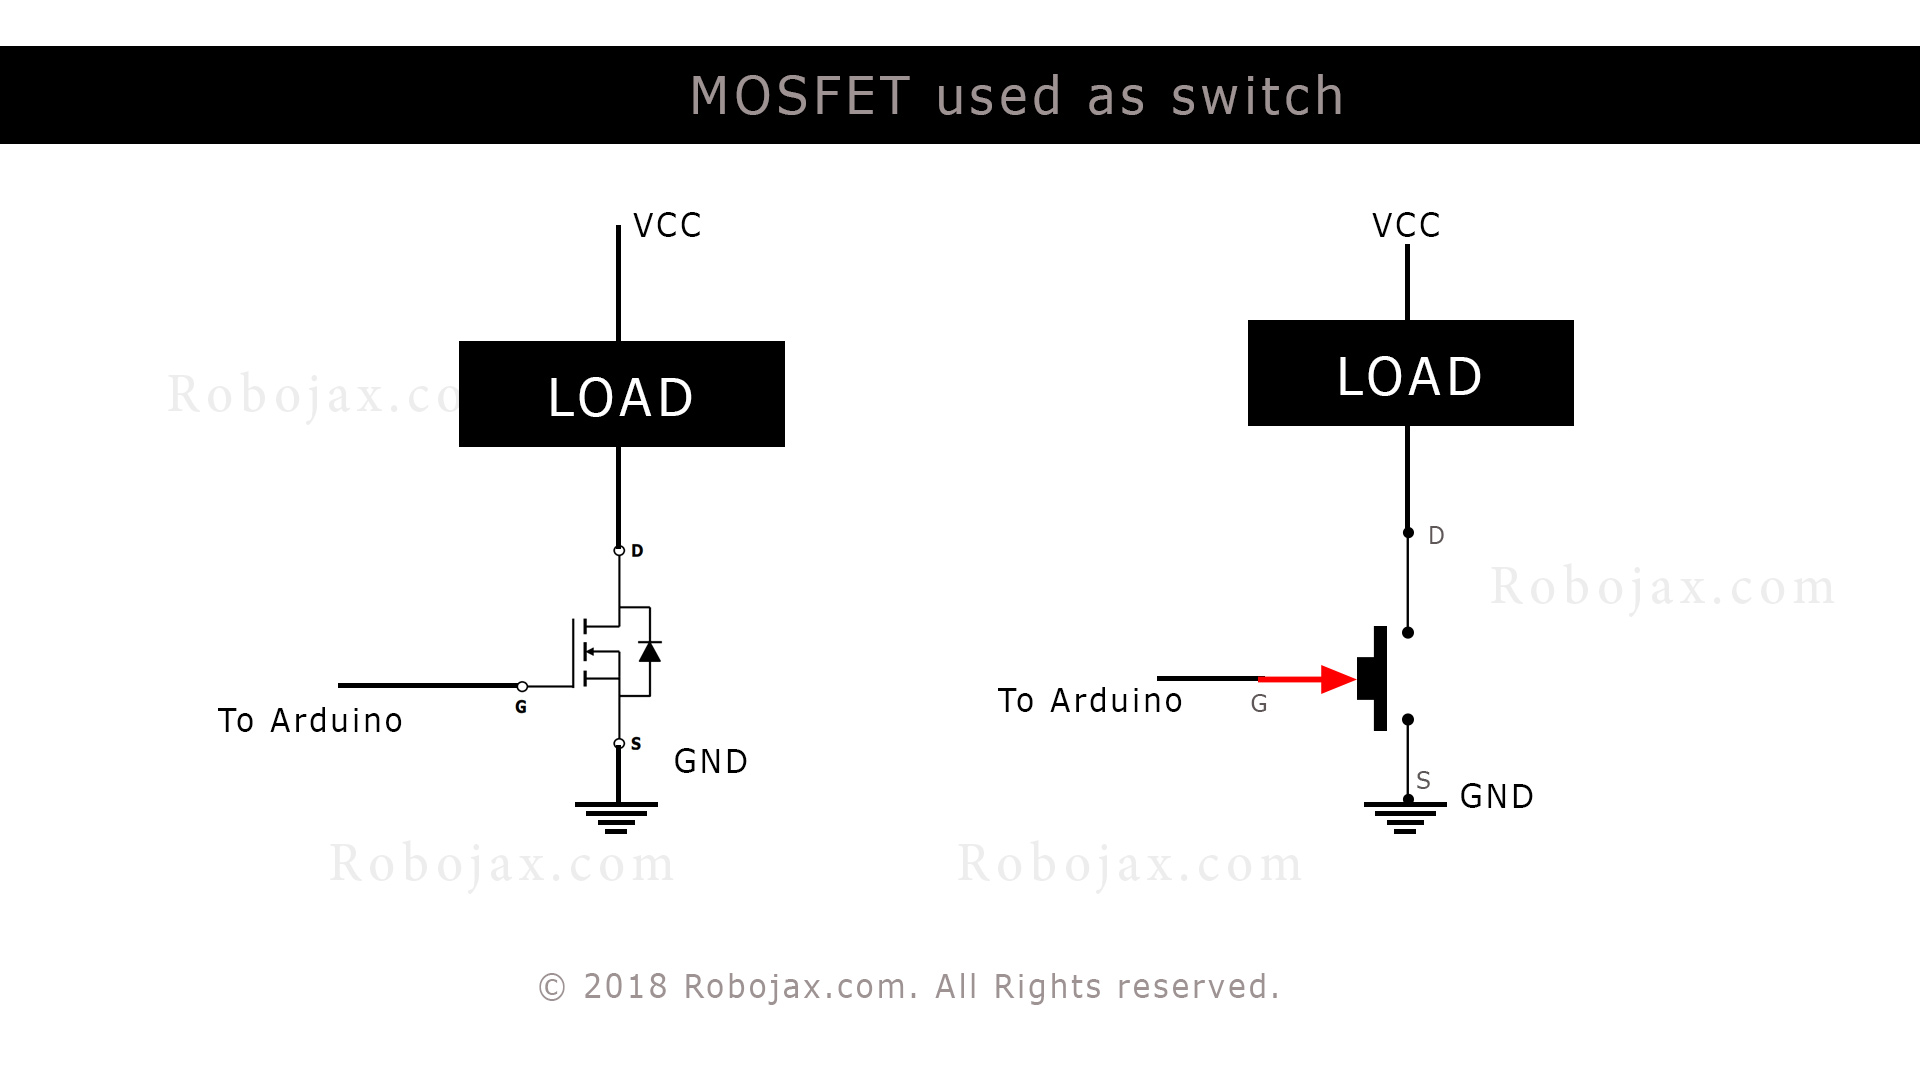
Connecting load and using MOSFET as Switch or PWM driver
Resources for this Article
- AOD4184A MOSFET datasheet (pdf)
- My Arduino Course on Udemy.com. Get Wiring diagram
- Get Early Access to my videos via Patreaon
Code example using resistor
 /*
 * This is Arduino Sketch for Tutorial video
 * explaining why resistor is needed to be used with push button
 * with Arduino to connect the pin to Ground (GND)
 *
 * Written by Ahmad Shamshiri on July 18, 2018 at 17:36 in Ajax, Ontario, Canada
 * For Robojax.com
 * Watch instruction video for this code: https://youtu.be/tCJ2Q-CT6Q8
 * This code is "AS IS" without warranty or liability. Free to be used as long as you keep this note intact.
 */
int motorPin =9;// pin to connect to motor module
int mSpeed = 0;// variable to hold speed value
int mStep = 15;// increment/decrement step for PWM motor speed

void setup() {
  // Robojax.com demo
  pinMode(motorPin,OUTPUT);// set mtorPin as output
  Serial.begin(9600);// initialize serial motor
  Serial.println("Robojax Demo");


}

void loop() {
  // Robojax.com  tutorial

analogWrite(motorPin, mSpeed);// send mSpeed value to motor
    Serial.print("Speed: ");
    Serial.println(mSpeed);// print mSpeed value on Serial monitor (click on Tools->Serial Monitor)
  mSpeed = mSpeed + mStep;
  // See video you for details.
  if (mSpeed <= 0 || mSpeed >= 255) {
    mStep = -mStep;
  }

delay(200);

}
Testing MOSFET AOD4184A using 5A, 10A, 15A, 20A and 25A load
 /*
 * This is Arduino Sketch for Tutorial video
 * explaining the 15A MOSFET AOD4184A used as switch
 * this sketch used to test the moseft with load at 5A, 10A, 15A, 25A
 *
 * Written by Ahmad Shamshiri on July 21, 2018 in Ajax, Ontario, Canada
 * For Robojax.com
 * Watch instruciton video for this code:https://youtu.be/tCJ2Q-CT6Q8
 * This code is "AS IS" without warranty or liability. Free to be used as long as you keep this note intact.
 */
int loadPin =9;// load pin


void setup() {
  // Robojax.com demo
  pinMode(loadPin,OUTPUT);
  Serial.begin(9600);
  Serial.println("Robojax Demo");

}

void loop() {
  // Robojax.com  tutorial

  digitalWrite(loadPin, HIGH);
 while(1);// wait forever


}