
Other Arduino Codes and Videos by Robojax
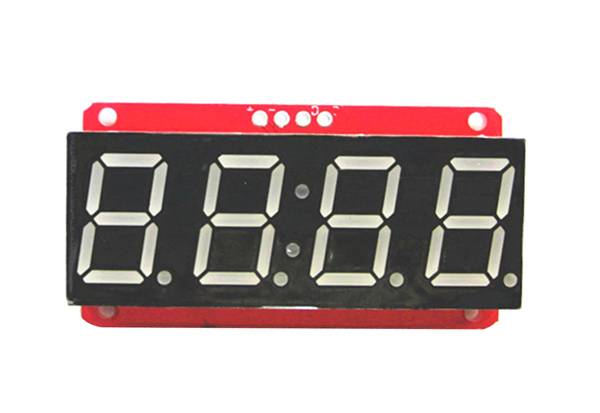
In this video we learn how to use HT16K33 I2C 4 digits seven segment display with Arduino. This is the ultimate seven segment display.
the library is written by Rob Tillaart Posed on GitHub.
  /*
 * This is Arduino code for HT16K33 4 digits seven segment display using with Arduino
 * This is to show full featues of HT16K33 in one sketch shown in video https://youtu.be/tEwWsbHQA5Q
 *
 * Original code and library by Rob Tillaart https://github.com/RobTillaart/HT16K33
 *
 * Written by Ahmad Shamshiri for Robojax Robojax.com
 * on Jan 15, 2021  in Ajax, Ontario, Canada
 Watch the video instruction for this sketch: https://youtu.be/tEwWsbHQA5Q


If you found this tutorial helpful, please support me so I can continue creating
content like this. You can support me on Patreon http://robojax.com/L/?id=63
or make donation using PayPal http://robojax.com/L/?id=64

*
 * Code is available at http://robojax.com/learn/arduino

 * This code is "AS IS" without warranty or liability. Free to be used as long as you keep this note intact.*
 * This code has been download from Robojax.com
    This program is free software: you can redistribute it and/or modify
    it under the terms of the GNU General Public License as published by
    the Free Software Foundation, either version 3 of the License, or
    (at your option) any later version.

    This program is distributed in the hope that it will be useful,
    but WITHOUT ANY WARRANTY; without even the implied warranty of
    MERCHANTABILITY or FITNESS FOR A PARTICULAR PURPOSE.  See the
    GNU General Public License for more details.

    You should have received a copy of the GNU General Public License
    along with this program.  If not, see <https://www.gnu.org/licenses/>.

*/
//  AUTHOR: Rob Tillaart
// VERSION: 0.1.0
// PURPOSE: demo
//     URL: http://www.adafruit.com/products/1002
//     URL: https://github.com/RobTillaart/HT16K33

// connect potmeter or so to A0 and A1 for the VU tests

#include "HT16K33.h"

HT16K33  seg(0x70);
uint32_t start, stop;
uint8_t  ar[4];

void setup()
{
  Serial.begin(115200);
  Serial.println(__FILE__);

  seg.begin();
  Wire.setClock(100000);

  seg.displayOn();


  seg.setDigits(4);
  Serial.println("displayTest()");
  seg.displayTest(1);
  seg.displayOff();
  delay(1000);
  seg.displayOn();
  seg.displayColon(false);
}

void loop()
{

   seg.setDigits(1);
   seg.displayInt(64);
   delay(5000);

   seg.setDigits(4);
   seg.displayInt(64);
   delay(5000);

   seg.setDigits(1);
   seg.displayInt(-74);
   delay(5000);


  seg.displayFloat(33.5, 1);
  delay(3000);

  seg.displayFloat(3.5, 3);
  delay(3000);

  seg.displayFloat(-12.6, 3);
  delay(3000);

  seg.displayFloat(333.6, 1);
  delay(3000);

   seg.displayOff();
  delay(1000);
  seg.displayOn();
 seg.setDigits(2);
   seg.displayFloat(-1.6, 1);
  delay(3000);

    seg.displayTime(18, 25);
    seg.displayColon(1);
    delay(3000);
     seg.displayColon(0);

  seg.setDigits(1);
  for (int16_t counter = -300; counter < 300; counter += 7)
  {
    seg.displayInt(counter);
    delay(100);
  }

  seg.displayHex(0xABCF);
  delay(3000);

  for (int i = 15; i >= 0; i--)
  {
    seg.displayHex(0xABC0 + i);
    seg.brightness(i);
    delay(500);
  }
      seg.brightness(15);
}

If you found this tutorial helpful, please support me so I can continue creating content like this. support me via PayPal 