
Other Arduino Codes and Videos by Robojax
This is Arduino Sketch for Tutorial video explaining how to use MOSFET module to control a DC load or using PWM to control speed of motor.
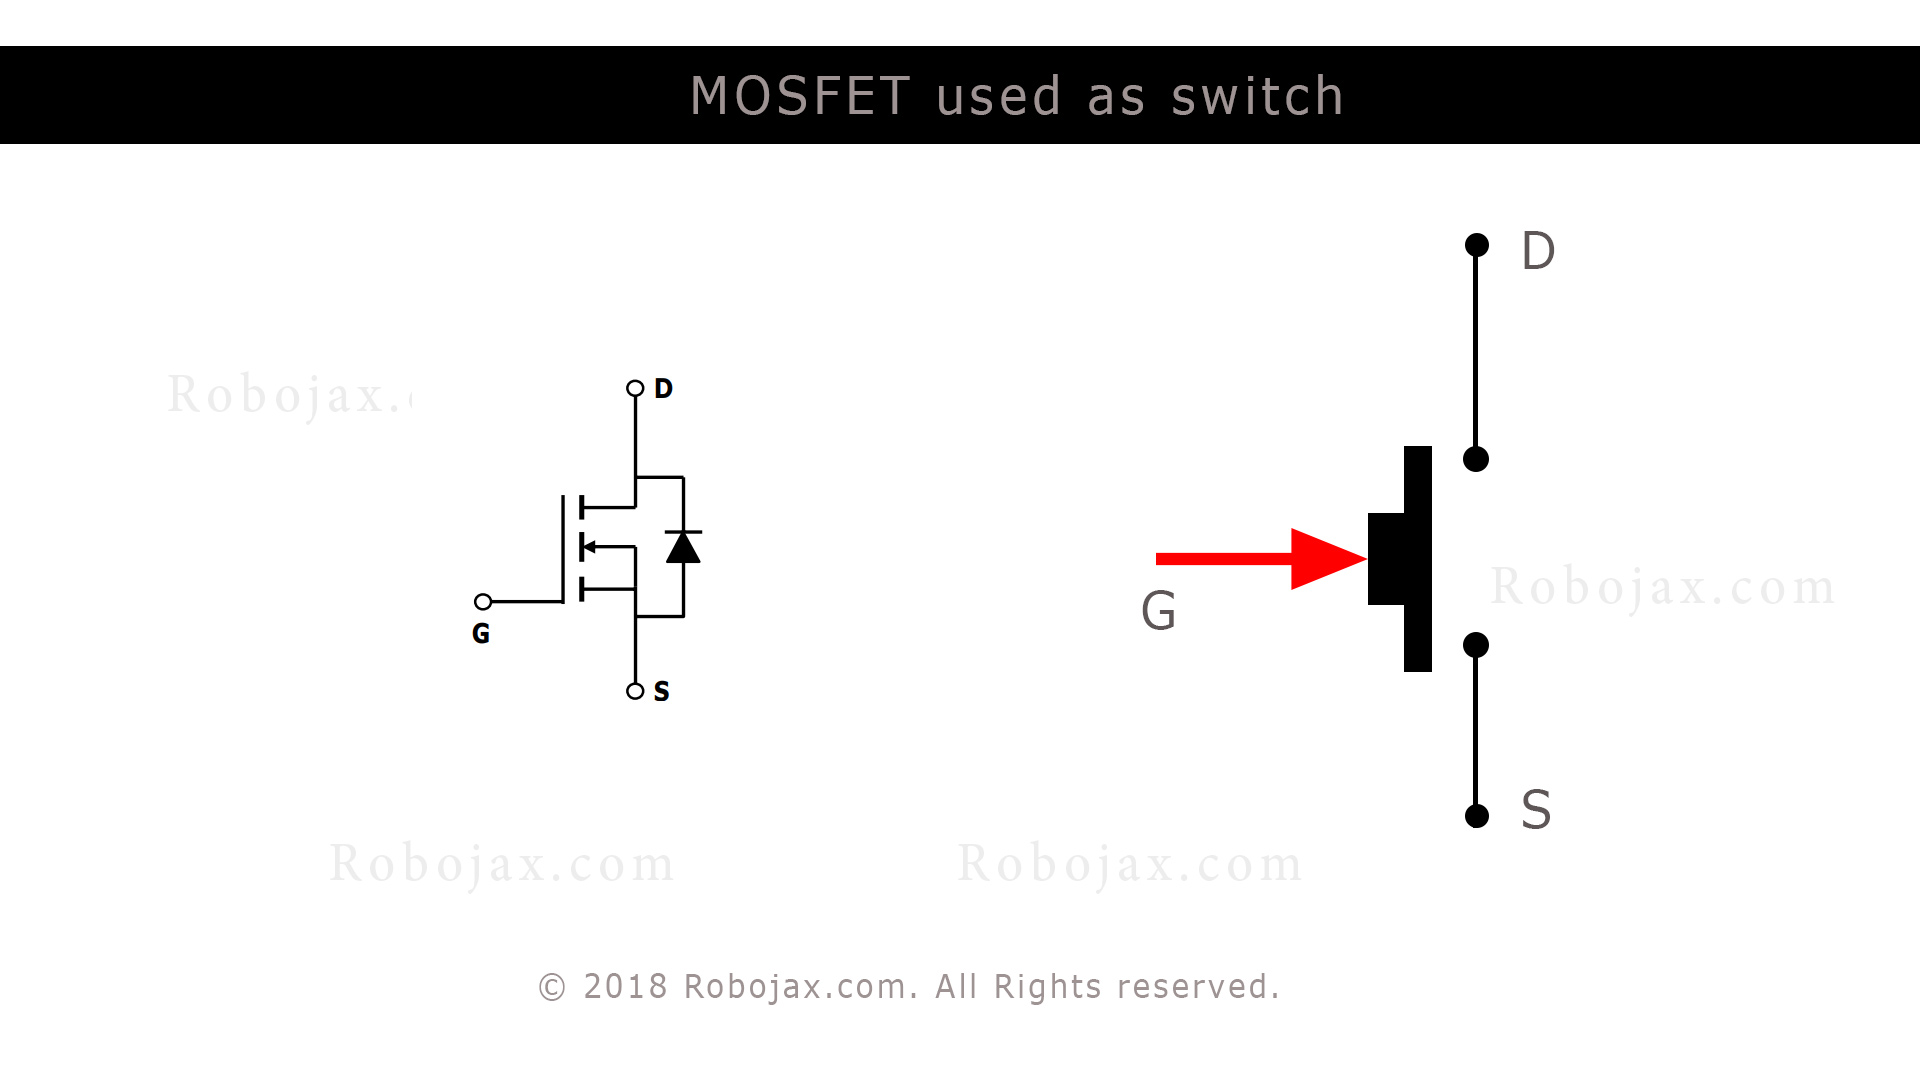
MOSFET symbol and equivalent switch representation
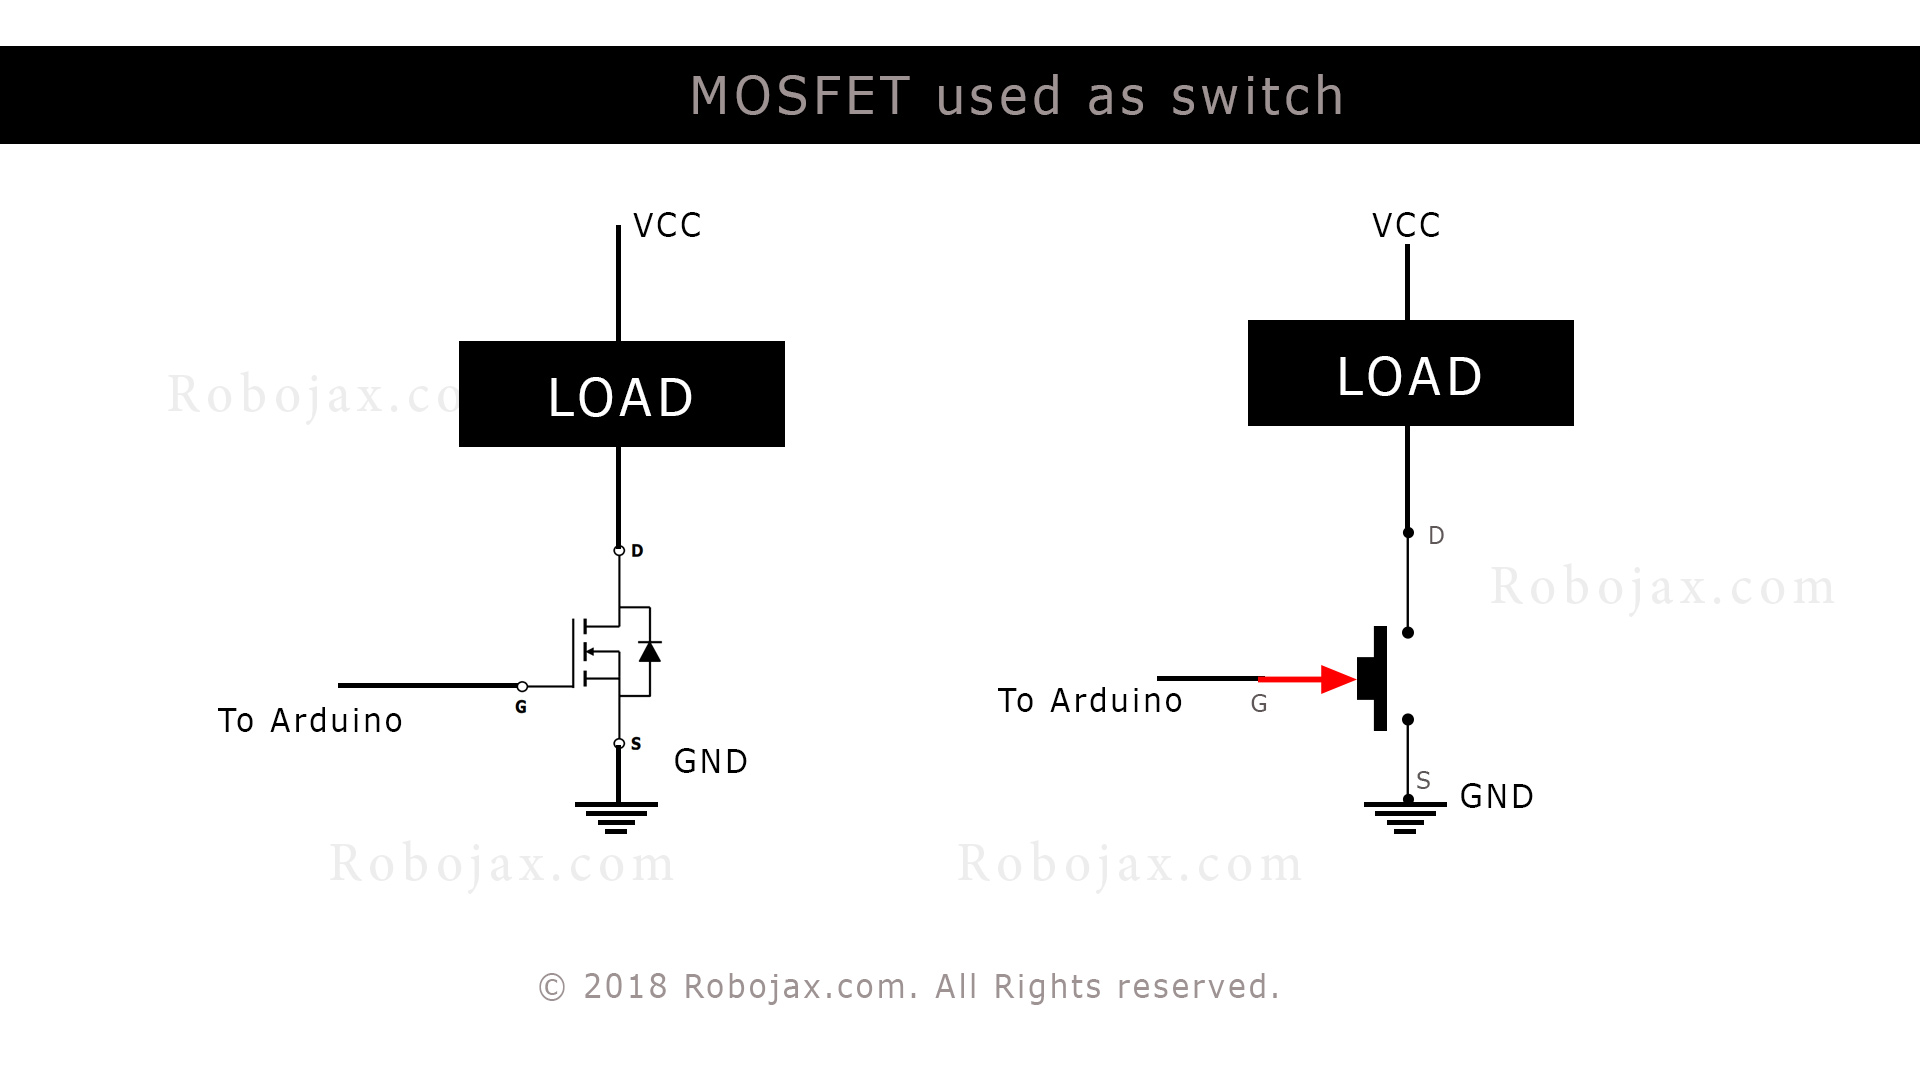
Connecting load and using MOSFET as Switch or PWM driver
 /*
 * This is Arduino Sketch for Tutorial video
 * explaining why resistor is needed to be used with push button
 * with Arduino to connect the pin to Ground (GND)
 *
 * Written by Ahmad Shamshiri on July 18, 2018 at 17:36 in Ajax, Ontario, Canada
 * For Robojax.com
 * Watch instruction video for this code: https://youtu.be/tCJ2Q-CT6Q8
 * This code is "AS IS" without warranty or liability. Free to be used as long as you keep this note intact.
 */
int motorPin =9;// pin to connect to motor module
int mSpeed = 0;// variable to hold speed value
int mStep = 15;// increment/decrement step for PWM motor speed

void setup() {
  // Robojax.com demo
  pinMode(motorPin,OUTPUT);// set mtorPin as output
  Serial.begin(9600);// initialize serial motor
  Serial.println("Robojax Demo");


}

void loop() {
  // Robojax.com  tutorial

analogWrite(motorPin, mSpeed);// send mSpeed value to motor
    Serial.print("Speed: ");
    Serial.println(mSpeed);// print mSpeed value on Serial monitor (click on Tools->Serial Monitor)
  mSpeed = mSpeed + mStep;
  // See video you for details.
  if (mSpeed <= 0 || mSpeed >= 255) {
    mStep = -mStep;
  }

delay(200);

}
 /*
 * This is Arduino Sketch for Tutorial video
 * explaining the 15A MOSFET AOD4184A used as switch
 * this sketch used to test the moseft with load at 5A, 10A, 15A, 25A
 *
 * Written by Ahmad Shamshiri on July 21, 2018 in Ajax, Ontario, Canada
 * For Robojax.com
 * Watch instruciton video for this code:https://youtu.be/tCJ2Q-CT6Q8
 * This code is "AS IS" without warranty or liability. Free to be used as long as you keep this note intact.
 */
int loadPin =9;// load pin


void setup() {
  // Robojax.com demo
  pinMode(loadPin,OUTPUT);
  Serial.begin(9600);
  Serial.println("Robojax Demo");

}

void loop() {
  // Robojax.com  tutorial

  digitalWrite(loadPin, HIGH);
 while(1);// wait forever


} 
If you found this tutorial helpful, please support me so I can continue creating content like this. support me via PayPal 